
Drying & Curing Cannabis
A perfect grow means nothing without a proper cure. Learn to transform fresh-cut flower into smooth, flavorful, potent buds that improve with age.
Key Takeaways
A perfect grow means nothing without a proper cure. Learn to transform fresh-cut flower into smooth, flavorful, potent buds that improve with age.
- Why Curing Matters
- Drying Room Setup
- Ideal Drying Conditions
- When to Jar: The Stem Snap Test
1. Why Curing Matters
Curing is the most overlooked step in cannabis cultivation — and arguably the most important for final quality. A mediocre strain that's properly cured will outsmoke a top-shelf genetic that was rushed to jar. The difference is that dramatic.
During curing, several critical biochemical processes occur. First, chlorophyll breaks down — this is why properly cured bud smells like terpenes instead of freshly cut grass. Chlorophyll tastes harsh and produces a throat-burning smoke; it takes 2–4 weeks of curing for it to fully degrade. Second, remaining starches and sugars convert into simpler compounds that combust more cleanly, producing smoother, whiter ash. Third, certain terpenes and minor cannabinoids continue to develop and stabilize during the cure, enhancing both flavor and the entourage effect.
Properly cured cannabis also stores dramatically longer. Uncured or poorly cured bud degrades noticeably within 2–3 months; a well-cured jar can maintain peak quality for 6–12 months in proper storage conditions, and remain perfectly smokeable for 1–2 years.
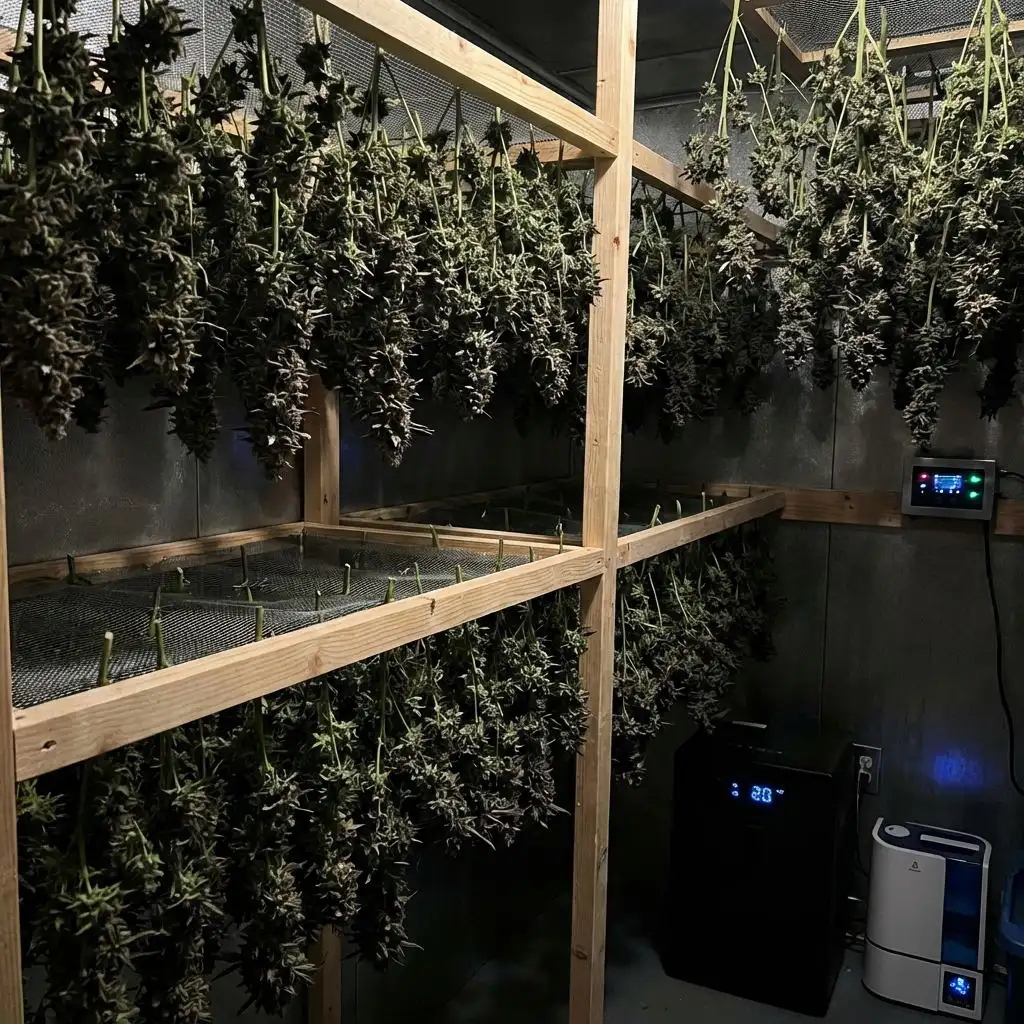
2. Drying Room Setup

Your drying space needs to be dark, temperature-controlled, and have gentle air circulation. Light — especially UV — degrades THC during drying, so the room should be completely dark when you're not checking on the buds. A spare closet, unused bathroom, or emptied grow tent all work well.
Hang branches upside down from wire lines, coat hangers, or purpose-built drying racks. Space branches 4–6 inches apart so air can flow freely around each one. If using a drying rack (mesh trays), spread buds in a single layer and rotate them every 12–24 hours to prevent flat spots and uneven drying.
Essential equipment includes: a small oscillating fan (pointed at the wall, not directly at buds), a hygrometer (to monitor humidity), and potentially a dehumidifier or humidifier depending on your climate. If your space is too dry, a wet towel hung near the fan can add moisture. If too humid, a small dehumidifier or extra exhaust fan brings things down. Keep the drying room's carbon filter running if you have one — the smell during the first 3–4 days of drying is intense.
3. Ideal Drying Conditions
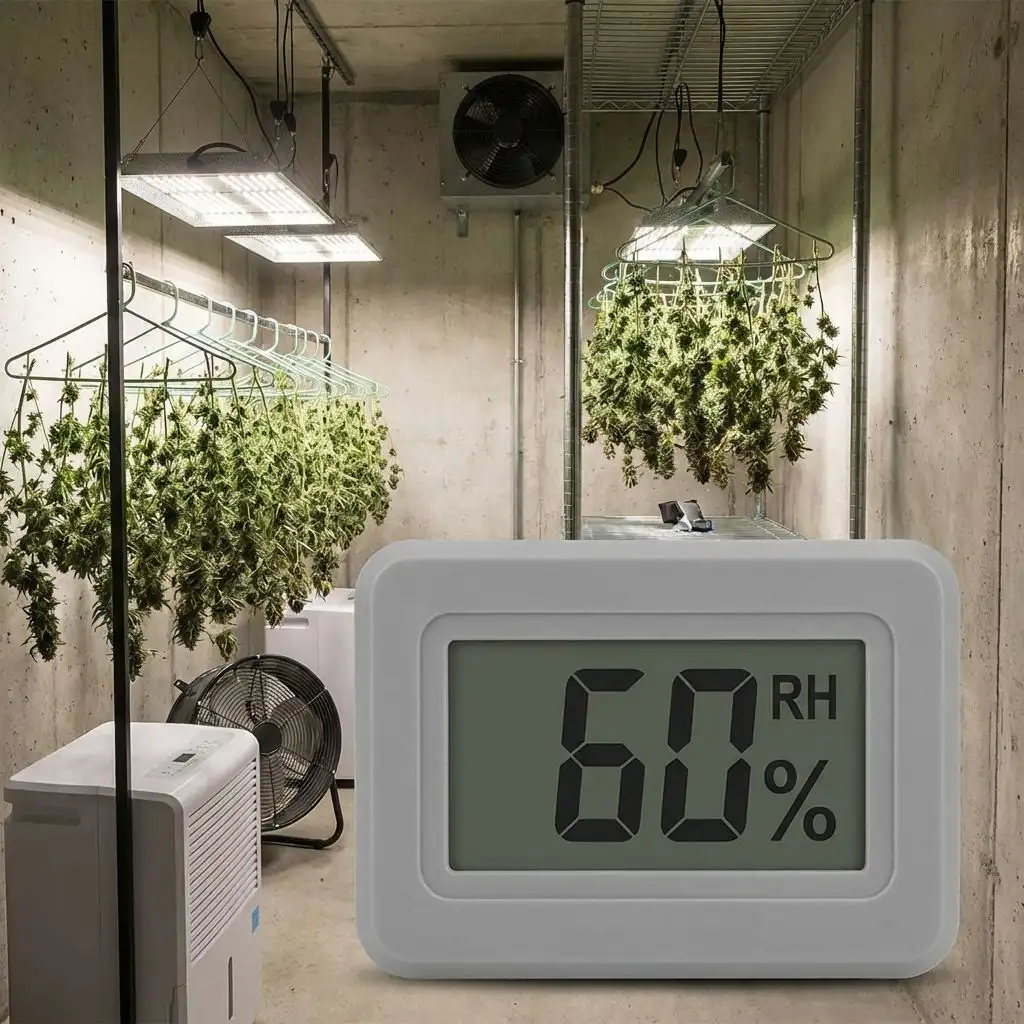
The target environment for drying cannabis is 60°F / 15.5°C and 60% relative humidity — commonly called the "60/60 rule." This creates a slow, even drying process over 10–14 days that preserves maximum terpenes and allows the initial chlorophyll breakdown to begin.
Faster drying (low humidity, high temperature) destroys terpenes — the volatile aromatic compounds that give each strain its unique smell and flavor evaporate at temperatures above 70°F / 21°C. If your buds dry in under 5 days, you've lost a significant portion of their terpene content, resulting in flower that looks good but smells and tastes mediocre.
Conversely, drying too slowly (high humidity, low airflow) invites mold. If buds take more than 14 days to dry and humidity is consistently above 65%, Botrytis (bud rot) and other fungi can colonize your harvest. Monitor conditions at least twice daily during the first week, making small adjustments to fan speed, dehumidifier settings, or ventilation as needed.
| Condition | Too Fast | Ideal | Too Slow |
|---|---|---|---|
| Temperature | > 75°F / 24°C | 60–68°F / 15–20°C | < 55°F / 13°C |
| Humidity | < 45% RH | 55–65% RH | > 70% RH |
| Drying Time | < 5 days | 7–14 days | > 16 days |
| Result | Harsh, hay smell | Smooth, terpy | Mold risk, ammonia smell |
4. When to Jar: The Stem Snap Test
Knowing when buds are dry enough to jar is critical. Jar too early and moisture trapped inside causes mold. Jar too late and buds are over-dried — they won't cure properly because the moisture needed for biochemical curing reactions has evaporated.
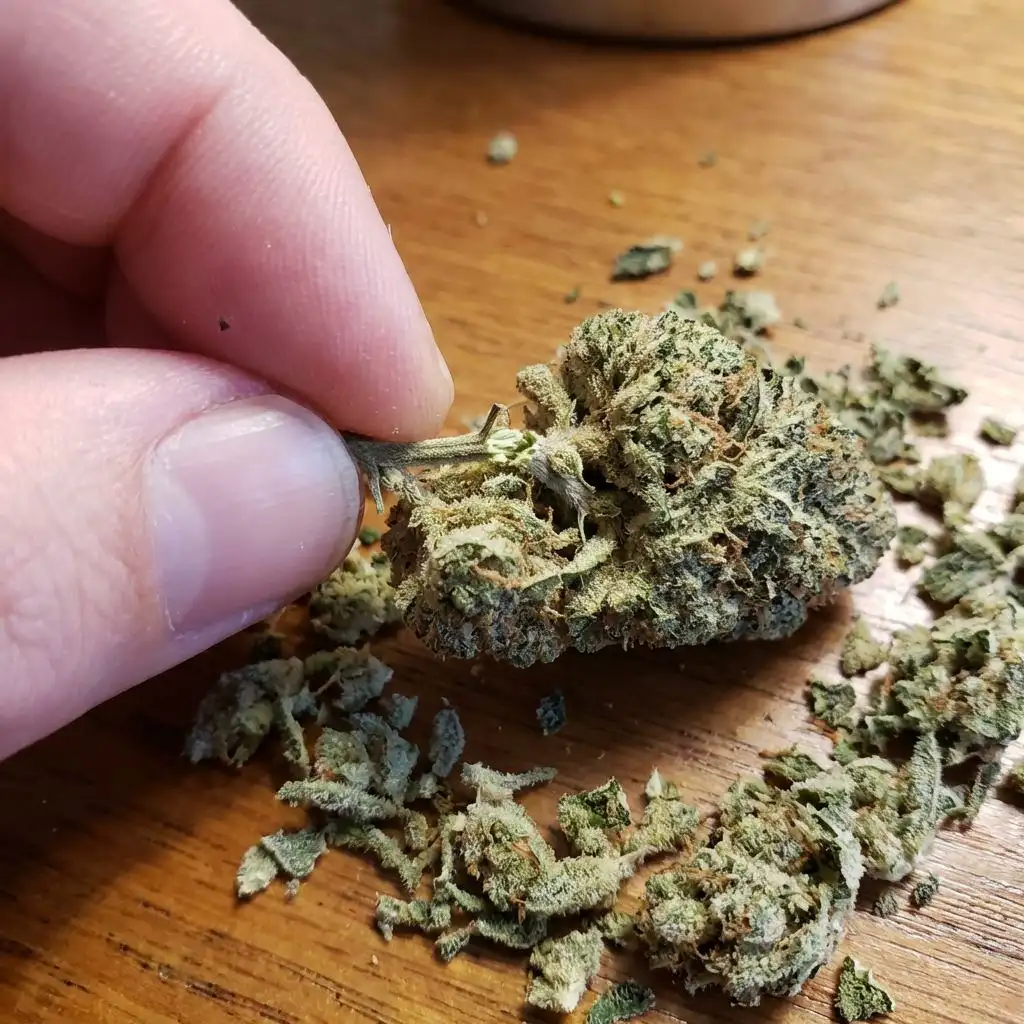
The stem snap test is the most reliable indicator. Bend a small branch (not the main thick stem): if it snaps cleanly with an audible crack, the buds are ready to jar. If it bends without snapping, there's too much moisture — give it another 1–2 days. If stems are so dry they splinter and crumble, you've gone slightly too far (but this can be partially recovered).
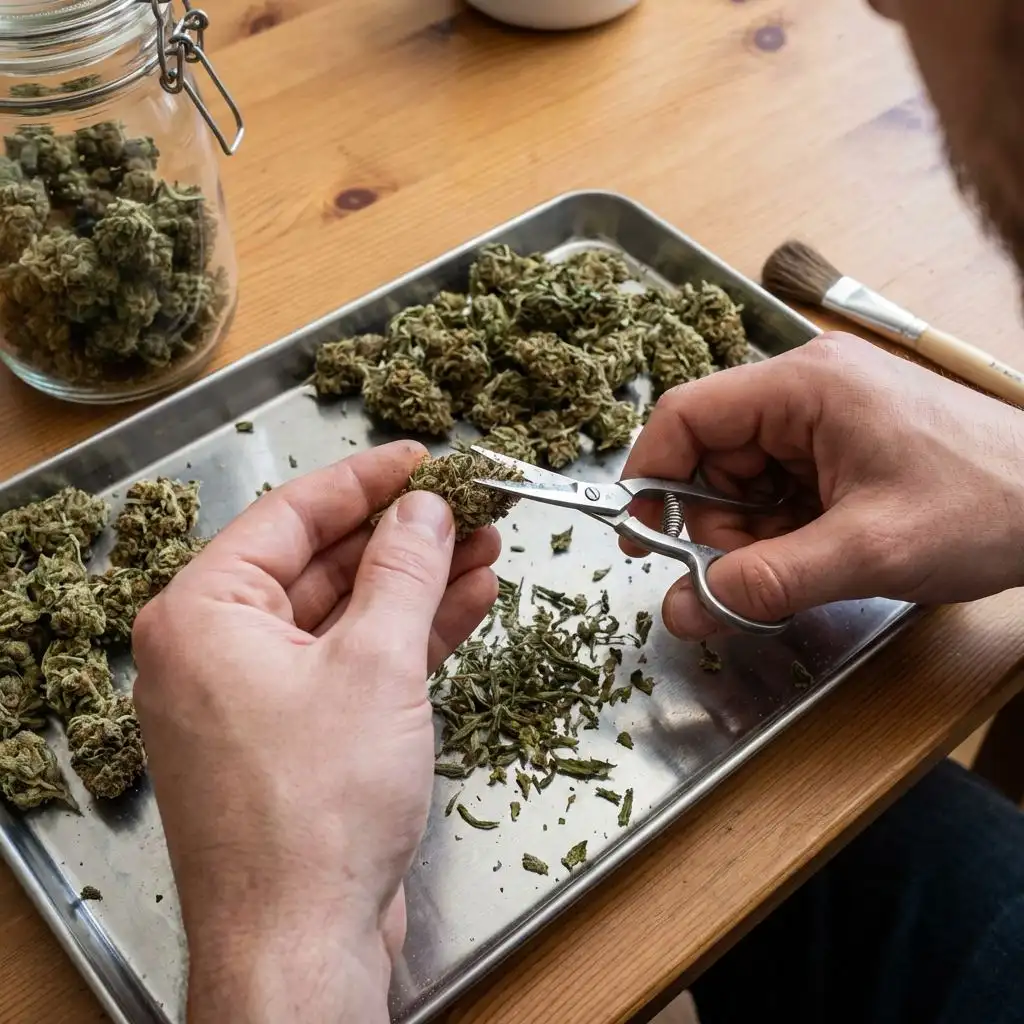
Additional indicators: the outside of buds should feel dry and slightly crispy to the touch, but not crumbly. When you gently squeeze a bud, it should spring back slowly — if it stays compressed, it's still too wet; if it crumbles, it's too dry. The buds should feel lighter than you expect, having lost roughly 75% of their wet weight during drying.
5. Curing in Mason Jars
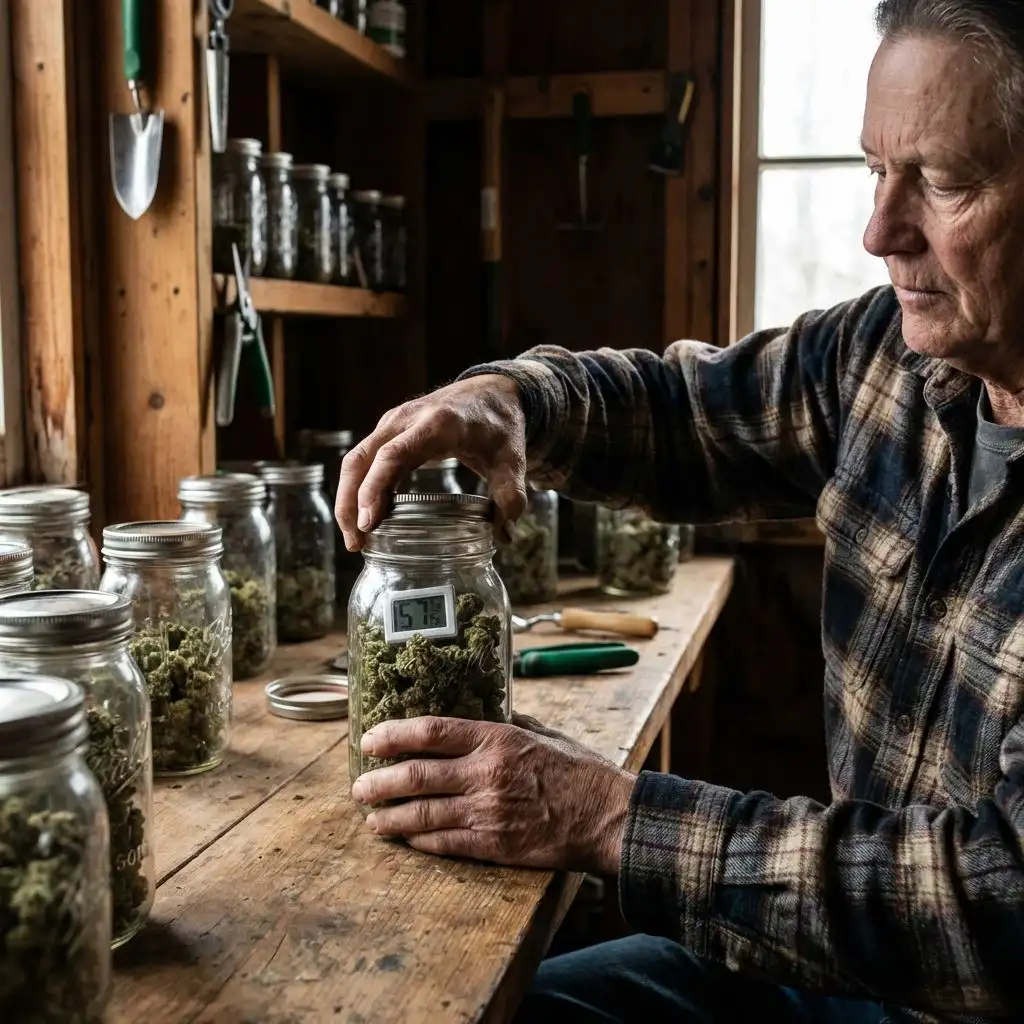
Wide-mouth quart mason jars (32 oz) are the gold standard for curing. They're airtight, inexpensive, easy to inspect, and the perfect size — each jar holds roughly 1 ounce of dried, trimmed bud. Fill jars to 75% capacity, leaving headspace for air exchange during burping.
Gently place trimmed buds into jars — don't pack or compress them. Each bud should rest loosely against its neighbors with small air gaps throughout. Seal the lids tightly and store jars in a cool (60–70°F), dark location. A closet shelf, cupboard, or drawer works perfectly. Avoid any location with temperature fluctuations or light exposure.
Place a small hygrometer in each jar (or at least one per batch). Within the first 24 hours, check the reading. If humidity inside the jar is 60–65%, you're in the perfect curing zone. If it's above 70%, your buds aren't dry enough — take them out and dry for another 12–24 hours. If it's below 55%, the buds are over-dried and will cure very slowly if at all. Boveda 62% humidity packs can help stabilize the environment in borderline cases.
| Jar Humidity | Status | Action |
|---|---|---|
| > 70% | Too wet — mold risk | Remove buds, dry 12–24 more hours |
| 65–70% | Slightly wet | Leave jar lids off for 2–4 hours, then reseal |
| 60–65% | Perfect curing zone | Continue normal burping schedule |
| 55–60% | Slightly dry | Add Boveda 62% pack, reduce burping frequency |
| < 55% | Over-dried | Add moisture source briefly, or accept slower cure |
6. Burping Schedule

"Burping" is the process of opening your cure jars to exchange stale air for fresh oxygen and release excess moisture. This is essential in the first 2 weeks of curing, when buds are still equalizing their internal and external moisture content.
During the first week of curing, burp jars 2–3 times per day for 5–15 minutes each session. When you open the jar, give it a gentle shake to move buds around and prevent them from sticking together. If you smell ammonia at any point — this is a critical warning sign that anaerobic bacteria are active due to excess moisture. Dump the buds out onto a drying rack immediately and let them air dry for several hours before re-jarring.
After the first week, reduce burping to once daily for 5–10 minutes. By week two, you can move to every other day. After 3–4 weeks of curing, the humidity in jars should have stabilized in the 58–62% range, and you can reduce to once per week or even stop burping entirely if using Boveda packs. The cure continues to improve for up to 6–8 weeks, with most of the dramatic quality improvement happening in the first 3–4 weeks.
| Cure Week | Burp Frequency | Duration | Notes |
|---|---|---|---|
| Week 1 | 2–3 times daily | 10–15 minutes | Most critical period — check for ammonia |
| Week 2 | Once daily | 5–10 minutes | Humidity should be stabilizing |
| Week 3–4 | Every 2–3 days | 5 minutes | Flavor developing, smoke smoothing |
| Week 5–8 | Once per week | 2–5 minutes | Fine-tuning, peak quality developing |
| 8+ weeks | Monthly or not at all | — | Cure complete — move to long-term storage |
7. Long-Term Storage
Once your cure is complete (minimum 4 weeks, ideally 6–8), your buds are ready for long-term storage. The enemies of stored cannabis are light, heat, oxygen, and humidity — eliminate these four factors and your flower will maintain quality for 12–24 months.
Keep cured buds in airtight glass mason jars stored in a cool (55–65°F / 13–18°C), dark location. Basements, root cellars, or the back of a closet away from heat sources are ideal. Include a Boveda 58% or 62% humidity pack in each jar to maintain stable moisture levels without any effort on your part. Replace Boveda packs when they feel crunchy and rigid — typically every 2–4 months.
For very long-term storage (6+ months), vacuum sealing removes oxygen and dramatically slows cannabinoid degradation. However, vacuum sealing compresses buds — if bag appeal matters, stick with mason jars. Some growers store vacuum-sealed jars in a refrigerator (not freezer — freezing temperatures make trichomes brittle and they snap off with handling). A dedicated wine cooler set to 55°F is the gold standard for long-term cannabis storage.
- Do not use plastic bags — static charge pulls trichomes off buds, and plastic is slightly permeable to oxygen and moisture
- Do not freeze unless making hash — frozen trichomes become extremely fragile
- Do not store near electronics or heat sources — even moderate heat (above 77°F / 25°C) accelerates THC degradation
- Do not open jars unnecessarily — every opening introduces fresh oxygen and disrupts the microenvironment
🌱 Recommended Strains
Frequently Asked Questions
Why Curing Matters?
Curing is the most overlooked step in cannabis cultivation — and arguably the most important for final quality. A mediocre strain that's properly cured will outsmoke a top-shelf genetic that was rushed to jar. The difference is that dramatic. During curing, several critical biochemical processes occ...
What is Drying Room Setup?
Your drying space needs to be dark, temperature-controlled, and have gentle air circulation. Light — especially UV — degrades THC during drying, so the room should be completely dark when you're not checking on the buds. A spare closet, unused bathroom, or emptied grow tent all work well. Hang branc...
What is Ideal Drying Conditions?
The target environment for drying cannabis is 60°F / 15.5°C and 60% relative humidity — commonly called the "60/60 rule." This creates a slow, even drying process over 10–14 days that preserves maximum terpenes and allows the initial chlorophyll breakdown to begin. Faster drying (low humidity, high ...
When to Jar: The Stem Snap Test?
Knowing when buds are dry enough to jar is critical. Jar too early and moisture trapped inside causes mold. Jar too late and buds are over-dried — they won't cure properly because the moisture needed for biochemical curing reactions has evaporated. The stem snap test is the most reliable indicator. ...
What is Curing in Mason Jars?
Wide-mouth quart mason jars (32 oz) are the gold standard for curing. They're airtight, inexpensive, easy to inspect, and the perfect size — each jar holds roughly 1 ounce of dried, trimmed bud. Fill jars to 75% capacity, leaving headspace for air exchange during burping. Gently place trimmed buds i...