


Stepping out of a grow tent and into a dedicated room is the single biggest jump most home growers ever make. The tent taught you the fundamentals — but a full hydroponic grow room setup for cannabis lets you run larger reservoirs, taller canopies, perpetual cycles, and sealed CO2 environments that simply aren't possible inside nylon walls.
This guide walks you through the exact sequence we use when we build rooms from bare drywall: room selection, layout math, HVAC and dehumidification sizing, electrical planning, and the purchasing order that prevents the classic mistake of buying lights before you know your circuit can power them.
Why a Dedicated Room Beats a Grow Tent
Featured answer: A dedicated hydroponic room gives you precise environmental control, sealed-room CO2 capability, larger reservoirs, full-height canopies, and dedicated circuits — advantages a grow tent physically cannot match. Target 68-77°F and 50-60% RH for hydro cannabis , with pH held at 5.5-6.5 .
Tents are wonderful starter environments, but they cap out fast. A room lets us dial in VPD, run sealed CO2, and spread reservoirs and aisles so maintenance stops being a contortion act. Hydroponics itself rewards this level of control because the grower sets every variable — PPM, pH, and dissolved oxygen all behave differently than soil, giving more precise command over plant nutrition .
A tent controls the plants. A room controls the environment — and in hydro, environment is the ceiling on yield.
Tent vs. Room: The Honest Comparison
| Factor | Grow Tent | Dedicated Room |
|---|---|---|
| Setup cost | $500-$1,500 | $2,500-$8,000+ |
| Max canopy | ~16 sq ft (4x4) | Unlimited (room-sized) |
| CO2 sealing | Partial | Full |
| HVAC integration | Portable AC only | Mini-split / ducted |
| Reservoir size | 20-40 gal | 55-200+ gal |
| Noise control | Poor | Excellent (insulated) |
For a side-by-side on the tent world before you graduate, see our complete indoor grow tent setup and the 2x2 vs 4x4 sizing guide.
Choosing the Right Room: What to Look For
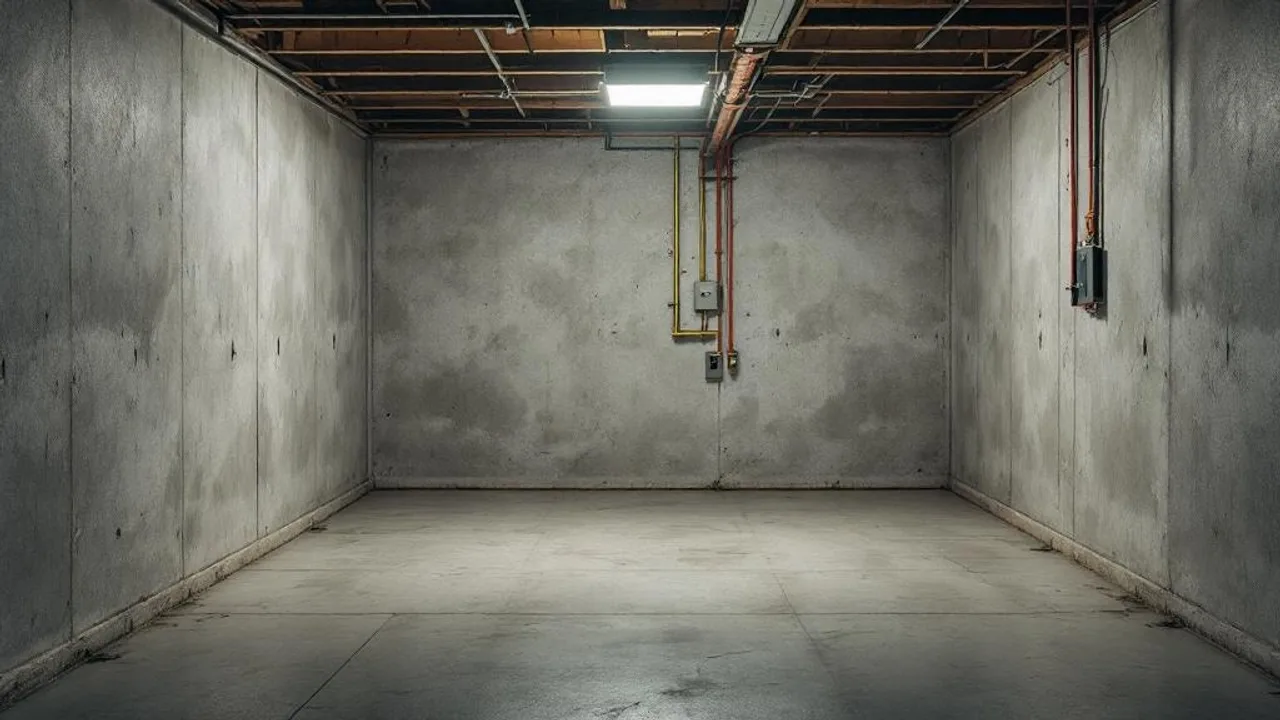
Featured answer: Pick a room with insulated walls, a concrete or sealed floor with drain access, at least 20A of spare electrical capacity, and enough ceiling height for lights plus canopy clearance. Avoid carpeted bedrooms, attic spaces that swing temperature, and basements with active moisture intrusion.
Not every spare room is a candidate. Basements and garages usually win because they're already cooler, have concrete floors, and sit near the main electrical panel. Spare bedrooms work but demand more lightproofing and humidity control since drywall and carpet absorb moisture.
The Five Non-Negotiables
- Sealed or sealable floor (concrete, vinyl, epoxy) with drainage or a floor drain within reach
- Insulated walls (R-13 minimum) to hold temperature and reduce HVAC load
- Electrical access — ideally a subpanel or room to run new circuits
- Ceiling height of 8 ft minimum (9-10 ft preferred for vertical clearance)
- Exterior wall or attic access for HVAC venting and intake ducting
Red flags: attached to a bedroom (noise bleeds both ways), finished basement with wall-to-wall carpet, no GFCI within 6 feet of planned reservoir locations, or any sign of existing water intrusion. Fix the room before you bring plants in.
Planning Your Layout: Aisles, Reservoirs, and Plumbing
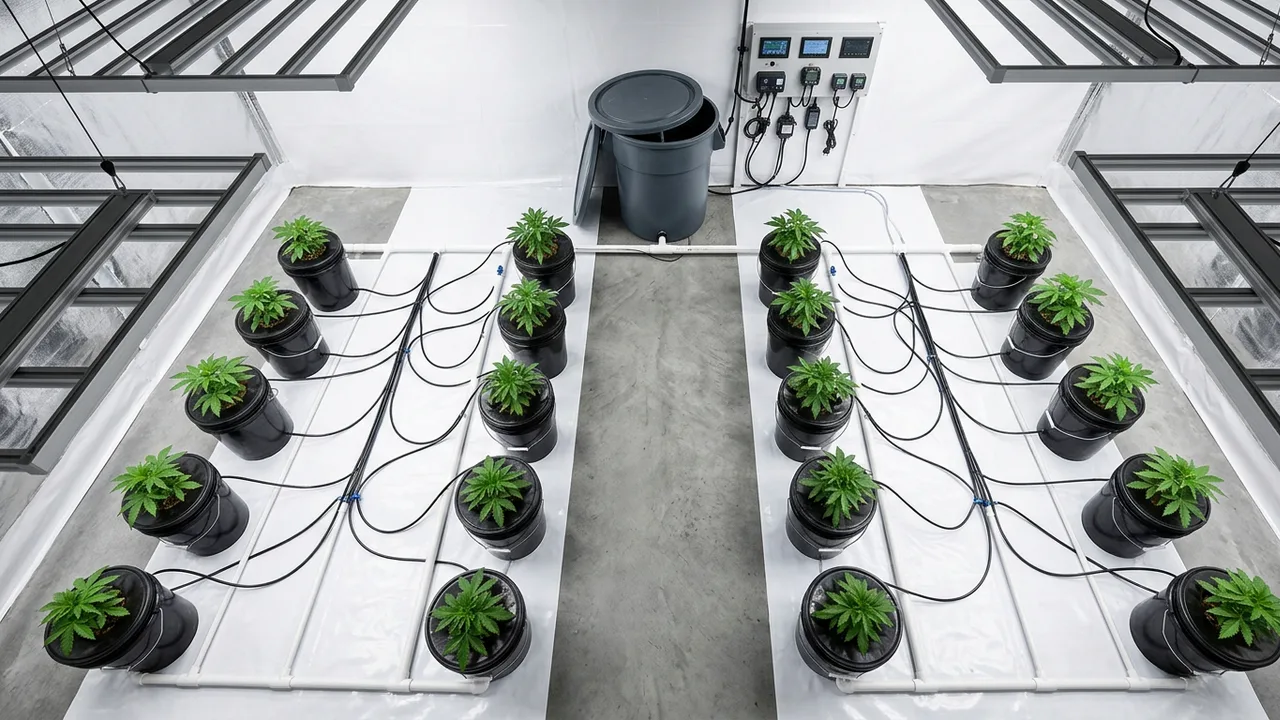
Featured answer: Lay out the room around three zones — canopy, aisle, and utility. Keep aisle width at 30-36 inches for maintenance access, position reservoirs against a wall near drain access, and plan plumbing runs before anything is bolted down. Room layout must accommodate plant count plus adequate room for airflow, irrigation, maintenance access, and vertical clearance for lights to prevent heat stress or light burn .
Before you buy a single bucket, sketch the room on graph paper. Mark every door swing, outlet, vent, and drain. Then lay out your grow zones in this order: utility wall (reservoirs, controllers, CO2 tank) → aisle → canopy. Reservoirs go against the wall nearest a drain because you will dump 55+ gallons of spent nutrient solution every 1-2 weeks, and hauling that across a canopy is how accidents happen.
Aisle Math: The 30-Inch Rule
A 30-inch aisle is the minimum for comfortable access with a bucket in hand. Below 24 inches you'll crush lower branches every time you walk through. For perpetual setups with both veg and flower in the same room, plan separate aisles for each zone so you never cross-contaminate wet hands between rooms.
Canopy Footprint Per System Type
- DWC buckets: one plant per 5-gallon bucket, spaced 2-3 ft on center — forgiving layout, easy to reposition
- NFT channels: linear runs along walls, plants 8-12 inches apart, pump returns must slope downhill
- Ebb & flow trays: 4x4 or 4x8 trays centered under lights, reservoir directly below tray if space allows
For system-specific deep dives, see our DWC setup guide, ebb & flow walkthrough, and NFT technique guide. The broader hydroponics pillar guide ties these together for planning a multi-system room.
Mark reservoir positions with painter's tape on the floor before buying anything. Live with the tape for a week, walk the aisles with a 5-gallon bucket in each hand, and adjust before drilling a single hole.
Electrical Requirements: Circuits, Amps, and Safety
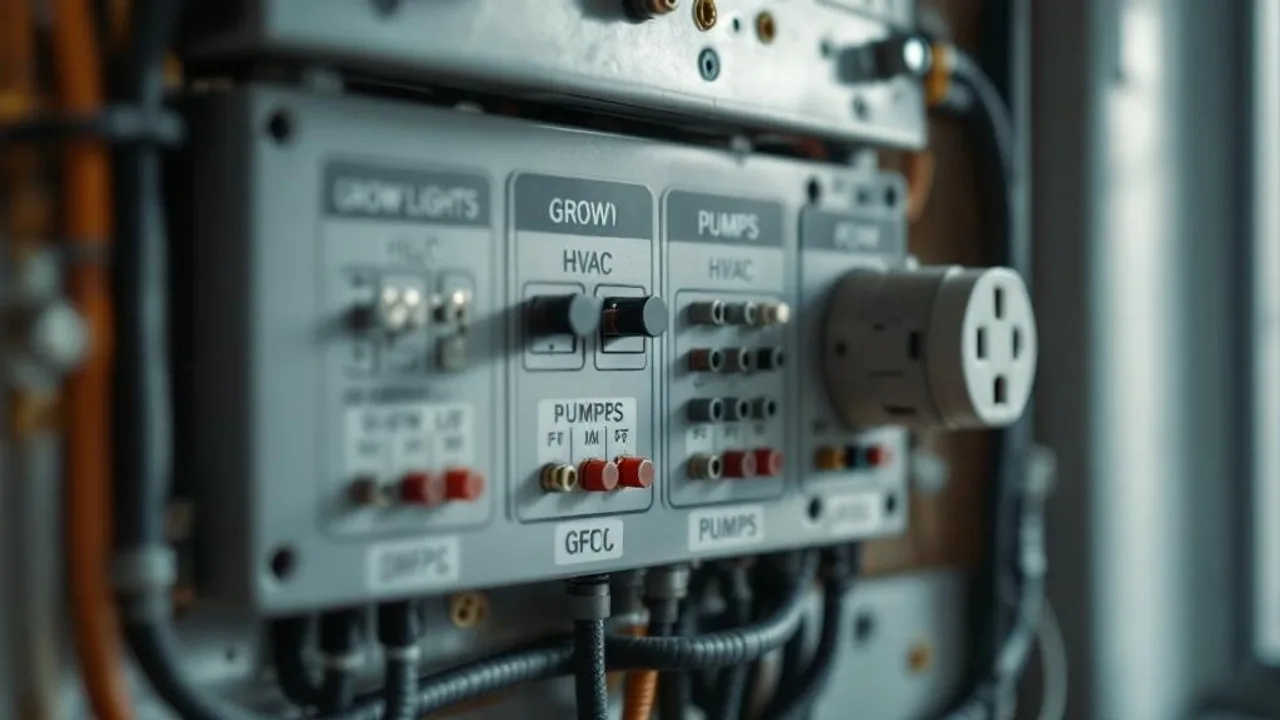
Featured answer: A typical 4x8 hydroponic canopy pulls 800-1200W of lighting plus 200-400W for pumps, HVAC, and controls — requiring at minimum one dedicated 20A circuit for lights and a separate 15-20A circuit for pumps and ancillaries. Never share circuits with other household loads, and install GFCI protection wherever water and electricity meet.
Electrical is where DIY growers get hurt, both literally and financially. A bedroom 15A circuit can handle roughly 1,440W continuous (80% of 1,800W), which sounds like plenty — until you add a 650W LED, a dehumidifier, a water chiller, and two pumps and trip the breaker mid-flower.
Circuit Planning by Load
| Equipment Group | Typical Draw | Recommended Circuit |
|---|---|---|
| LED lights (1-2 fixtures) | 600-1,200W | Dedicated 20A |
| Mini-split HVAC | 800-1,500W startup | Dedicated 20A or 30A |
| Dehumidifier | 500-800W | Shared with HVAC or separate 15A |
| Pumps + air stones + chiller | 150-400W | Dedicated 15-20A (GFCI) |
| Controllers, fans, CO2 | 100-200W | Shared with pump circuit OK |
Hire a licensed electrician for any new circuits or subpanel work. A permit costs a few hundred dollars and protects your homeowner's insurance if anything ever goes wrong. Pulling a DIY circuit through finished walls is not worth the risk.
GFCI Is Non-Negotiable in Hydro
Every outlet within 6 feet of a reservoir, chiller, or water line needs GFCI protection. Pumps fail. Fittings leak. Dumping 50 gallons onto an un-protected outlet is the kind of mistake that ends a grow and potentially a life. Install GFCI at the breaker or use GFCI outlets — not a cheap plug-in adapter.
HVAC Sizing: The Math That Saves Your Crop
Featured answer: Size HVAC by converting total lighting wattage to BTU (watts × 3.41 = BTU/hr heat load), then add 10-20% for pumps, dehumidifier heat, and transpiration. A 1,000W light room needs roughly 12,000-14,000 BTU of cooling minimum — a 1-ton mini-split handles it comfortably in most climates. Target 68-77°F (20-25°C) room temperature .
The fundamental HVAC formula every room builder should memorize:
BTU needed = (Total watts × 3.41) × 1.15 safety factor
Example: 1,200W lights + 300W ancillary = 1,500W × 3.41 × 1.15 = 5,885 BTU minimum cooling.
Round up to the next standard unit size (6,000, 9,000, 12,000, 18,000 BTU).
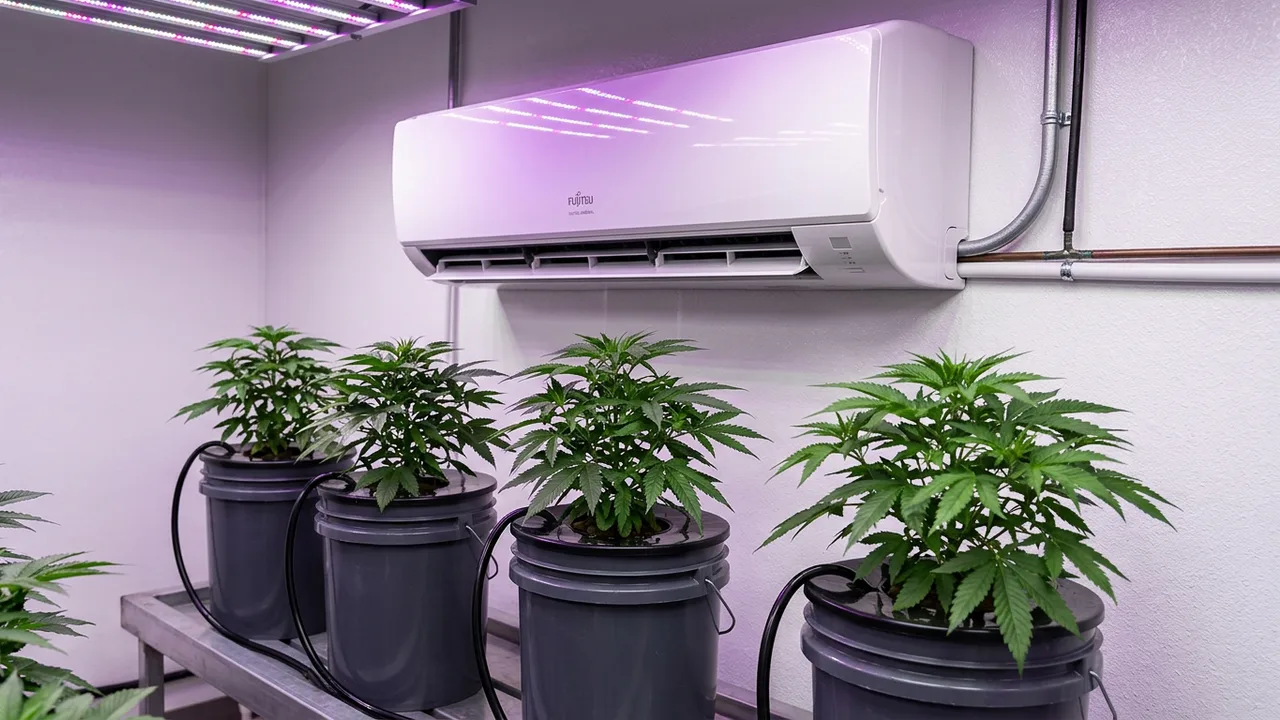
Why Mini-Splits Dominate Dedicated Rooms
Portable ACs exhaust hot air through the room, breaking your sealed-room CO2 plans. Window units leak light and don't dehumidify well. Mini-splits mount on the wall, vent outside, and give you inverter-driven precise temperature control — perfect for cannabis where a 5°F swing changes VPD and triggers stretch.
Use our VPD calculator to convert your target temp and RH into leaf-surface VPD, and cross-reference with the VPD guide for stage-specific targets.
Dehumidification: Hydro Transpires More Than Soil
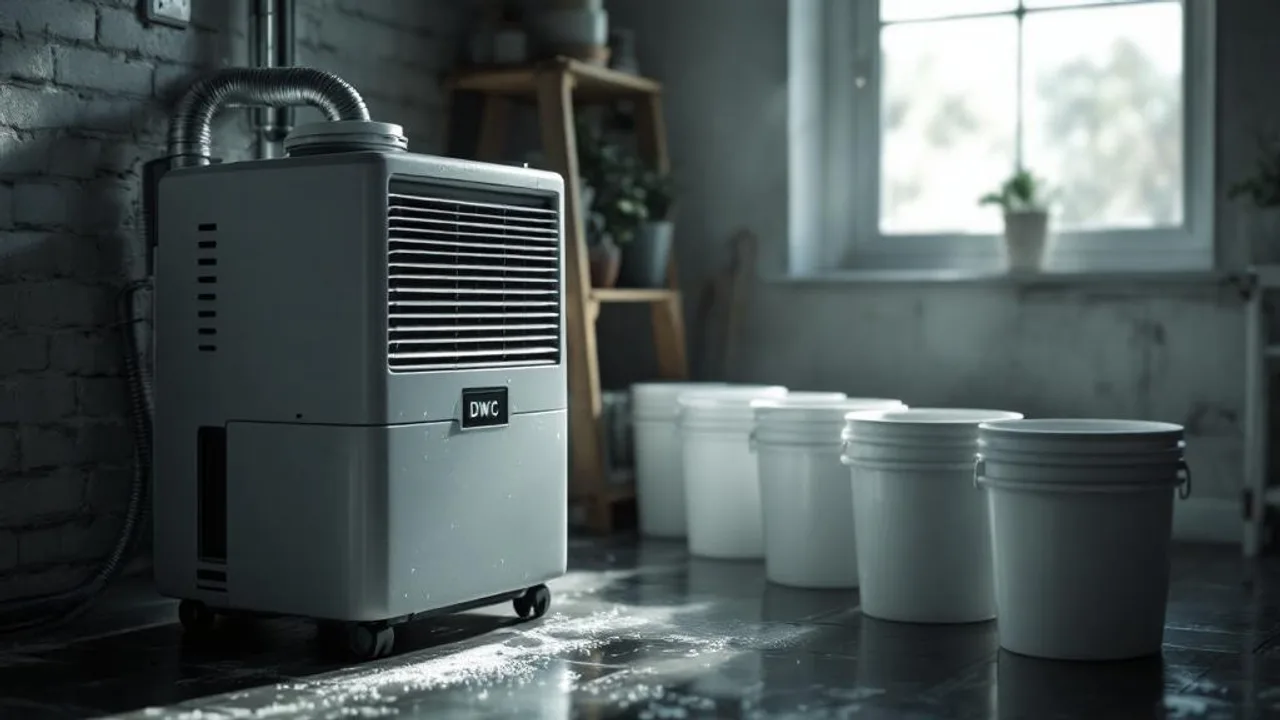
Featured answer: Hydroponic canopies transpire more water than soil because roots sit in unlimited free water. Size dehumidifiers to remove 1.0-1.25 pints per day per plant in flower as a planning baseline, then verify with a humidity meter and add capacity if RH creeps above 55% in flower. Target 50-60% RH in a hydro room .
Soil growers are often shocked when they move to hydro and their tent dehumidifier can't keep up. The reason is simple: in hydro, roots have unlimited water, and the plant pulls it up and transpires it out as fast as the lights and VPD allow. A mature 4x4 DWC canopy in late flower can push 8-12 gallons of water vapor into the air every 24 hours.
Sizing Rules of Thumb
- Veg room: 30-40 pints/day per 4x4 canopy
- Early flower: 50-70 pints/day per 4x4 canopy
- Late flower (weeks 5-8): 70-110 pints/day per 4x4 canopy — this is when most growers discover their undersized unit
Always oversize by 20-30%. Dehumidifiers degrade over time, coils ice at lower temps, and a unit running 100% duty cycle burns out fast. For the full humidity playbook, see our humidity control guide and mold prevention walkthrough.
Bud rot risk: RH above 60% in late flower, combined with dense indoor genetics, is how you lose entire colas to botrytis overnight. Dehumidification is not optional in hydro.
CO2 Integration: Plan It Before You Seal the Room
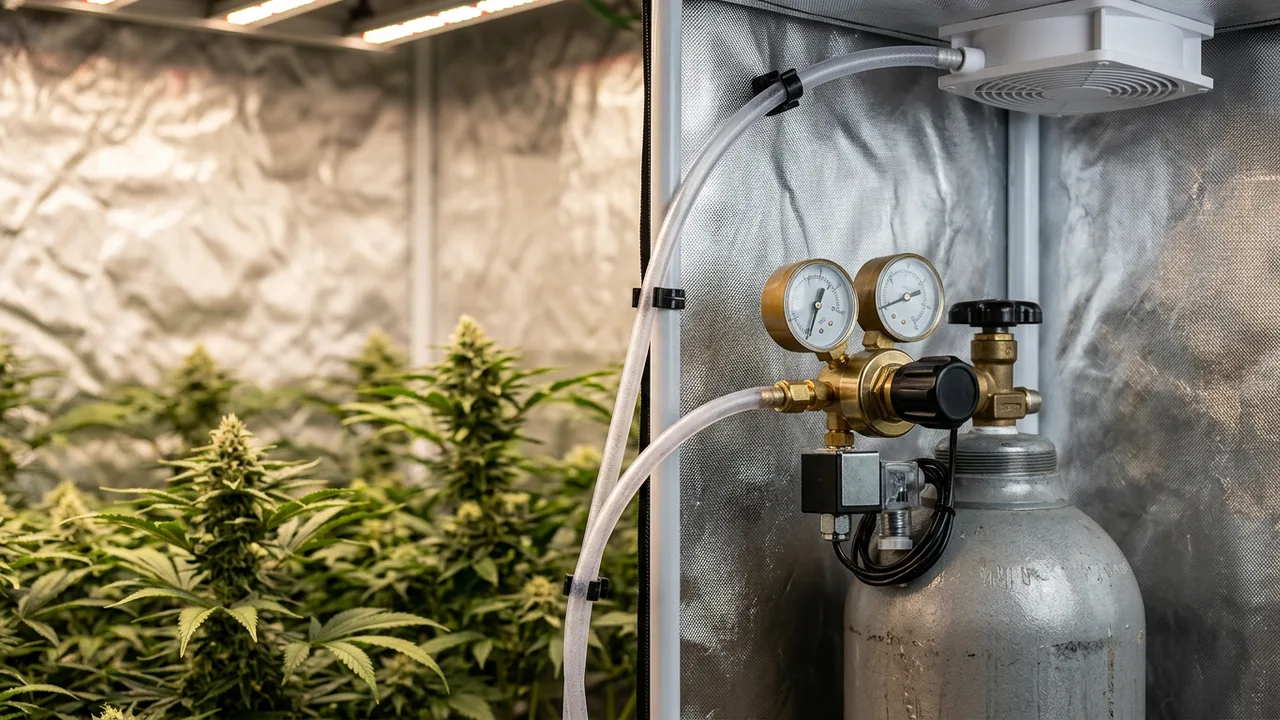
Featured answer: CO2 supplementation boosts growth and yield, particularly in sealed grow spaces where CO2 must be added to maintain optimal levels . Plan CO2 at the room-design stage: a sealed room with sufficient HVAC, a controller tied to a tank or burner, and no passive air exchange during the day cycle. Retrofitting CO2 into a leaky room wastes money.
CO2 only pays off if the room is sealed and temperatures stay in range — elevated CO2 lets you run hotter canopies (82-85°F) which requires more, not less, HVAC capacity. Growers who bolt CO2 onto a ventilated room watch it vent straight out the exhaust fan.
Sealed Room CO2 Checklist
- Sealed walls, ceiling, and door gaskets (no passive exhaust during lights-on)
- Mini-split or ducted HVAC sized for elevated-temperature operation
- CO2 controller with sensor placed at canopy height
- Tank regulator with solenoid, OR propane/natural gas burner with safety shutoffs
- Exhaust fan set to purge-only mode (runs at night or during maintenance)
For the full CO2 economic and setup analysis, see our CO2 supplementation guide.
Lightproofing and Odor Control
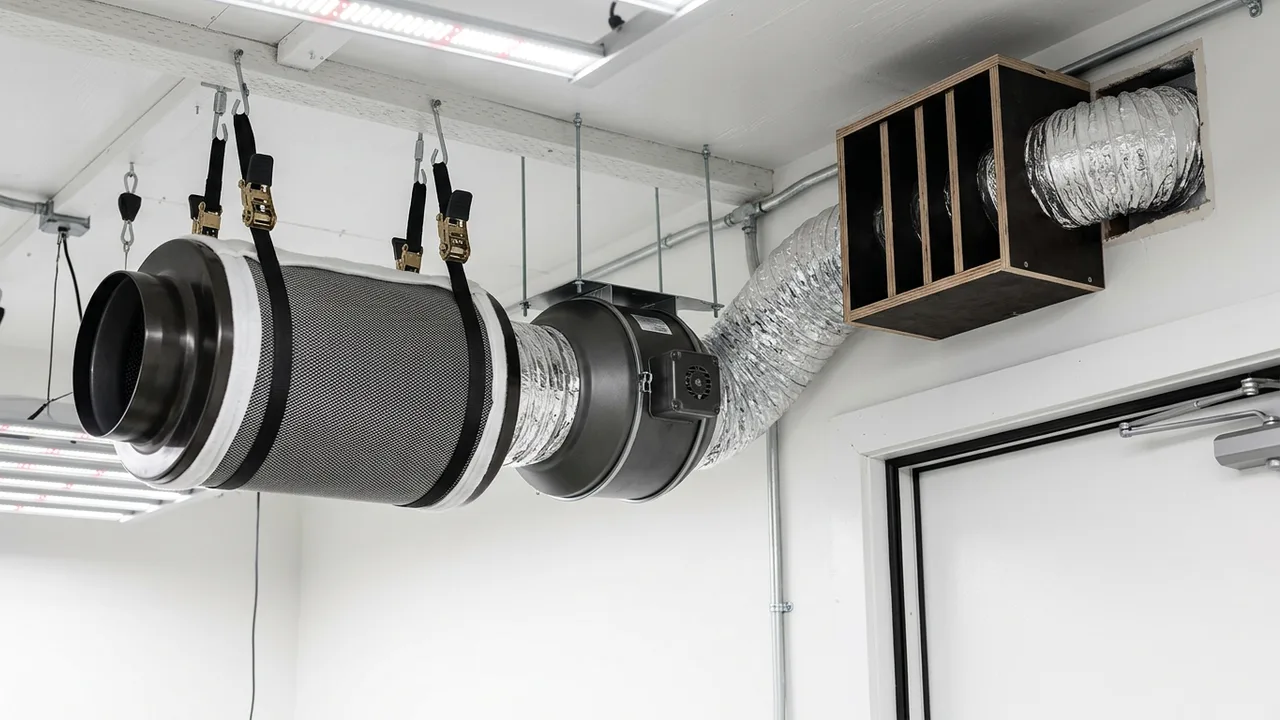
Featured answer: Lightproof the room with weatherstripped doors, blackout panels on any windows, and a light trap on the exhaust duct. Odor control uses an activated carbon filter sized to your exhaust CFM, ideally with a scrubber running on recirculation during lights-on to handle sealed-room operation.
Any light leak into a flowering room during the dark cycle can trigger hermaphroditism or re-vegging — and any light leaking out of a home grow is an obvious tell. Walk the room in pitch darkness with the lights on inside; if you see any glow around the door, weatherstrip it.
Carbon Filter Placement
Mount the carbon filter inside the room, pulling air from ceiling height (where heat and odor rise) and pushing through an inline fan and out a light-trapped duct. Replace carbon every 12-18 months of active use — longer in dry climates, shorter in humid rooms where moisture saturates the media.
Equipment Purchasing Order: Don't Buy Backwards
Featured answer: Buy in this order: (1) electrical upgrades, (2) HVAC + dehumidifier, (3) lights, (4) hydroponic system, (5) monitoring and controllers, (6) plants. Buying lights before confirming your circuit handles them, or buying an AC after the room is full of plants, is the most common and expensive mistake new room-builders make.
Electrical Upgrades
Install dedicated circuits, GFCI, and subpanel if needed. Everything else depends on this. Get the permit and electrician done first.
HVAC + Dehumidification
Install mini-split, dehumidifier, and intake/exhaust fans before plants arrive. Run the room empty for 48 hours to verify it holds target temp and RH.
Lighting
Hang lights only after you've confirmed HVAC can handle the heat load. Use our light calculator to match wattage to canopy square footage.
Hydroponic System
Reservoirs, pumps, air stones, net pots, plumbing. Assemble dry, leak-test with plain water for 24 hours, then fill with nutrient solution and verify pH 5.5-6.5 .
Monitoring & Controllers
Temp/RH sensors, pH/EC meters, CO2 controller, timers. A grow journal tracking pH, nutrient levels, temperature, and humidity helps identify issues across cycles .
Plants / Seeds
Only after the room runs empty for 48 hours holding target environment. Germinate on a known timeline so seedlings arrive when the room is stable.
Choosing a Hydroponic System for Your Room
Featured answer: Deep Water Culture (DWC) is the recommended system for first-time room builders due to its simple setup and maintenance . Ebb & flow scales better for larger canopies, and NFT maximizes space efficiency — but DWC gives the forgiving feedback loop beginners need while learning room-wide environmental control.
Coco coir also deserves mention — it's classified as a form of hydroponics because the medium contains no native nutrients, producing results that sit between soil and pure water-reservoir hydroponics . A coco run is a gentler on-ramp if you're not ready for full recirculating DWC but still want hydro-level control.
System Comparison for Room Builds
| System | Best For | Room Footprint | Complexity |
|---|---|---|---|
| DWC | First-time room builders, small-batch | Flexible, bucket-based | Low |
| RDWC | Perpetual harvests, scaled DWC | Linked reservoirs | Medium |
| Ebb & Flow | Larger canopies, SOG | Tray-based, fixed | Medium |
| NFT | Space-efficient vertical | Linear channels | High |
| Coco | Soil-to-hydro transition | Pot-based | Low-Medium |
Environmental Targets: Your Control Setpoints
Featured answer: Hold pH 5.5-6.5 for all hydroponic and coco grows , ambient temperature 68-77°F (20-25°C) , and relative humidity around 50-60% . Humidity is commonly reduced during flowering to limit mold risk, even without a specific cited competing range.
Hydroponic cannabis plants must be fed nutrients starting at the seedling stage in seedling doses, because the inert medium contains none — unlike soil, which carries built-in nutrients for the first few weeks . That changes your ramp plan: have nutrients mixed, pH-adjusted, and at temperature before seedlings go into net pots.
Run the empty room for a full week before germination. You'll catch cold spots, humidity pockets, and circuit issues while the stakes are zero instead of 10 weeks into flower.
Strain Selection for Perpetual Hydro Rooms
Uniform, stable genetics keep a perpetual room predictable. Fast-flowering, vigorous photoperiods like White Widow (25% THC) and Northern Lights x Big Bud (20% THC) perform well in DWC with their compact structure. OG Kush (26% THC) and Sour Diesel (24% THC) stretch more — reserve them for rooms with 9+ ft ceilings. Popular non-catalog names like Gorilla Glue #4, Gelato, Wedding Cake, and Zkittlez also run well in hydro if you source quality genetics.
For perpetual planning, see our perpetual harvest guide and use the grow planner tool to map veg and flower cycles.
Common Pitfalls When Building From Scratch
Featured answer: The top mistakes are undersizing HVAC, sharing circuits with household loads, skipping lightproofing, ignoring drainage, and buying plants before the room is stable. Every one of these is a six-month-delay mistake if you catch it mid-grow.
- Undersized HVAC: calculated for lights-only, ignored pump/dehumidifier heat, and summer ambient temperatures
- Shared circuits: light + AC + household microwave on one breaker — guaranteed mid-flower trip
- No drain access: hauling 55 gallons of wastewater up basement stairs gets old by week two
- No quarantine plan: one spider mite infestation shuts down a perpetual room for months
- Skipping the grow journal: without recorded pH, PPM, temp, and RH data, you can't iterate
Build the room for the third grow, not the first. Undersizing HVAC, electrical, and dehumidification to save money is the single most expensive decision new room builders make.
Frequently Asked Questions
How much does it cost to build a hydroponic grow room from scratch?
Budgets vary widely by climate, existing electrical, and system choice. A modest single-room DWC build with mini-split HVAC, LEDs, dehumidifier, and controls typically runs $2,500-$5,000 in equipment, plus electrical work. Commercial-spec sealed CO2 rooms with redundant systems can exceed $10,000. Verified cost breakdowns in the public literature are limited, so price locally before committing.
Can I run a hydroponic room on a standard 15A circuit?
Only for very small setups — a single 400-600W LED plus pumps and a small dehumidifier. Any serious canopy needs at minimum one dedicated 20A circuit for lights and a separate circuit for HVAC and pumps. Hire an electrician to verify capacity before buying equipment.
What temperature and humidity should I target in a hydro room?
Target 68-77°F (20-25°C) with humidity around 50-60% . Humidity is commonly lowered during flowering to reduce mold risk. Use a VPD-based approach for stage-specific targets rather than fixed numbers.
Is DWC really the best system for a first dedicated room?
For most first-time room builders, yes. DWC has simple setup and maintenance and gives fast visual feedback on root health, pH, and nutrient issues. Ebb & flow or NFT can be better for specific layouts, but DWC's forgiving nature lets you focus on environmental control while you learn.
Do I need CO2 in a hydroponic room?
Not required, but CO2 supplementation can boost growth and yield, particularly in sealed spaces where CO2 must be actively added . Only invest in CO2 after HVAC, dehumidification, and lighting are fully dialed — CO2 without temperature control is wasted money.
How do I keep a grow journal that actually helps?
Track pH, EC/PPM, reservoir temperature, room temperature, humidity, and daily observations — a consistent journal helps identify issues and improve future cycles . Even a simple notebook beats nothing; digital apps let you graph trends across harvests.
Sources & References
This article was researched and fact-checked using 6 verified sources including 2 industry sources, 4 community resources.
- How to Grow Hydroponic Cannabis at Home | Grow Weed Easy — growweedeasy.com/how-to-grow-hydroponic-cannabis-at-home [Industry]
- Building a Grow Room for Cannabis - Layout, Setup & Design — advancednutrients.com/articles/grow-room-space-planning [Industry]
- The Beginner's Guide to Growing Hydroponic Weed — kindledgrowlights.com/blogs/news/hydroponic-weed [Community]
- Grow Setup Guide: How to Build Your Cannabis Grow Room — growers.cronknutrients.com/en-US/articles/grow-setup-325743 [Community]
- Growing Cannabis as a Career | Excelsior University — excelsior.edu/article/careers-in-hydroponics [Community]
- Step-by-Step Guide to Setting Up a Basic Hydroponic System for Cannabi – Blue Ridge Hydroponics — blueridgehydroponics.com/blogs/news/guide-to-basic-hydroponic-system [Community]


