Your plant is growing fast, roots are circling the bottom of the cup, and you know something needs to change — but one wrong move at transplant time can set your grow back by weeks. Transplanting cannabis is one of the highest-impact skills in the grower's toolbox, and most beginners either wait too long, jump too big, or rush the process.
This guide covers everything: the exact pot size progression from seed to harvest, how to read your plant's readiness signals, a numbered step-by-step transplant technique, and how to cut recovery time to under 24 hours. Whether you're moving seedlings or preparing a plant for its final pot before flower, this is the only guide you need.
Let's start from the very beginning.
Why Transplanting Cannabis Matters for Root Health
Transplanting cannabis at the right time gives roots room to expand, improves oxygen uptake, and prevents the moisture imbalance that kills seedlings in oversized containers. It's not just about pot size — it's about matching root volume to soil volume at every stage of growth.
When a plant sits in a container that's too large, the wet soil surrounding the small root zone holds excess moisture. That waterlogged zone becomes a breeding ground for root rot, fungus gnats, and pythium. Conversely, a root-bound plant in a tiny pot stresses quickly, triggers early flowering, and stunts final yield.
The golden rule: transplant when roots fill roughly 80% of the current container — not before, not after. This timing gives roots the signal to expand aggressively into fresh growing medium.
Every transplant is also an opportunity to upgrade your growing medium, add beneficial microbes, adjust your pH buffer, and set the plant up for the next growth phase. Think of each pot as a chapter in the plant's story — and your job is to turn the page at exactly the right moment.
If you're starting seeds for the first time, check out our Cannabis Seed Germination Methods guide and our Cannabis Seedling Care Guide before diving into transplant planning.
Cannabis Pot Size Chart: Seed to Harvest Progression
Matching container size to plant size at each stage is the foundation of a healthy transplant strategy. Moving up in pot size too quickly drowns roots; staying too small creates a root-bound plant that stalls growth and struggles to hit its genetic potential.
Use this progression as your baseline guide. Adjust slightly based on strain vigour, medium type, and whether you're growing indoors or outdoors.
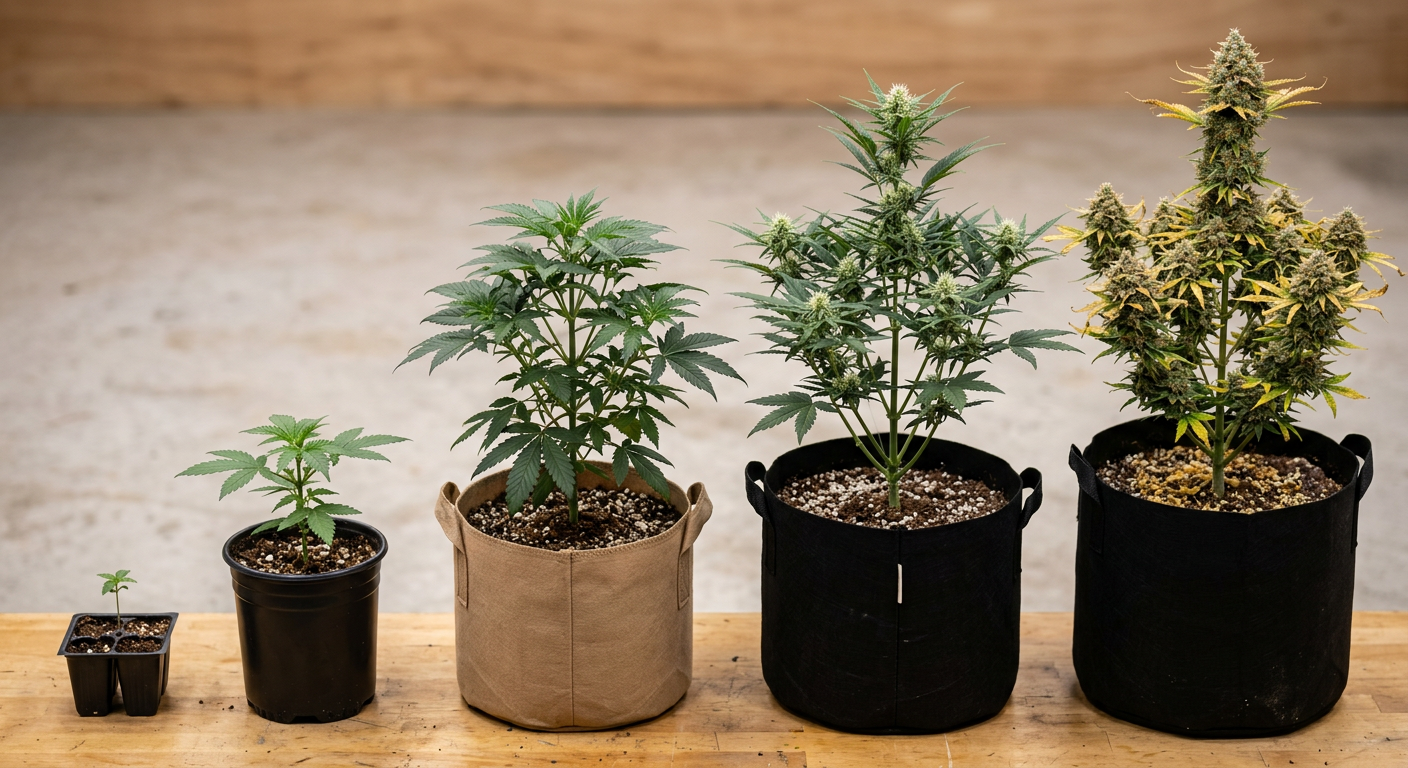
| Growth Stage | Recommended Pot Size | Time in Container | Notes |
|---|---|---|---|
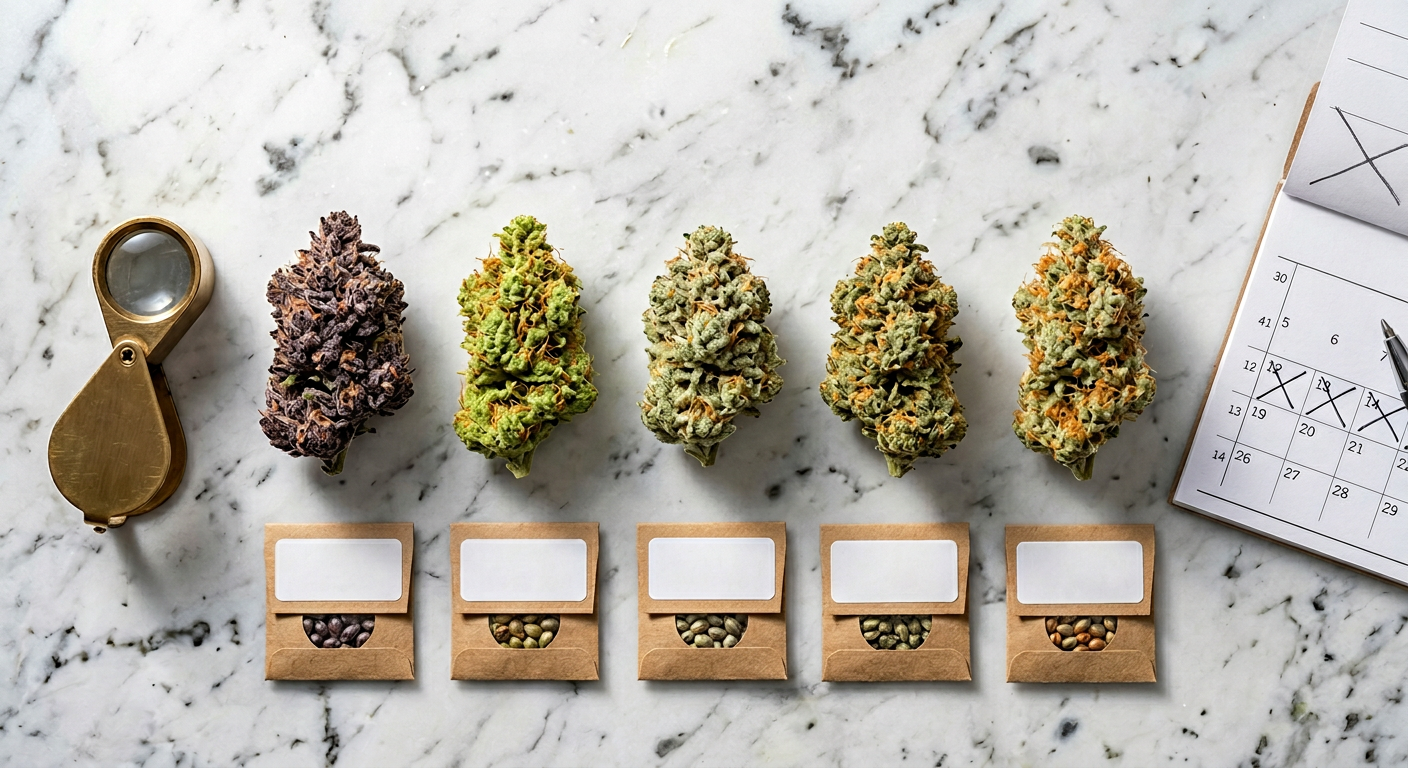
| Germination / Seedling | Solo cup (300–500ml) | 10–14 days | Roots need to fill cup before moving |
| Early Veg | 1 gallon (3.8L) | 2–3 weeks | First true transplant; add mycorrhizae |
| Mid Veg | 3 gallon (11.4L) | 2–4 weeks | Optional step for large plants |
| Late Veg / Pre-Flower | 5 gallon (19L) | Final container for most indoor grows | Standard for photoperiod indoors |
| Large Indoor / Outdoor | 7–10 gallon (26–38L) | Final container | Sativa-dominant or outdoor plants |
| Monster Outdoor | 15–25 gallon (57–95L) | Full season | Unrestricted outdoor growth |
Use clear solo cups for germination. You can literally see white roots reaching the cup wall without disturbing the plant — the clearest transplant signal you'll get.
For autoflowering strains like our Swiss Cheese Autoflower or Amnesia Haze Autoflower, minimize transplants entirely — plant directly into your final 3–5 gallon container. Autos have short life cycles and don't recover from transplant shock as efficiently as photoperiod plants.
High-yielding photoperiod strains like Northern Lights x Big Bud or OG Kush Feminized benefit from the full 3-stage progression — solo cup → 1 gallon → 5 gallon — because the root system has time to develop fully at each stage.
When to Transplant Cannabis: The Exact Readiness Signs
Knowing when to transplant cannabis means reading the plant's signals accurately. There are three primary indicators that tell you a plant is ready — and you ideally want to see at least two of them before you act.
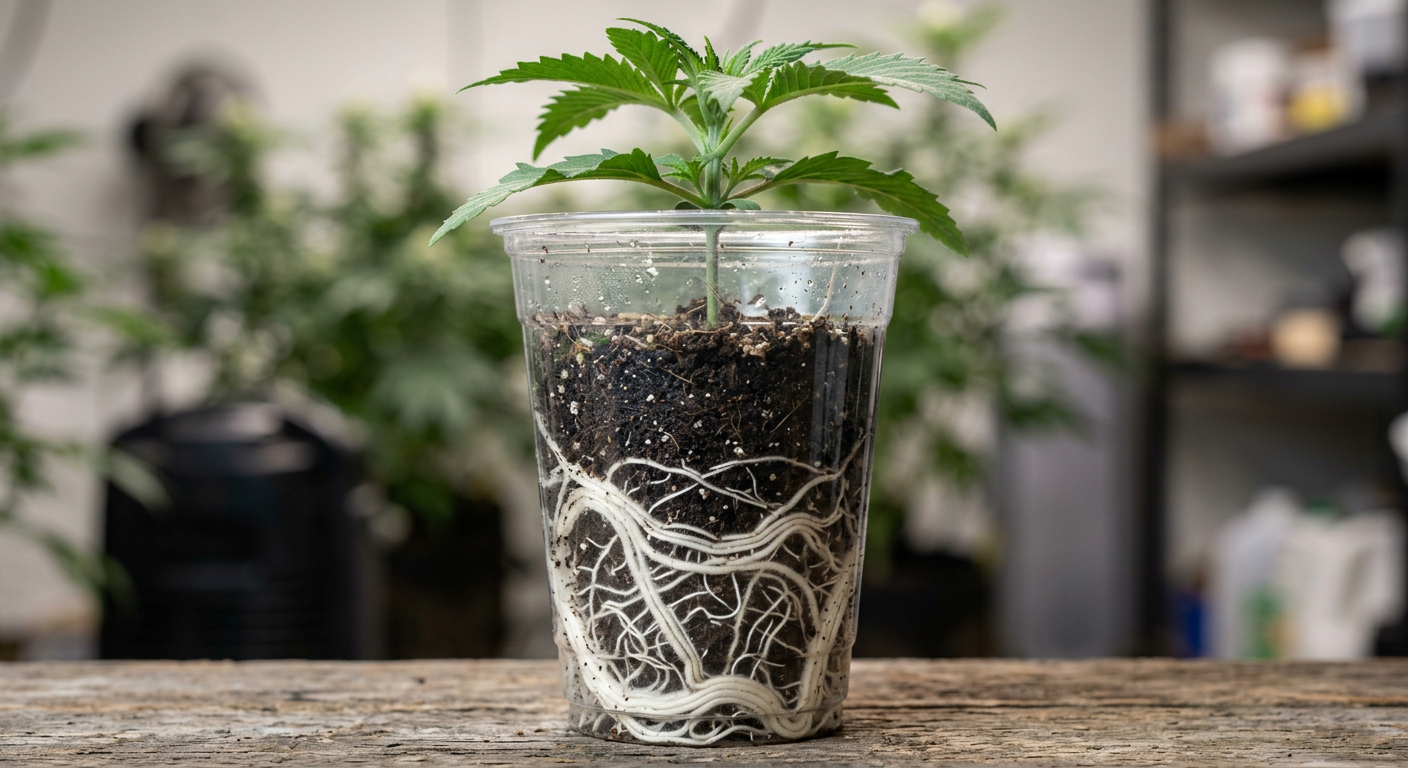
The most reliable signal is root visibility. When white roots appear through drainage holes or press against the walls of a clear container, the plant is telling you it needs more space immediately. At this stage, you have a window of about 3–5 days before the plant starts showing stress.
- Roots visible through drainage holes or container walls
- Plant dries out much faster than it did 1–2 weeks ago
- Leaves are large relative to the pot size
- Growth rate has visibly slowed despite good conditions
- Slight yellowing of lower fan leaves without nutrient deficiency
- Plant tips over or feels top-heavy in its container
- You're 7–10 days before switching to 12/12 light schedule
Root-bound stress triggers ethylene production in cannabis, which can accelerate pre-flowering signals even in vegetative plants. Catching plants before they become severely root-bound keeps hormonal balance intact and prevents premature flower development.
The timing relative to your light schedule matters too. If you're growing photoperiod plants, transplant at least 7–10 days before flipping to 12/12. This gives the root system time to colonize new soil before the energy-intensive flower stretch begins. Transplanting into flowering cannabis is discussed in detail later in this guide.
Cannabis Root Bound Symptoms You Shouldn't Ignore

Cannabis root bound symptoms are easy to misread as nutrient deficiencies or overwatering problems. Understanding the difference saves you from chasing the wrong fix and losing valuable grow time.
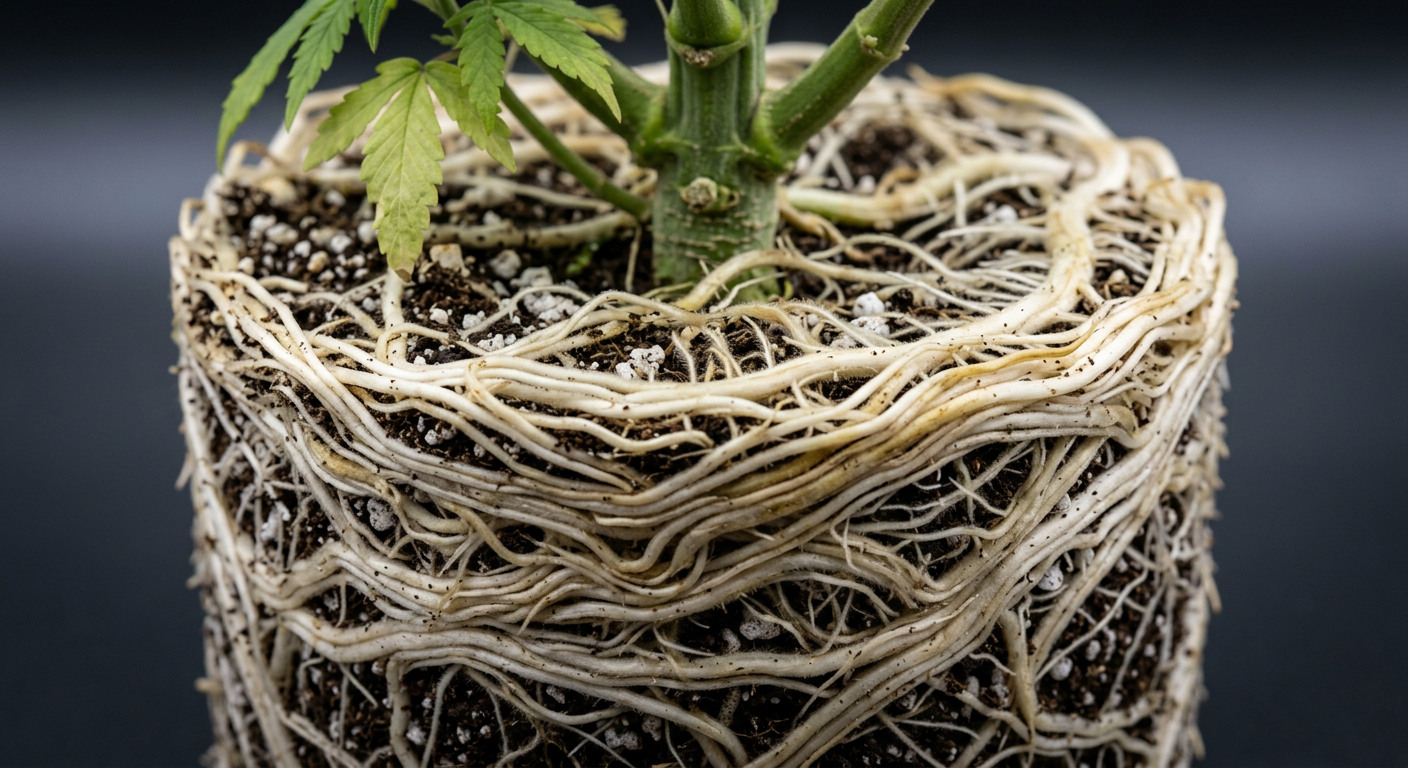
A root-bound plant has exhausted the available soil volume. Roots circle the container walls repeatedly, forming a dense mat that squeezes itself and restricts both water uptake and oxygen flow. The symptoms at the canopy level mirror what you'd see in a stressed or starved plant.
- Yellowing lower leaves that don't respond to nutrient adjustments
- Wilting shortly after watering even with correct soil moisture
- Stunted new growth — internodes barely extending
- Curled or clawing leaf tips without nitrogen toxicity
- Water runs straight through the pot without absorbing
- Dense root mat visible when you slide the plant out
- Soil pulls away from container walls (compacted root mass)
Don't mistake root-bound symptoms for a calcium or magnesium deficiency. If your pH is correct and you're still seeing lower leaf yellowing plus slow growth, check the root zone first before adjusting your feed schedule.
To confirm root binding, gently squeeze a flexible plastic pot. If you can feel a firm, unyielding mass inside rather than soft soil, the roots have taken over. You can also carefully tip the plant sideways and slide the root ball out — a healthy transplant-ready plant will hold its shape perfectly.
Root-bound plants almost always look like they have a nutrient problem. Before buying more supplements, check if roots are circling the pot walls. A timely transplant solves the issue in 24–48 hours.
Step-by-Step: How to Transplant Cannabis Without Killing It
This is the core of the guide. Follow these steps in order and you'll keep transplant shock minimal, roots intact, and recovery time under 24 hours in most cases. Preparation is everything — have all your materials ready before you touch the plant.
What You'll Need:
- New container (correct size — see chart above)
- Fresh, pre-moistened growing medium
- Mycorrhizal inoculant (optional but highly recommended)
- pH-correct water (6.0–7.0 soil / 5.5–6.5 coco)
- A clean workspace or tray
- Optional: rooting hormone or kelp solution for root dip
Pre-Moisten Your New Growing Medium
Fill your new container with fresh soil and water it until roughly 20% runoff appears. Let it drain for 30–60 minutes. You want the soil damp, not wet — this prevents air pockets from forming around the transplanted root ball and gives roots immediate access to moisture.
Dig the Transplant Hole
Using your old container (or a similar-sized object), press it into the centre of the pre-moistened new soil to form a perfectly shaped hole. The hole should be the exact size and depth of the root ball you're about to transfer. This step is critical — it prevents air pockets and means the root ball drops in without compression.
Water the Plant in Its Current Container
Give the plant a light watering 2–4 hours before transplanting. This makes the root ball cohesive — it sticks together and slides out as one unit instead of crumbling. A slightly moist root ball causes far less root disturbance than a dry, crumbly one.
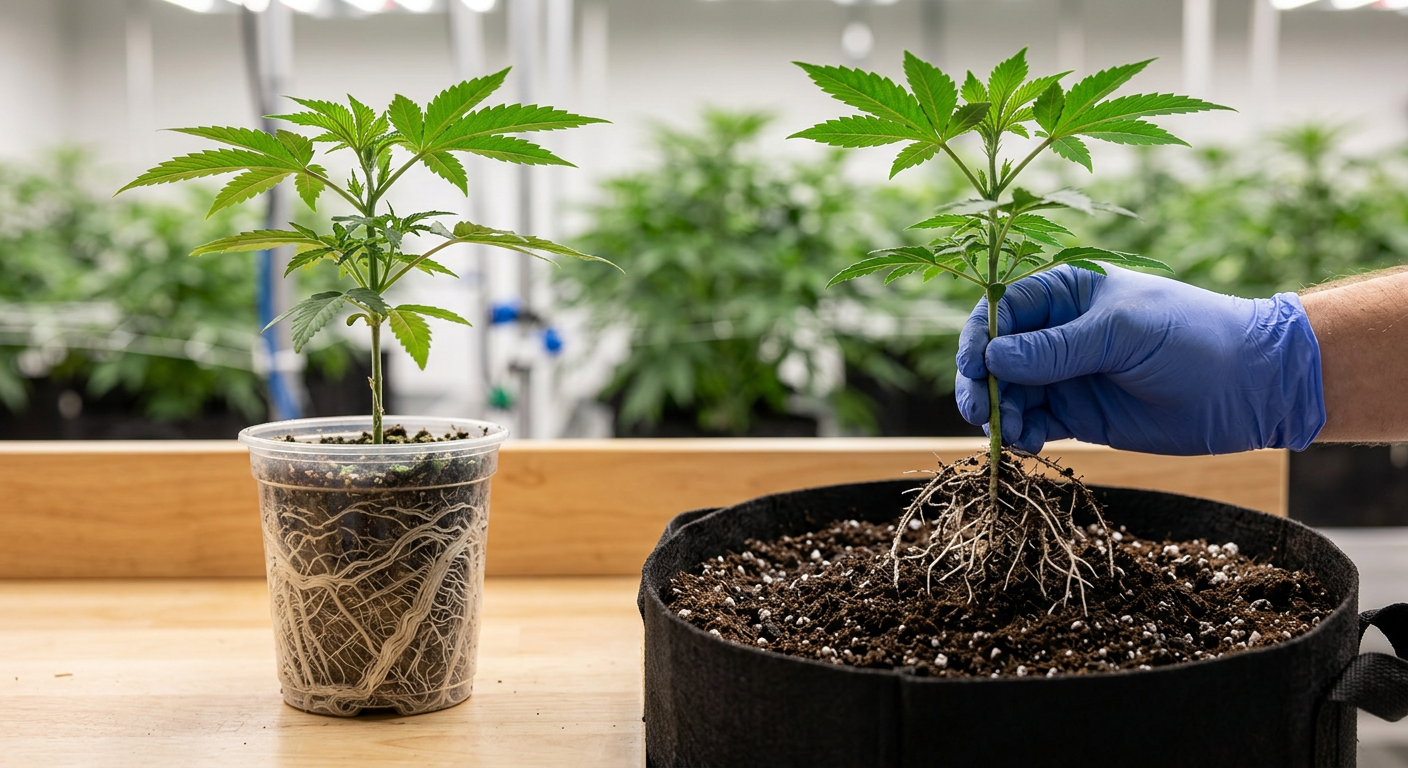
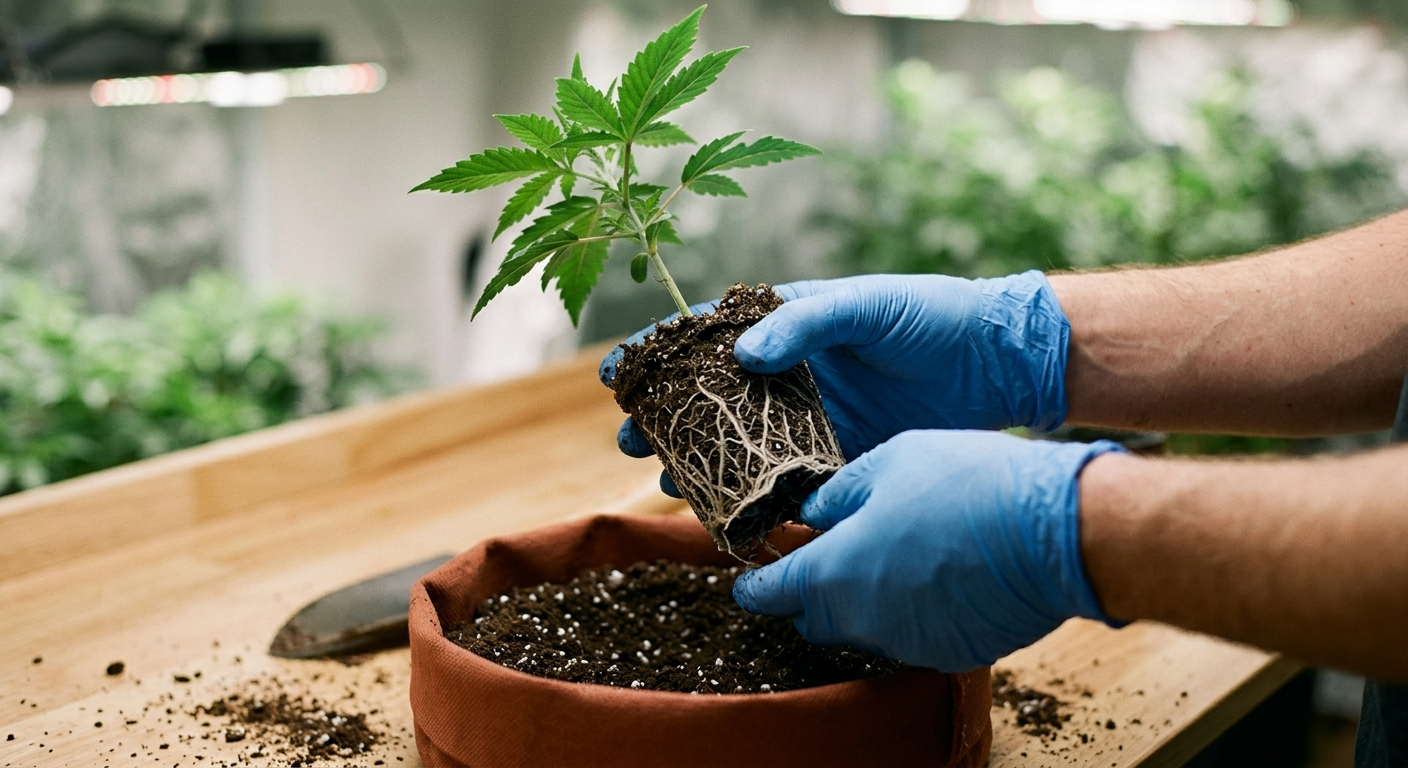
Release the Root Ball
Turn the old container upside down while supporting the base of the stem between two fingers. Gently squeeze flexible pots on all sides to loosen the root ball. Let gravity do the work — don't pull the stem. The root ball should slide out cleanly in one piece. If it resists, squeeze more and rotate slowly.
Inspect and Optionally Treat the Root Ball
Take a quick look at the roots. Healthy roots are white to cream-coloured and firm. Brown, mushy roots indicate rot — trim these with sterile scissors before transplanting. This is also the moment to dust with mycorrhizal inoculant or dip the root ball briefly in a diluted kelp solution to stimulate root growth in the new medium.
Place the Root Ball and Settle the Soil
Lower the root ball into the pre-formed hole. The top of the root ball should sit about 1–2cm below the new soil surface — this gives you a slight buffer for watering without overflow. Gently firm the surrounding soil with your fingers to eliminate air pockets, but don't compress it heavily. Air pockets cause dry zones where roots die.
Water Gently Around the Root Ball
Using pH-correct water, water slowly around the perimeter of the new soil (not directly on the root ball). This encourages roots to reach outward into the fresh medium. Use enough water to moisten the new soil fully — aim for light runoff. Do not feed nutrients for the first 48–72 hours post-transplant.
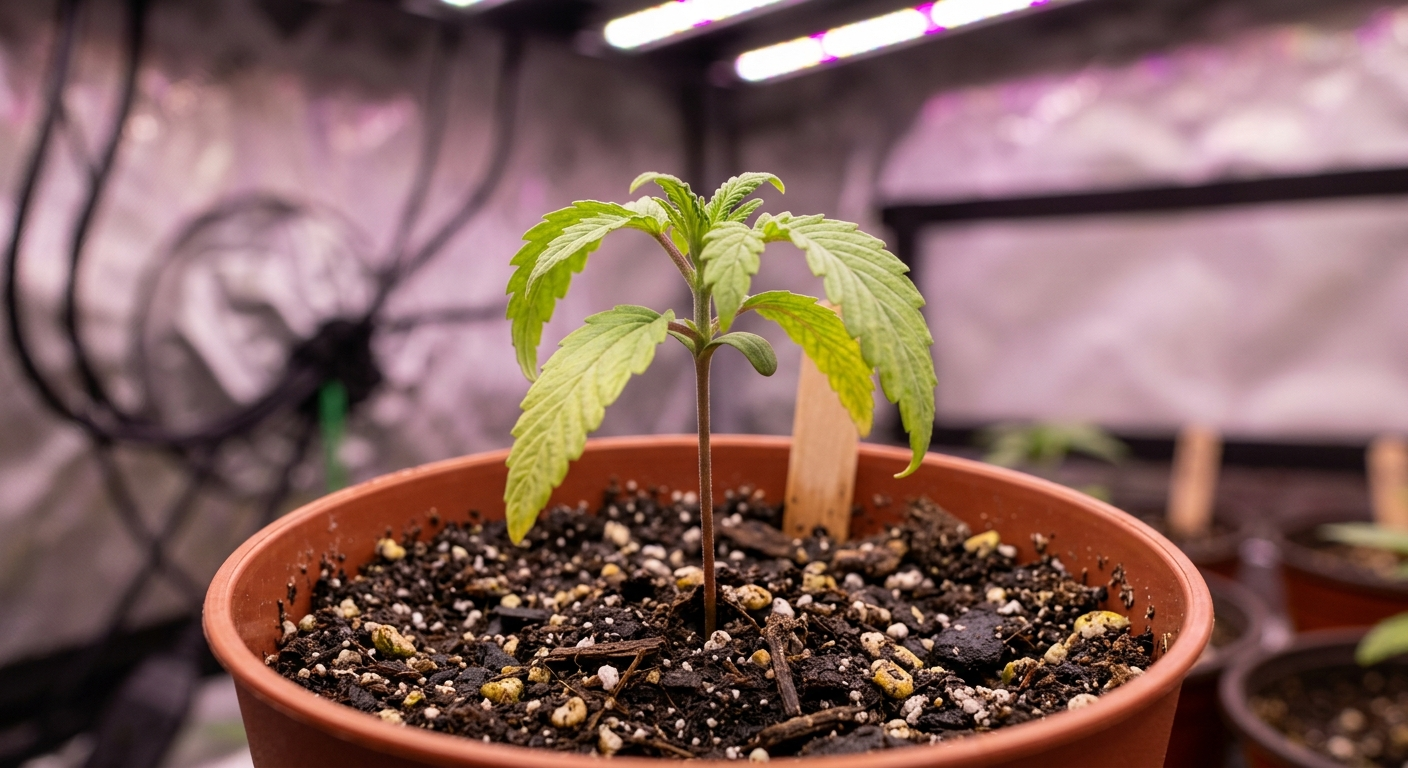
Reduce Light Intensity and Monitor Recovery
Dial back your light intensity by 20–30% or raise your light slightly for the first 24–48 hours. High light stress on top of transplant stress compounds recovery time. Keep temperature stable (21–26°C), maintain 60–70% humidity, and allow the plant to settle. You should see new growth resuming within 24–72 hours.
For a deeper dive into what happens in the days after transplant, see our guide on the Cannabis Vegetative Stage — particularly the section on post-transplant growth patterns.
Cannabis Transplant Shock: Causes, Symptoms & Recovery Time
Cannabis transplant shock is a temporary stress response caused by root disturbance, environmental change, or moisture imbalance during the move to a new container. Most healthy plants recover within 24–72 hours with good technique. Severely stressed plants can take 5–7 days.
Transplant shock isn't always avoidable — but it is always manageable. The key is knowing what normal post-transplant behaviour looks like versus signs that something went wrong.
Normal Post-Transplant Symptoms (24–48hrs):
- Slight wilting or drooping of fan leaves
- Plant looks temporarily