You put in months of work, chopped at the right time, and now you open the jar and something is wrong. Maybe you need to fix over dried cannabis that turns to powder when you touch it. Maybe the buds smell like a barn, a compost pile, or, worst of all, straight ammonia. This is the ER guide, not the prevention guide. The harvest is already in jars. Let's figure out exactly what went wrong and fix as much of it as we still can.
This guide covers every major post-harvest failure mode in sequence: diagnosis first, then a dedicated rescue protocol for each problem, then an honest conversation about when to stop trying and make hash instead. Work through it in order, diagnosing the wrong problem leads to the wrong fix.
Step 1: Diagnose the Problem Before You Touch Anything
Before you open every jar and start experimenting, spend five minutes on a clean diagnosis. Each curing failure has a distinct fingerprint, confusing over-dried with under-dried, for example, will make the problem significantly worse.
Use this quick reference table to match your symptoms to a cause:
| Symptom | Likely Cause | Salvageable? | Go to Step |
|---|---|---|---|
| Buds crumble, feel papery, harsh smoke, no aroma | Over-dried, moisture below 45% RH | Yes, usually | Step 2 |
| Buds feel spongy, compress without springing back, no crunch on stem | Under-dried, moisture above 68% RH | Yes, if caught early | Step 3 |
| Sharp ammonia or cat-urine smell when jar opens | Anaerobic bacterial breakdown | Sometimes | Step 4 |
| Smell of cut grass, hay, or fresh lawn clippings | Chlorophyll still present, cure too short | Yes, reliably | Step 5 |
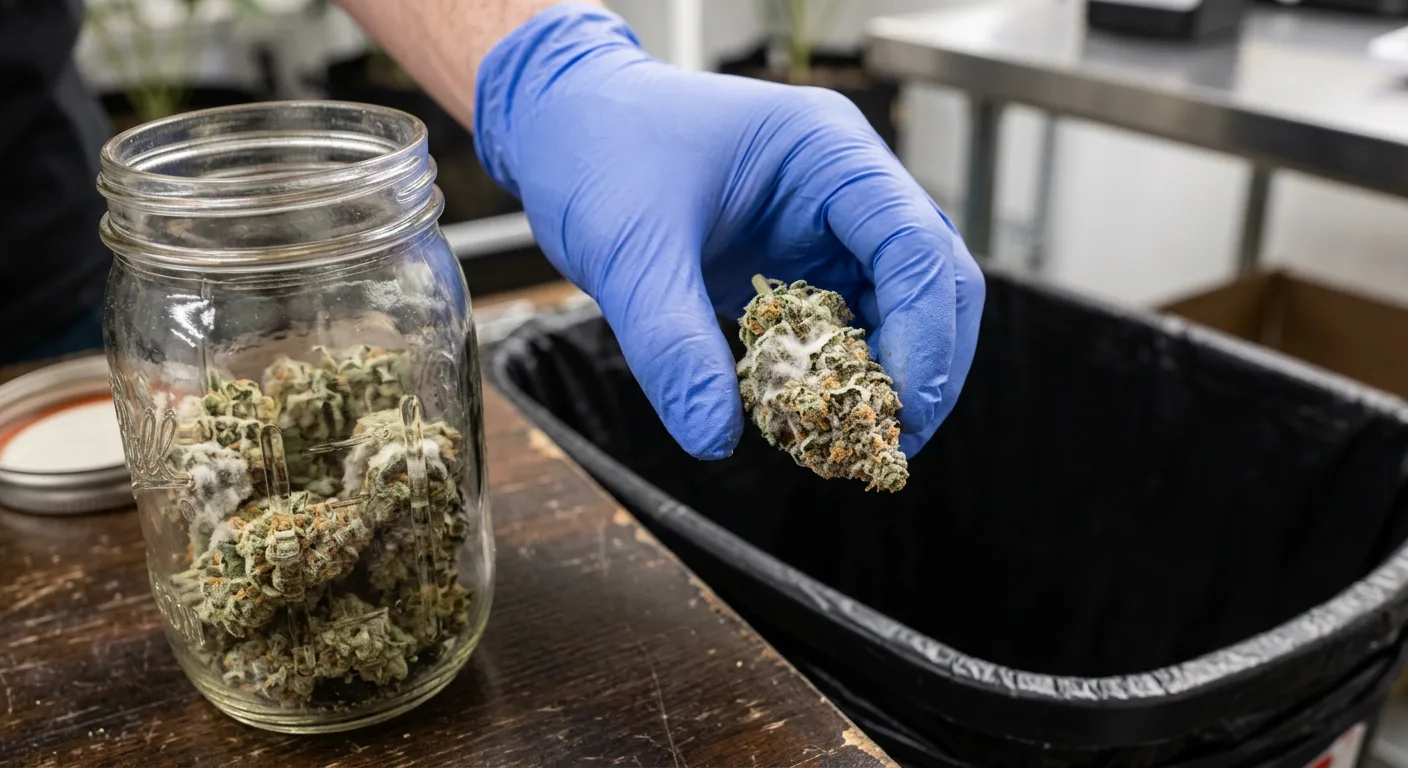
| White fuzzy growth on buds, musty smell | Active mold, Botrytis or Aspergillus | No, do not smoke | Hard Truth section |
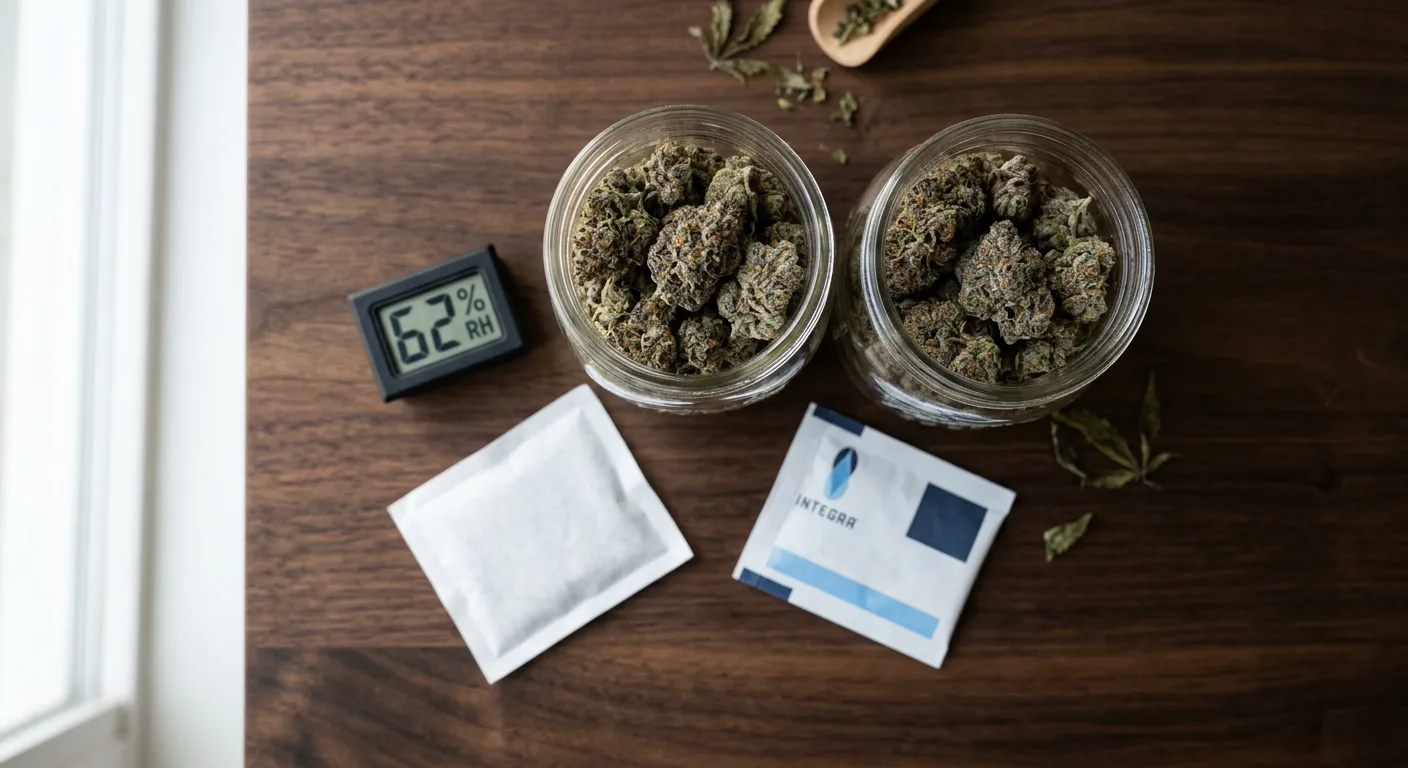
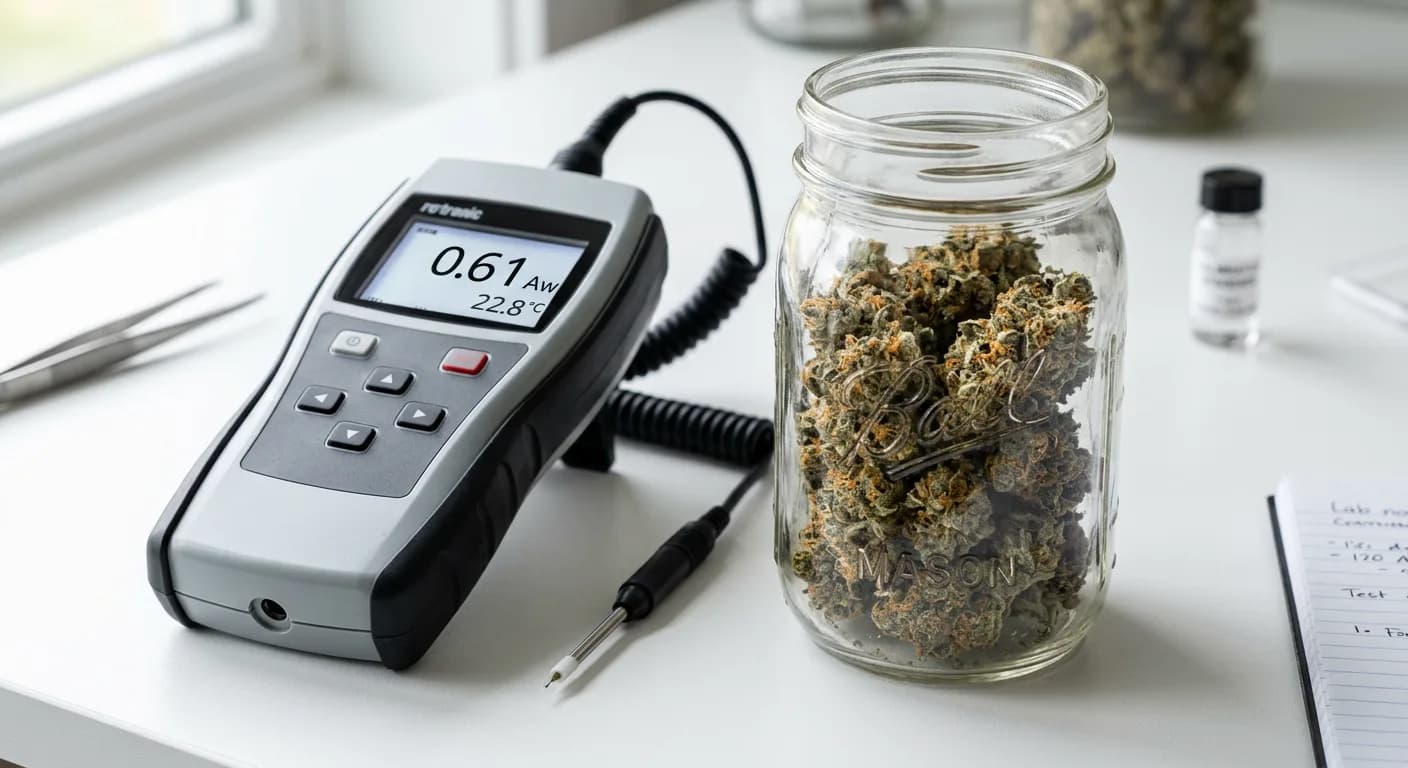
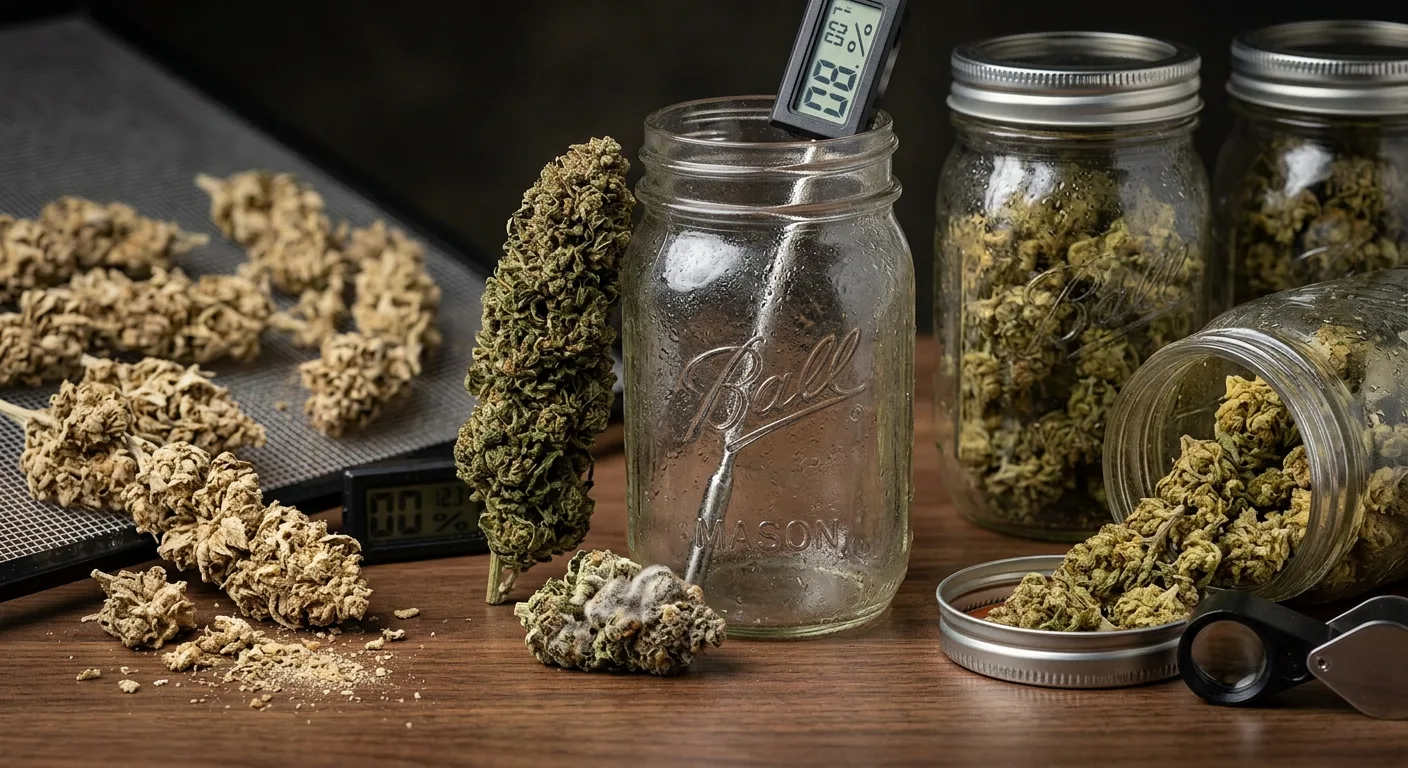
The single most important diagnostic tool you can own is a digital hygrometer that fits inside a mason jar lid. A reading above 68% RH after sealing means under-dried. A reading below 50% RH means over-dried. Numbers tell you the truth when your nose can't.
How to Do the Stem-Snap Test Right Now
Pull one bud from the jar and locate the main stem. Bend it sharply between both thumbs. A properly dried bud snaps with an audible crack and the stem breaks clean. An under-dried bud bends without breaking and leaves a fibrous, stringy fracture. An over-dried bud snaps too easily, almost like a dry twig, and the bud material crumbles off the snap point.
How to Do the Squeeze Test
Hold a medium bud loosely in your palm and close your hand with gentle pressure. Release after three seconds. A properly dried bud rebounds slightly and holds its shape. An under-dried bud stays compressed or leaves a moisture impression. An over-dried bud may shed trichomes or break apart under almost no pressure at all.
Step 2: How to Fix Over-Dried Cannabis That Crumbles
You can fix over dried cannabis that crumbles by gradually reintroducing moisture into a sealed environment, never by adding direct water or steam, which creates instant mold risk. The goal is raising internal bud moisture from below 45% RH back up to the 58–62% target range over 2–7 days.
Science note: When cannabis over-dries, monoterpenes (limonene, myrcene, pinene) evaporate first because of their low boiling points. You cannot bring terpenes back once they have volatilized. Rehydration restores smokability and prevents crumbling, but it does not restore aroma that has already escaped. This is why speed matters: the faster you catch over-drying, the more terpene profile survives. Learn more about how specific terpenes affect your bud quality in our complete pinene grower's guide.
Method 1: Humidity Pack (Safest, Most Precise)
Choose the Right Pack Size
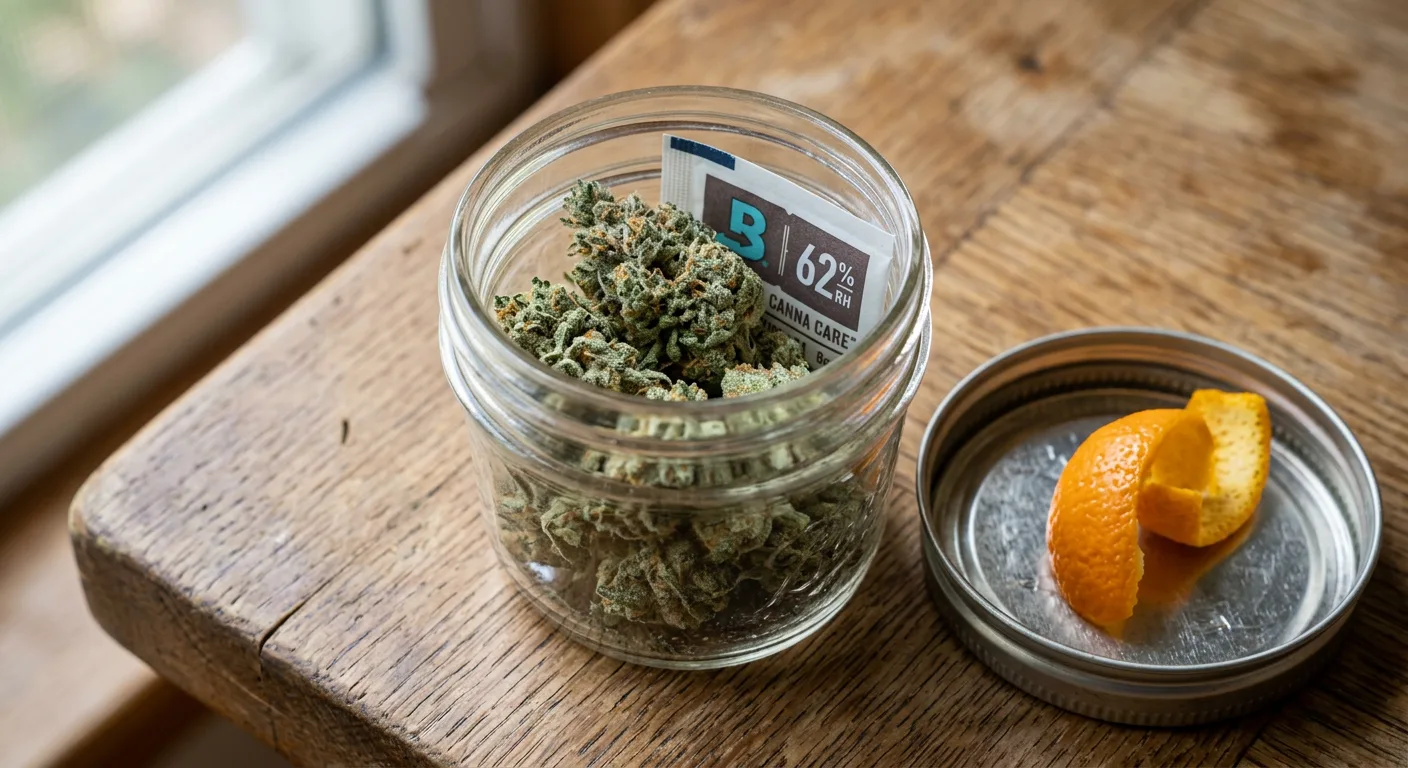
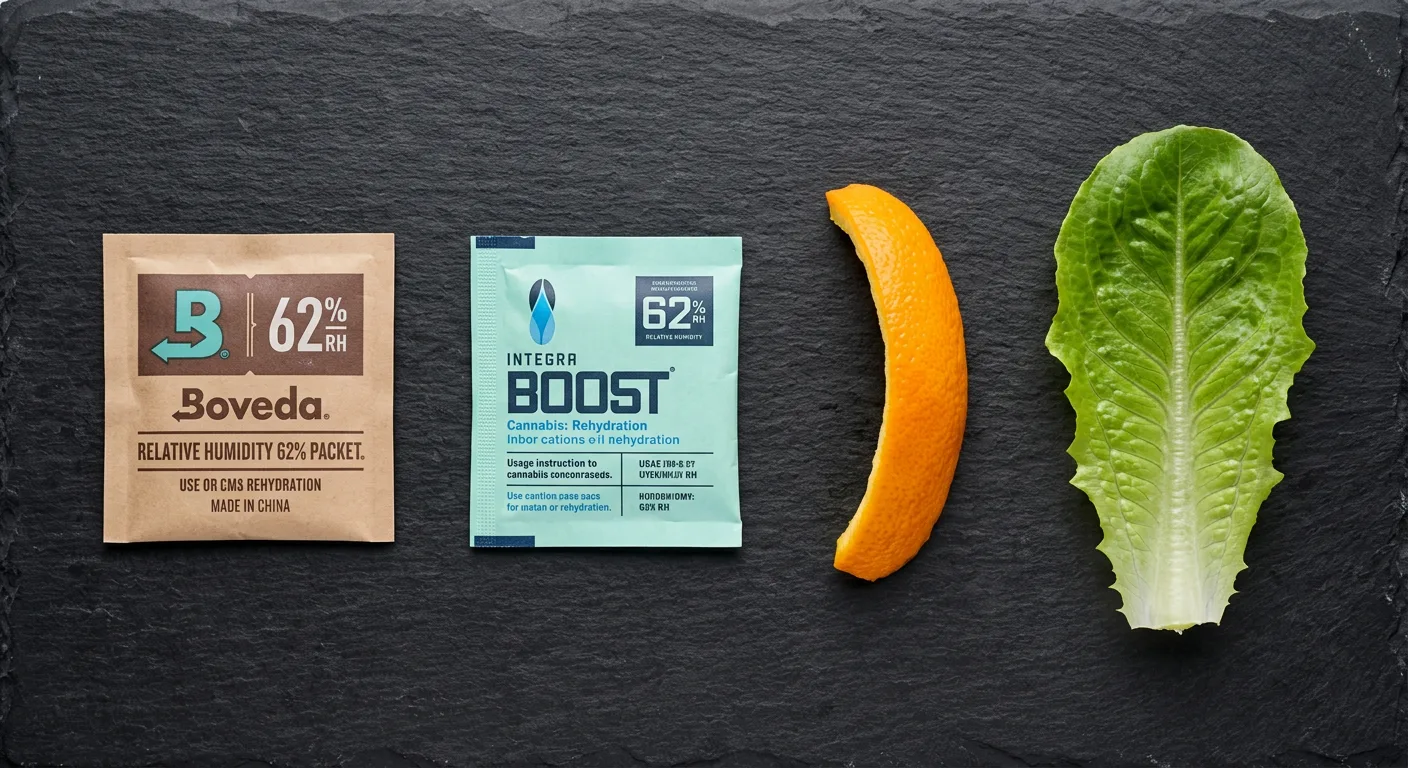
Use a 62% Boveda or Integra Boost pack. For a 1-quart mason jar, one 4-gram pack is enough. For a half-gallon jar, use an 8-gram pack. Using a 58% pack produces a slightly firmer result that some growers prefer for long-term storage. See our full Boveda vs Integra Boost comparison for precise sizing charts.
Seal and Wait
Place the humidity pack directly on top of the buds, seal the jar, and move it to a dark location at 65–70°F. Do not open for the first 24 hours. Check humidity on day 2 using a digital hygrometer insert: you are looking for 58–62% RH.
Monitor for 3–7 Days
Mildly over-dried buds (50–55% RH when jarred) will recover in 48–72 hours. Severely over-dried buds (below 45% RH) need 5–7 days. Replace the humidity pack if it feels completely rigid before the buds reach target range.
Method 2: Fresh Orange Peel (Fast but Risky)
Cut a 2-inch strip of fresh orange peel, no pith, just the outer skin, and drop it into the sealed jar with your buds. The peel releases moisture and aromatic compounds quickly, raising RH in a sealed jar by 10–15% within two to four hours.
Critical timer warning: Remove the orange peel after a maximum of 4 hours. Leaving citrus peel in a sealed jar overnight transfers mold spores and adds an off-citrus flavor that does not go away. Set a phone alarm the moment you put the peel in. After removing it, switch immediately to a humidity pack for ongoing maintenance.
Method 3: Raw Lettuce Leaf
A single clean romaine or iceberg lettuce leaf placed in the jar works on the same principle as the orange peel, but with no flavor transfer risk. Place one leaf on top of the buds and seal the jar. Check after 1–2 hours and remove when RH hits 62%. Do not leave lettuce in the jar for more than 3 hours: it introduces bacterial moisture very quickly once it starts wilting.
Rehydration Timeline by Severity
- Mild over-dry (50–55% RH): 48 hours with a 62% humidity pack
- Moderate over-dry (45–50% RH): 3–4 days, pack may need replacing once
- Severe over-dry (below 45% RH): 5–7 days, use orange peel for first 4 hours then switch to pack
- Crumbles on touch (below 40% RH): 7 days minimum: some structural integrity may not return
Pro tip: After rehydrating, do one final burping session, open the jar for 10 minutes, then reseal with a fresh humidity pack for long-term storage. This prevents any surface moisture from the rehydration process from sealing in place and creating a microclimate problem.
Step 3: How to Fix Under-Dried Cannabis Before Mold Wins
Under dried cannabis fix requires immediately reversing the jar seal and pulling humidity back down before anaerobic bacteria and mold colonize the wet environment. You have a narrow window, typically 24 to 72 hours from the moment you notice spongy, non-snapping buds: before mold becomes visible.
The Immediate Response (First 2 Hours)
Remove Buds from Jars Immediately
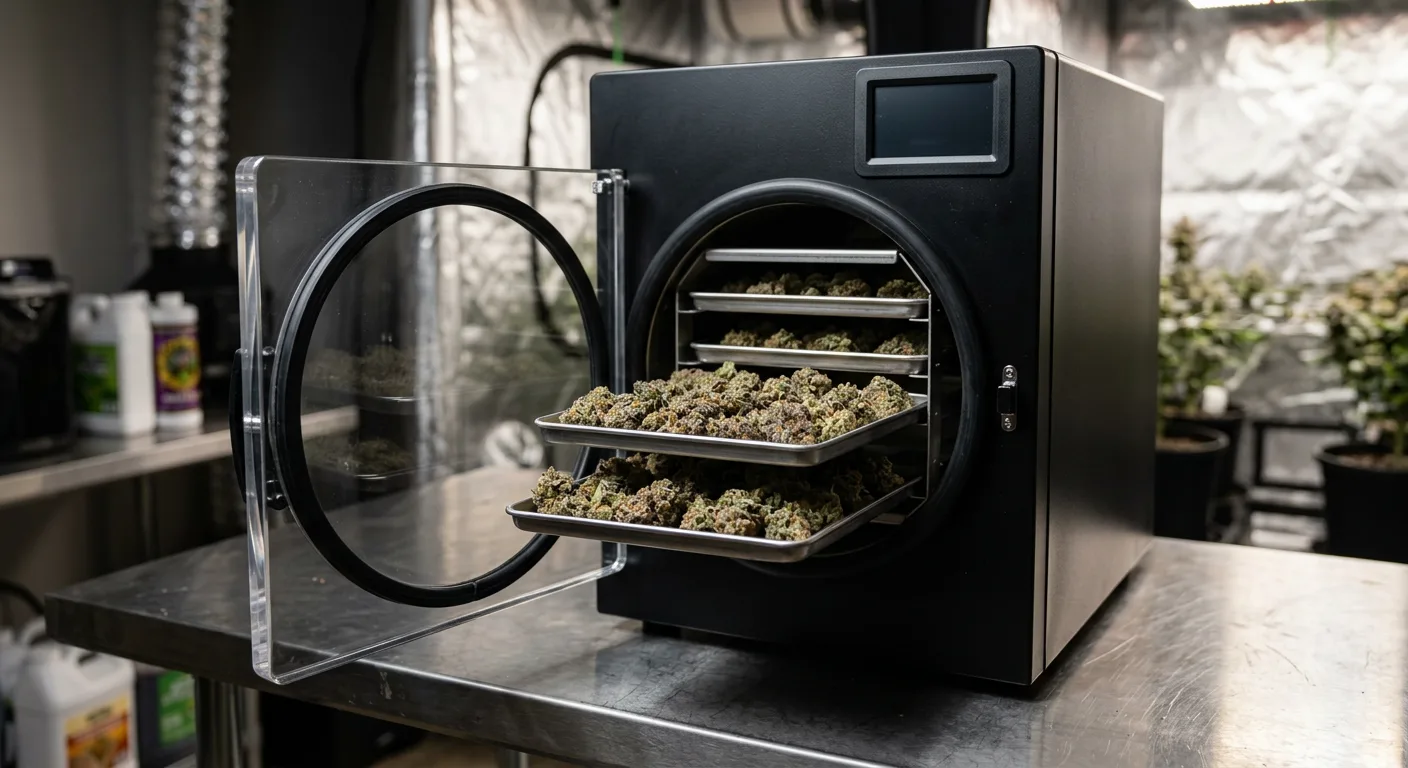
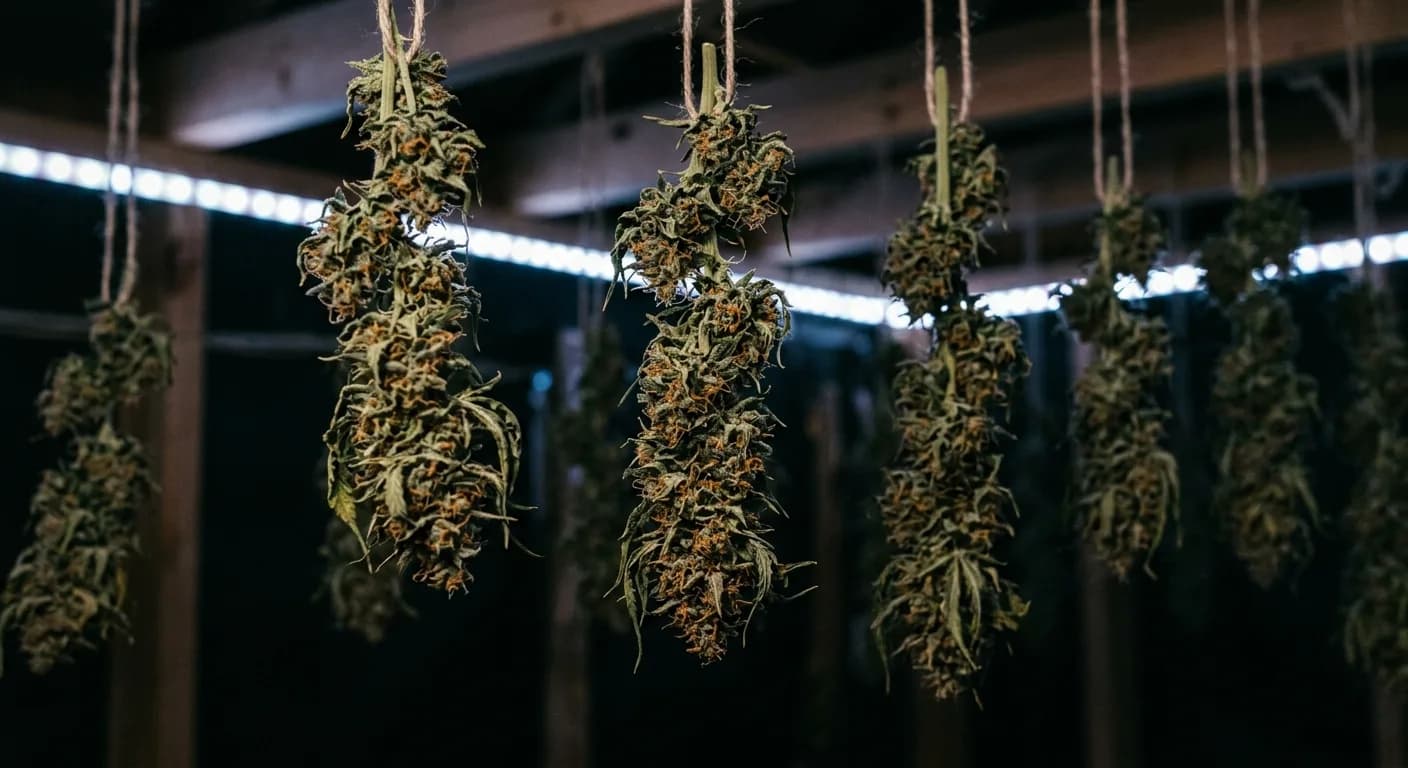
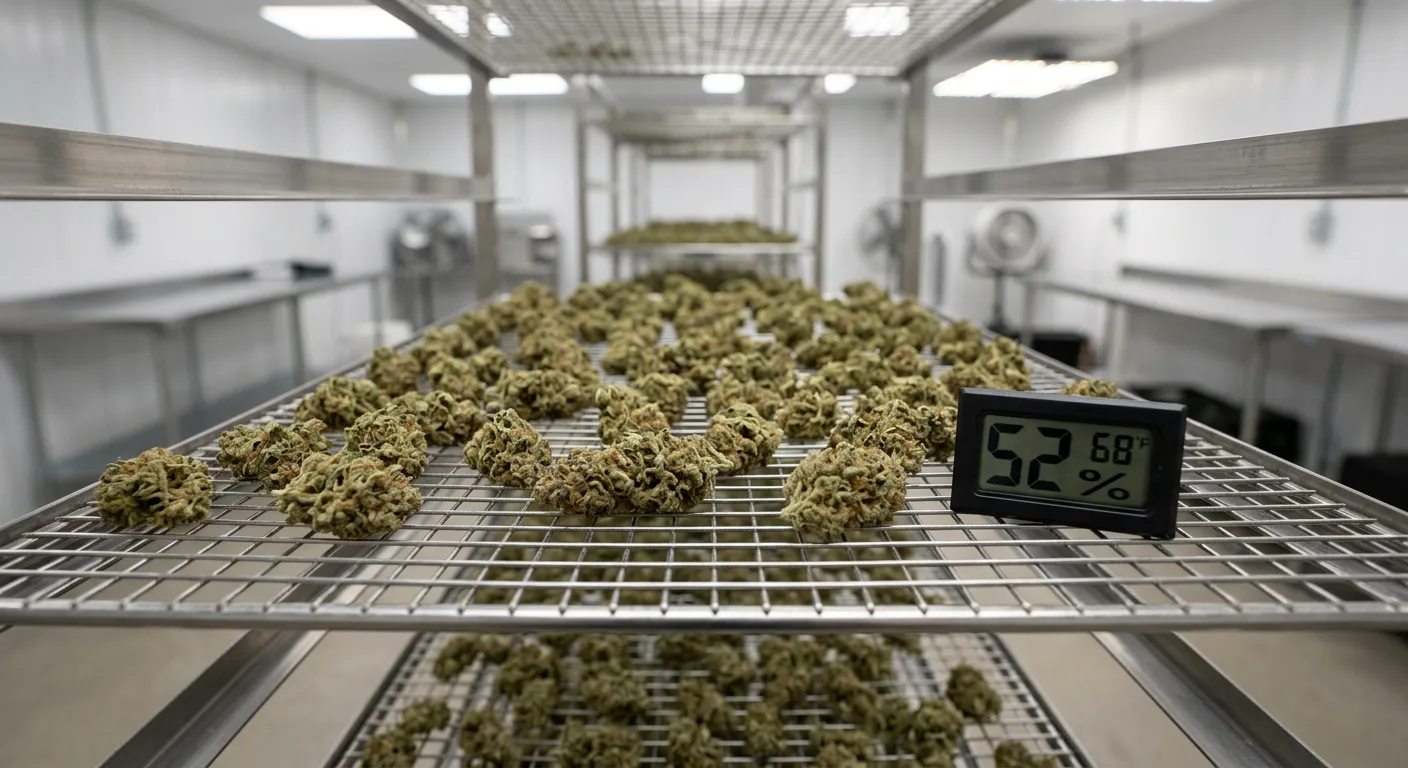
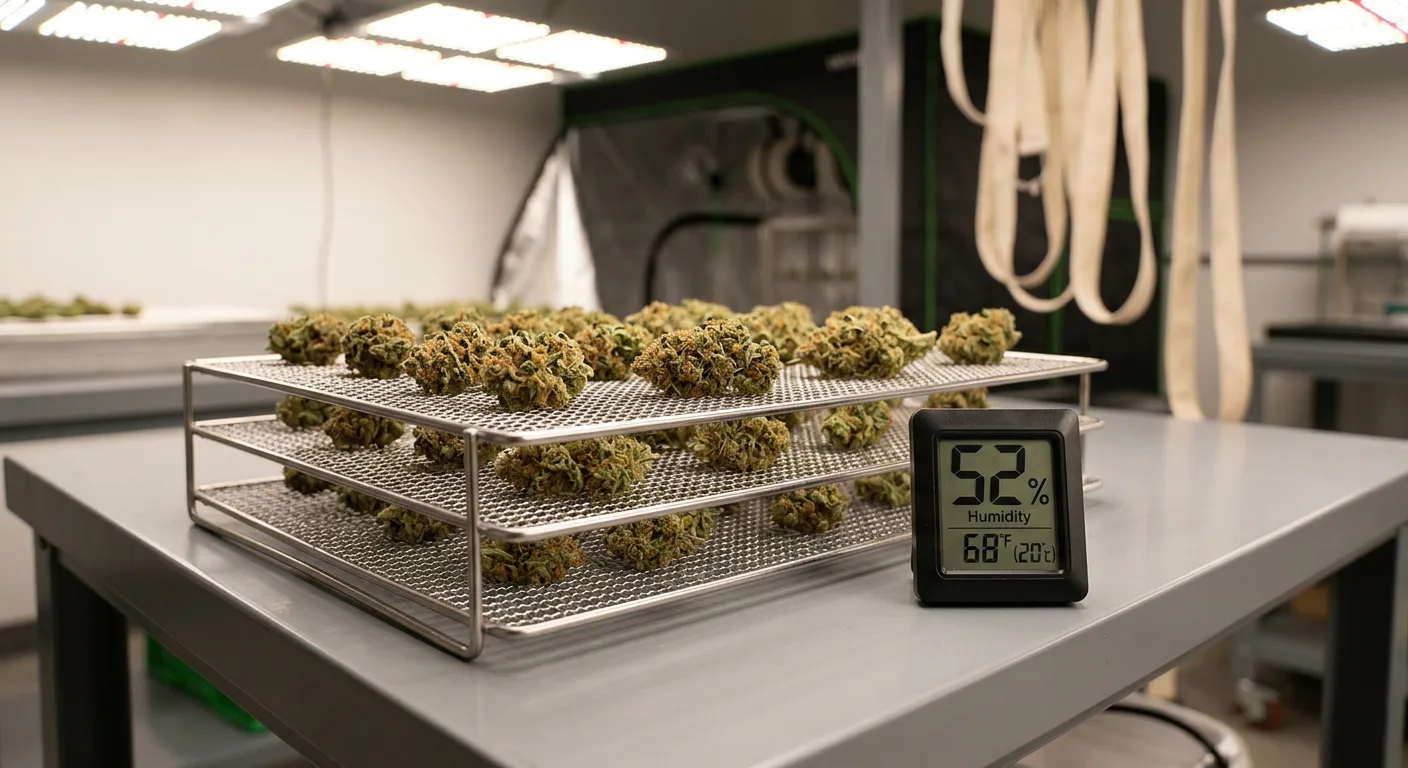
Empty every jar with suspect buds onto a clean, dry wire drying rack. Do not stack the buds, spread them in a single layer with at least half an inch of airspace between each piece. Airflow is now your most important tool.
Set Up the Environment
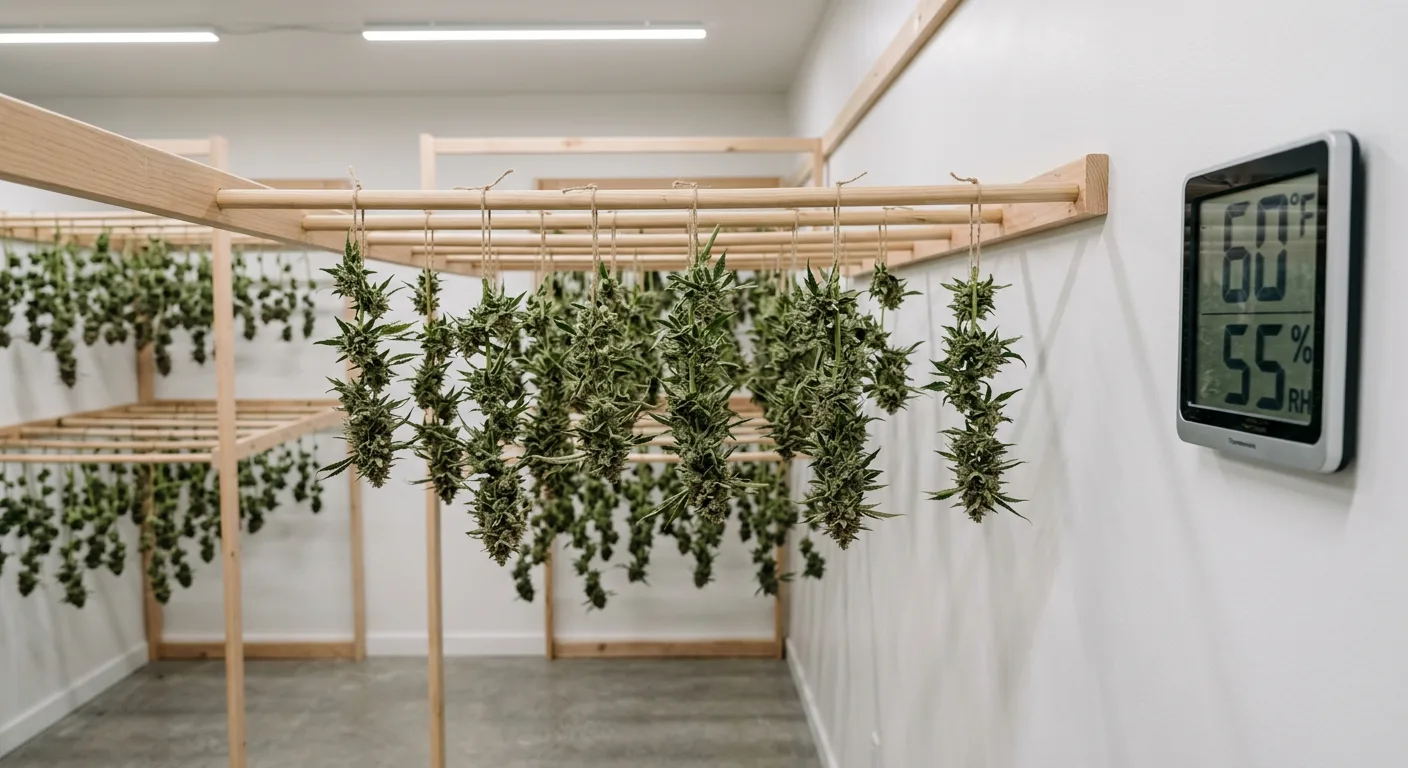
You need a room or tent at 60–65°F and 45–55% relative humidity with gentle air movement from a small oscillating fan. Do not point the fan directly at the buds, aim it at the wall so air circulates without blasting the buds and accelerating surface drying while the interior stays wet.
Return to Active Drying for 12–24 Hours
Leave buds on the rack for 12–24 hours depending on how wet they were. Perform the stem-snap test every 6 hours. When the outer 20% of buds snap cleanly, move back to jars and restart the burping cycle from the beginning.
Resuming the Cure After Rescue
Once buds return to jars, treat this exactly like the first week of a fresh cure. Burp jars three times per day for 10–15 minutes each session for the first 5 days. Then drop to twice daily for another week. Monitor internal RH constantly: you are looking for a stable 58–62% before moving to a once-daily or once-every-two-days schedule.
The Mold Write-Off Threshold
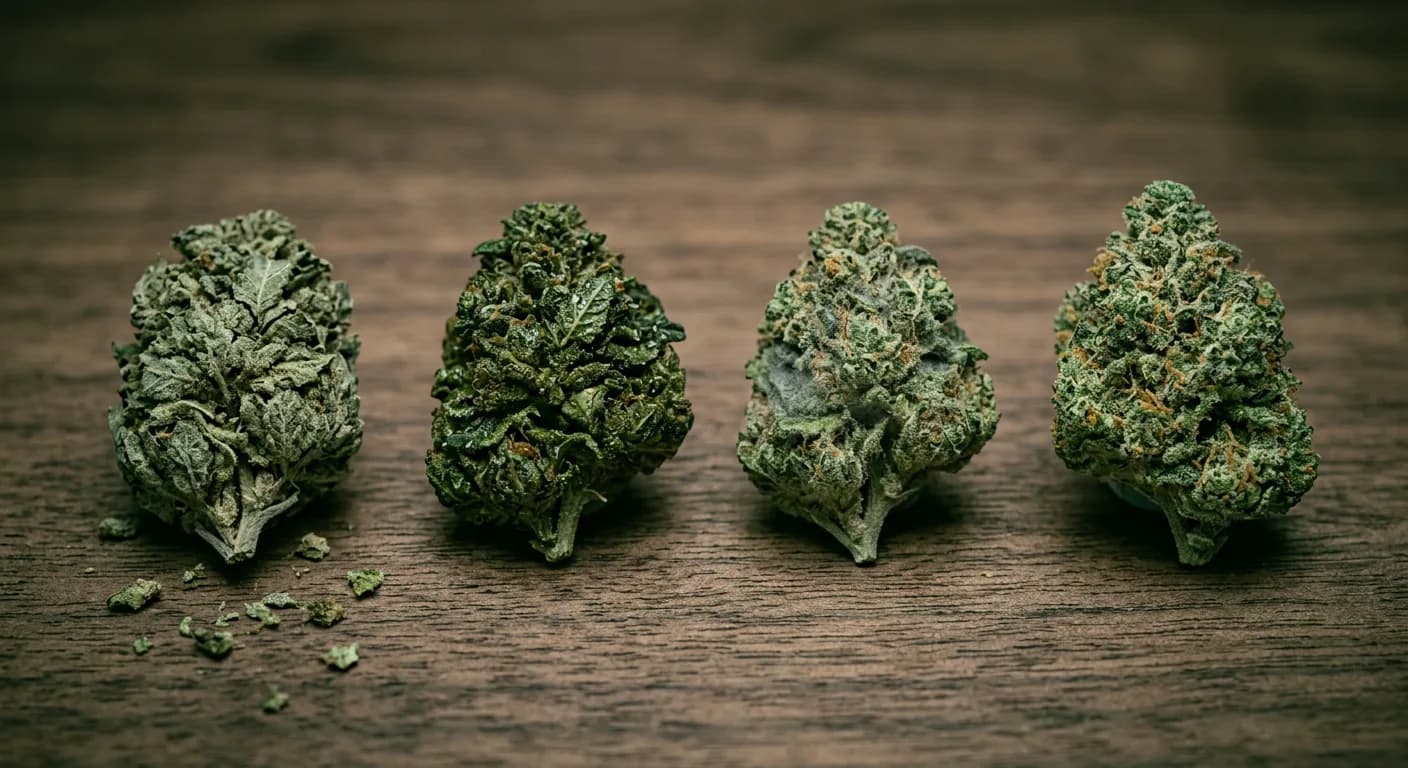
Inspect every bud individually under a bright light or loupe once buds are on the rack. Look for:
- White, grey, or black fuzzy patches anywhere on the bud surface
- A powdery, dusty coating that does not rub off cleanly (powdery mildew)
- Brown or grey interior when a dense bud is gently pulled apart
- A musty, damp-basement smell distinct from hay or ammonia
Hard stop: If you find visible mold on more than 20% of any individual bud, that bud cannot be saved for smoking. It is not safe to smoke or vaporize mold-contaminated cannabis. Isolate affected buds immediately and go directly to the Hard Truth section below. Do not mix them back with clean buds even if you plan to make edibles.
Step 4: Cannabis Smells Like Ammonia in the Jar: What Happened and What to Do
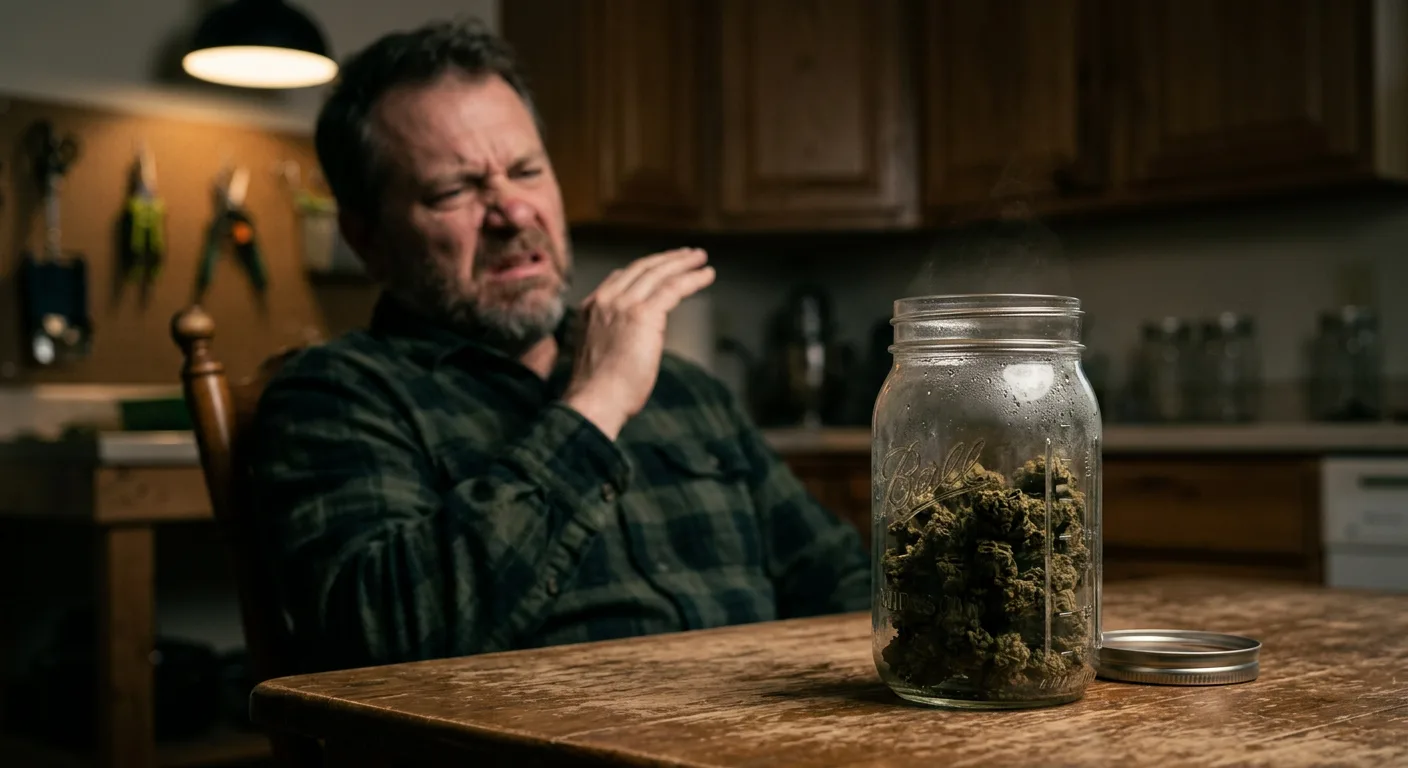
Cannabis smells like ammonia in a mason jar because anaerobic bacteria, organisms that thrive without oxygen, are actively decomposing plant proteins and producing ammonia gas as a byproduct. This almost always happens when buds were jarred at above 65% RH before the aerobic drying phase finished. The sealed jar becomes a perfect low-oxygen bacterial incubator.
Is It Salvageable? The 24-Hour Test
The severity of ammonia smell determines whether you can save the batch. Use this framework:
| Ammonia Intensity | Description | Action | Outcome |
|---|---|---|---|
| Faint / fleeting | Detectable only when nose is at jar opening, dissipates in 30 seconds | Air for 2 hours, reseal, recheck in 24 hours | Often recoverable |
| Moderate | Noticeable from 6 inches away, lingers in the air for 1–2 minutes | Air for 4–6 hours, burp aggressively for 3 days | Possibly recoverable, quality will be reduced |
| Strong / sharp | Hits you immediately, room smells after opening, eyes water | Compost or make hash/edibles | Not recoverable for smoking |
Science note: The bacteria responsible are gram-negative anaerobes that produce ammonia by breaking down amino acids through a process called deamination. This is the same biochemical process that happens in rotting organic matter. UV exposure has been suggested online as a fix: it has no meaningful effect because bacterial damage to plant tissue has already occurred. Airing removes the ammonia gas itself, not the underlying bacterial breakdown products.
The Airing Protocol for Mild Ammonia
Open All Affected Jars
Remove lids and place jars in a well-ventilated room at 60–65°F. Do not place in direct sunlight, UV degrades THC-A and terpenes rapidly. Allow 2–4 hours of open-air exposure for mild cases.
Smell Test at 2-Hour Intervals
Every 2 hours, bring the jar to nose level and inhale. You are checking whether the ammonia intensity is decreasing over time. If it is still intensifying after 4 hours of airing, bacteria are still active: this is a compost situation.
Reseal and Monitor for 24 Hours
If ammonia smell has dropped by 75% or more after airing, reseal and check again in 24 hours. If the smell returns strongly when you reopen, bacteria are still active and the batch will not recover to smokable quality.
The most common cause of ammonia smell is rushing the drying phase, specifically trimming wet and jarring within 4–5 days when 7–14 days of drying is almost always needed. Check our drying room setup guide for the environmental targets that prevent this entirely.
Step 5: Cannabis Smells Like Hay or Grass After Drying: Fix It

The hay or grass smell in cannabis after drying is one of the most misdiagnosed post-harvest problems: it is not a failure; it is a timing issue. Chlorophyll, the green pigment that makes plants photosynthesise, breaks down slowly during the cure and produces that characteristic cut-grass smell while it degrades. Once it is gone, the terpene profile underneath emerges.
Why Most Hay-Smell Cures Fix Themselves
Chlorophyll breaks down through enzymatic processes that require time, mild moisture, and sealed-jar conditions to complete. This is actually the primary reason curing exists as a post-harvest step: it is a controlled decomposition of chlorophyll and starches that reveals the underlying cannabinoid and terpene quality.
In most cases, continuing the cure with proper technique resolves hay smell entirely within 3–4 weeks. The growers who end up with permanent hay smell made one of the following mistakes:
- Dried too fast, below 5 days drying locks chlorophyll into the bud
- Dried at too-high temperatures, above 75°F kills the enzymes that break down chlorophyll
- Jarred over-dry: chlorophyll breakdown requires some moisture to proceed enzymatically
- Flushed too aggressively in final weeks, stripped nutrient-dependent enzyme pathways
When to Intervene vs. When to Wait
| Week of Cure | Hay Smell Present? | Action |
|---|---|---|
| Week 1–2 | Yes, completely normal | Continue standard burping schedule, nothing else |
| Week 3–4 | Fading but still present | Ensure 60–62% RH is maintained, dry conditions slow chlorophyll breakdown |
| Week 5+ | Still prominent | Raise jar RH slightly to 63–64% using a humidity pack, slightly more moisture accelerates enzyme activity |
| Week 8+ | Still prominent despite correct RH | Likely dried too fast, flavor improvement will be limited. Best use: edibles or concentrates |
Pro tip: If hay smell persists past week 4, burp the jars twice daily instead of once. Each burp session allows fresh oxygen in to support the aerobic enzymatic breakdown. The extra oxygen exposure at this stage helps more than it hurts: mold risk is much lower once buds are stabilized at proper RH.
Rehydration Methods Compared: Speeds, Risks & Best Uses
Different rehydration methods work at different speeds and carry different risk profiles. Choosing the right method for your severity level protects your remaining terpene quality and prevents introducing new problems like mold, off-flavors, or uneven rehydration.
| Method | Speed | Max Time in Jar | Flavor Impact | Mold Risk | Best For |
|---|---|---|---|---|---|
| 62% Boveda Pack | Slow (2–7 days) | Indefinite | None | Very low | All severity levels, long-term maintenance |
| Integra Boost 62% | Slow (2–7 days) | Indefinite | None | Very low | All severity levels, long-term maintenance |
| Orange Peel Strip | Fast (2–4 hours) | 4 hours maximum | Mild citrus if left too long | High if overused | Emergency severe over-dry only |
| Raw Lettuce Leaf | Medium (1–3 hours) | 3 hours maximum | None | Medium | Moderate over-dry, no flavor concern |
| Bread Slice | Fast (1–2 hours) | 2 hours maximum | Yeast/bread transfer possible | High | Last resort only, humidity pack preferred |
The humidity pack is always the correct long-term answer. Organic materials like orange peel and lettuce are emergency tools only: the moment you hit target RH, they come out and the pack goes in. Leaving any organic material in a sealed jar overnight is a mold setup regardless of current humidity levels.
Progress Tracking Checklist for Rehydration
- Day 0: Diagnosed as over-dried, initial RH recorded
- Day 0: Emergency organic method applied if RH below 45%
- Day 0 + 4 hours: Organic material removed, humidity pack inserted
- Day 2: First RH check, target 58–62%
- Day 3–4: Stem-snap test, stem should crack cleanly
- Day 5: Squeeze test, bud should rebound with slight spring
- Day 7: Final assessment, if still below 55% RH, replace humidity pack
- Week 2: Stable cure resumes on normal schedule
The Hard Truth: When You Cannot Save the Harvest
Some harvests genuinely cannot be saved for smoking, and pretending otherwise wastes your time and potentially puts you at risk. Knowing when to pivot to hash or edibles is not a defeat: it is a smart grower decision that preserves the cannabinoid value of your crop even when the smoking experience is gone.
Non-Negotiable Write-Off Conditions
- Visible mold covers more than 20% of any individual bud: do not smoke, do not vaporize
- Strong ammonia persists for more than 24 hours after airing
- Brown, slimy, or mushy interior tissue visible when pulling apart dense buds
- Buds were stored wet (above 68% RH) in sealed jars for more than 4 days
- Any Aspergillus growth visible (black or dark green spore clusters)
Health warning: Smoking or vaporizing mold-contaminated cannabis introduces live mold spores and mycotoxins directly into your respiratory system. Aspergillus fumigatus in particular causes severe pulmonary infections in immunocompromised individuals and has caused deaths. No fix is worth this risk. If mold is present, pivot, do not push through.
What You Can Still Do With a Ruined Batch
The good news: cannabinoids are remarkably stable even when everything else went wrong. THC-A survives bacterial breakdown, ammonia events (mild), and over-drying. If the buds are not actively moldy, you have options:
- Rosin press: Works on over-dried and mildly ammonia-affected bud, heat and pressure extract cannabinoids regardless of bud quality
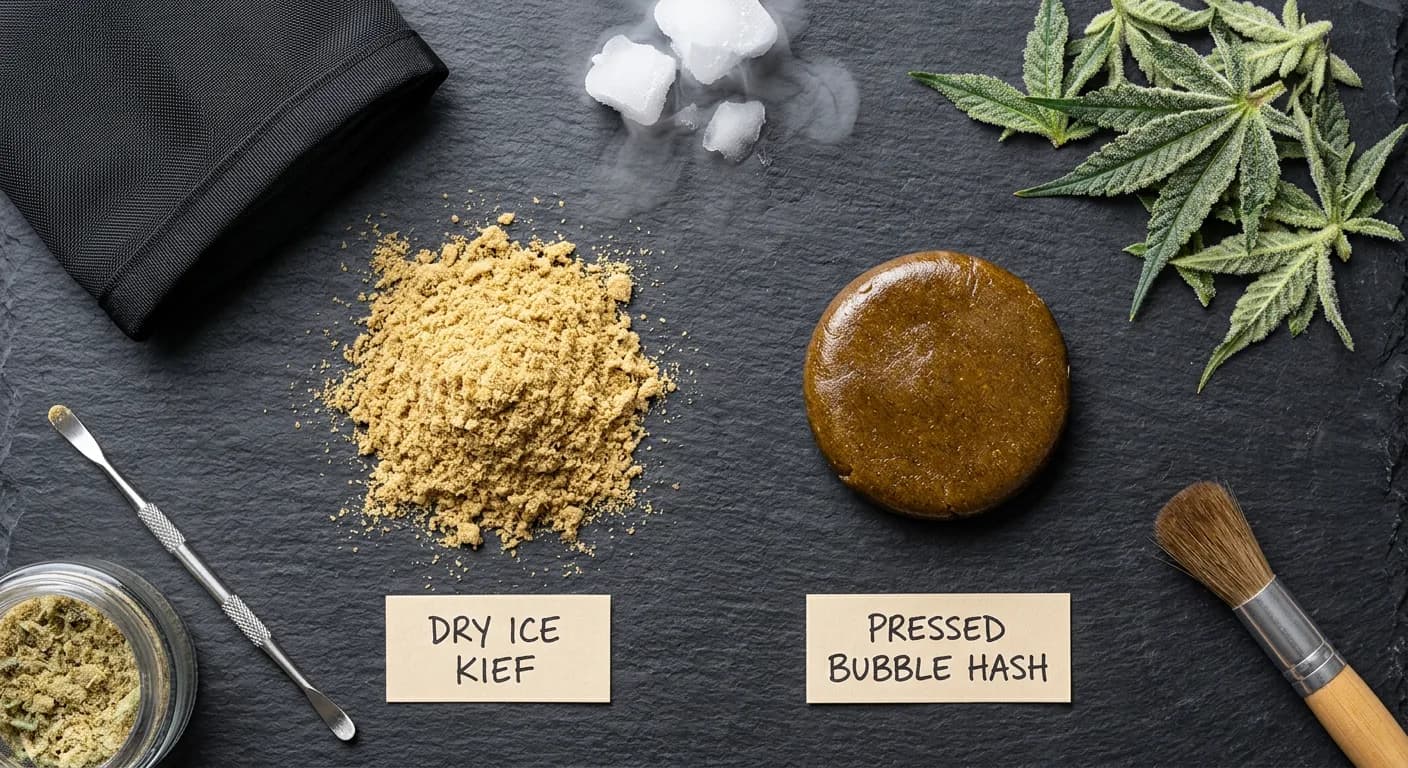
- Bubble hash / dry ice hash: Excellent option for over-dried or hay-smelling buds, trichomes separate easily when dry. See our full dry ice hash vs bubble hash guide
- Edibles and tinctures: Decarboxylation works on any bud with intact trichomes, hay smell, over-drying, and terpene loss do not affect the decarboxylation process. Use our edible dosage calculator to dial in the right amount
- Kief pressing: If buds still have trichomes (over-dried but not moldy), running through a grinder with a kief catcher collects usable extract
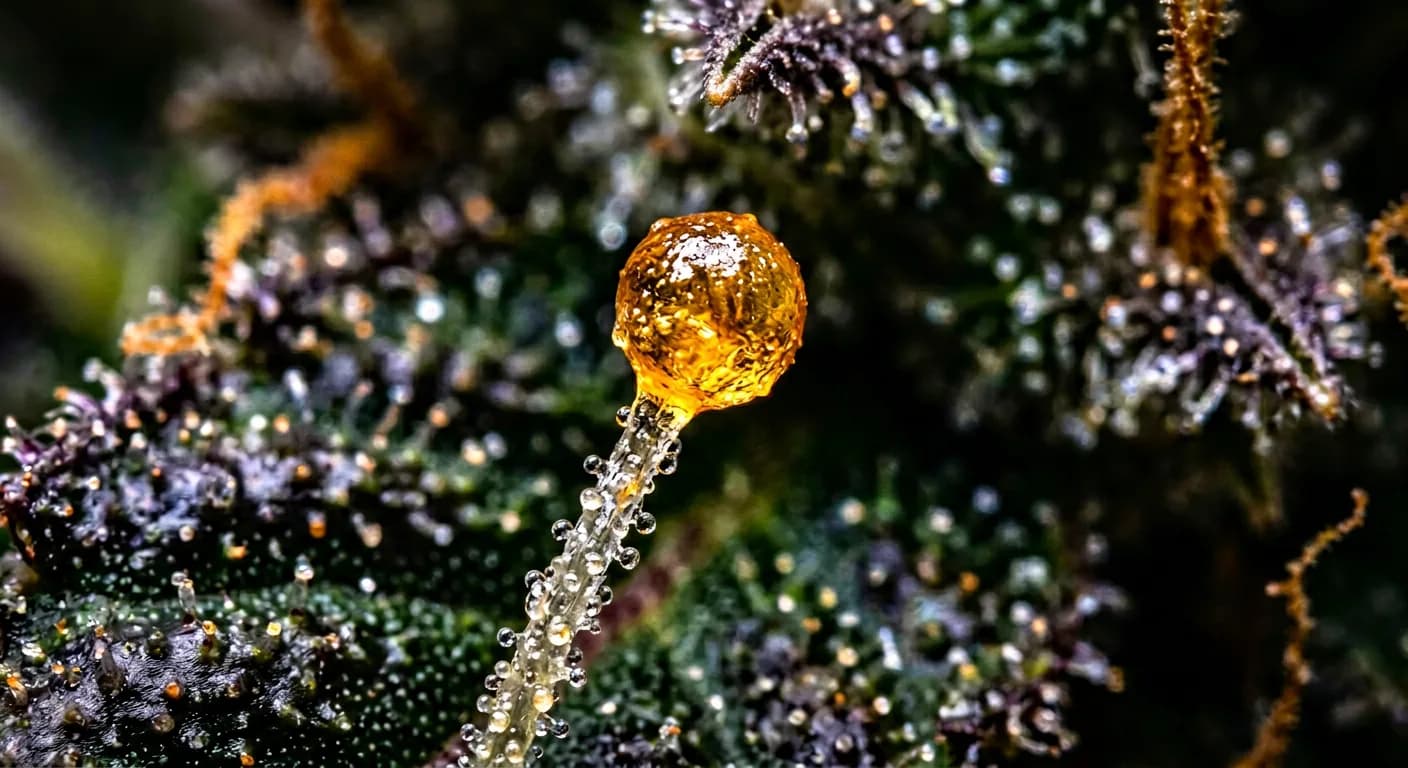
Pro tip: Before writing off any batch, break one bud open under a jeweler's loupe or 60x magnifier. If trichome heads are still present, cloudy, amber, or clear: the cannabinoid value is there. The smoking experience may be gone, but the extract potential is not.
Prevention: How to Never Need This Guide Again
Every problem covered in this guide traces back to one or two controllable variables in the drying and early curing phase. Understanding which variables cause which problems lets you build a system that prevents rescue situations entirely from the next harvest forward.
The Core Variables and Their Failure Modes
- Drying too fast (below 5 days): Causes permanent hay smell, locked chlorophyll, harsh smoke
- Drying too slow (above 14 days): Terpene loss, muted aroma, low-flavor result
- Temperature too high during dry (above 75°F): Terpene evaporation, enzyme destruction, hay smell
- Humidity too low during dry (below 40% RH): Surface dries but interior stays wet, false stem snap, leads to under-dried jars
- Jarring too early: Single biggest cause of ammonia, anaerobic events, and mold
- No humidity monitoring in jars: You cannot manage what you do not measure
Our complete mason jar curing guide with burping schedule covers the exact day-by-day timeline for a perfect cure. The drying room setup guide referenced earlier details how to hit the 60–65°F and 50–60% RH target consistently.
Genetics Matter More Than Most Growers Admit
Dense, tightly-packed buds with thick calyxes dry unevenly and are far more prone to under-drying and ammonia events than open, airy bud structures. Strains with long, spear-like colas and moderate density give moisture the exit routes it needs during drying.
If you consistently struggle with drying problems, consider growing strains bred for easier post-harvest handling on your next run:
- Sour Diesel Feminized (24% THC): Long, elongated buds with natural airflow gaps dry evenly in 8–10 days and cure to exceptional terpene expression. One of the most forgiving drying profiles in the catalog.
- Super Lemon Haze Feminized (23% THC): Sativa-dominant structure with loose, resinous buds that rarely suffer from moisture trapping. Hay smell resolves within 2–3 weeks of curing.
- Northern Lights x Big Bud Feminized (20% THC): Dense indica buds, yes, but the thick trichome coating and classic Northern Lights genetics produce robust chlorophyll breakdown during cure. A reliable performer post-harvest.
- Gorilla Glue (GG4): Despite extreme resin production, the chunky but well-formed structure dries relatively evenly. Popular among growers for its forgiving cure window.
- White Widow Feminized (25% THC): Legendary for terpene durability during curing. Even if drying conditions are imperfect, White Widow retains more aromatic complexity than most strains at similar potency.
- Zkittlez: Moderate-density buds with an open calyx structure that releases surface moisture quickly in the first 48 hours of drying, dramatically reducing the risk of wet-jarring errors.
Use our grow planner tool before your next harvest to map out your drying room timeline, including harvest day, expected dry completion date, and first jar date, so you never guess your way into a rescue situation again.
Quick-Reference: Curing Problem Diagnostic Checklist
Bookmark this section or print it for your grow room. Run through it any time you open a jar and something seems off.
- Smell test: ammonia = bacteria event (Step 4), hay = chlorophyll (Step 5), musty = mold (Hard Truth)
- Stem snap test: bends = under-dried (Step 3), crumbles = over-dried (Step 2), snaps clean = correct
- Squeeze test: stays compressed = under-dried, crumbles = over-dried, springs back = correct
- Hygrometer reading: above 68% = under-dried, below 50% = over-dried, 58–62% = correct
- Visual inspection: white/grey/black fuzz on bud surface = mold = no smoking, pivot to extracts
- Trichome check under loupe: trichomes present and intact = cannabinoid value preserved even if smell/texture is damaged
Can you fix over dried cannabis that crumbles?
Yes. Place crumbling buds in a sealed mason jar with a 62% Boveda or Integra Boost humidity pack for 48–72 hours. For severe cases below 45% RH, add a fresh orange peel for 2–4 hours first, then switch to a humidity pack. Most over-dried buds recover structural integrity in 3–7 days, though terpenes that have already volatilized cannot be brought back.
Why does my cannabis smell like ammonia in the jar?
Ammonia smell in a sealed mason jar is caused by anaerobic bacteria breaking down plant proteins, a process called deamination that produces ammonia gas as a byproduct. It almost always results from jarring buds above 65% RH before the aerobic drying phase completed. The sealed, low-oxygen environment becomes a bacterial incubator. Mild cases can be saved by immediate airing for 2–4 hours. Strong, persistent ammonia means the batch is not recoverable for smoking, use it for hash or edibles instead.
How long does hay smell last during curing?
Hay or grass smell from chlorophyll breakdown typically resolves within 3–4 weeks of proper jar curing at 58–62% RH with daily burping. If hay smell persists past week 5, ensure RH is not too low (below 55% RH slows enzymatic chlorophyll breakdown) and increase burping to twice daily. Hay smell that persists past week 8 despite correct humidity usually indicates the bud was dried too fast and the underlying flavor profile will be limited.
Can you save under dried cannabis before mold sets in?
Yes, if you act within 24–72 hours of jarring. Immediately remove buds from jars, spread on a wire rack at 60–65°F and 45–55% RH with gentle air circulation, and run the stem-snap test every 6 hours. Once buds snap cleanly, return to jars and restart the burping schedule from day one. Inspect every bud individually for white fuzzy mold before returning to jars, any bud with visible mold growth should be isolated and not smoked.
When should you give up and make hash or edibles instead?
Stop trying to save the harvest for smoking when: ammonia smell is strong and does not improve after 24 hours of airing, visible mold (white, grey, or black fuzzy growth) covers more than 20% of any bud, buds were sealed wet above 68% RH for more than 4 days, or brown mushy tissue is visible inside dense buds. Cannabinoids survive these events even when the smoking experience does not: a rosin press, bubble hash setup, or simple decarboxylation for edibles will still extract usable THC from compromised bud.