You just finished harvest. The premium colas are hanging to dry, the room smells incredible, and you're staring at a pile of sugar leaves, popcorn buds, and larf wondering whether to bin it all or turn it into something worth smoking. This is exactly where the dry ice hash vs bubble hash home grower decision gets real.
Both methods work. Both use material you'd otherwise throw away. But they produce very different results, require different equipment, and suit different situations: especially right after harvest when you may have fresh-frozen cannabis, dried trim, or a mix of both. This guide breaks down every variable so you can make the right call for your grow.
Why Post-Harvest Extraction Is Worth Your Time
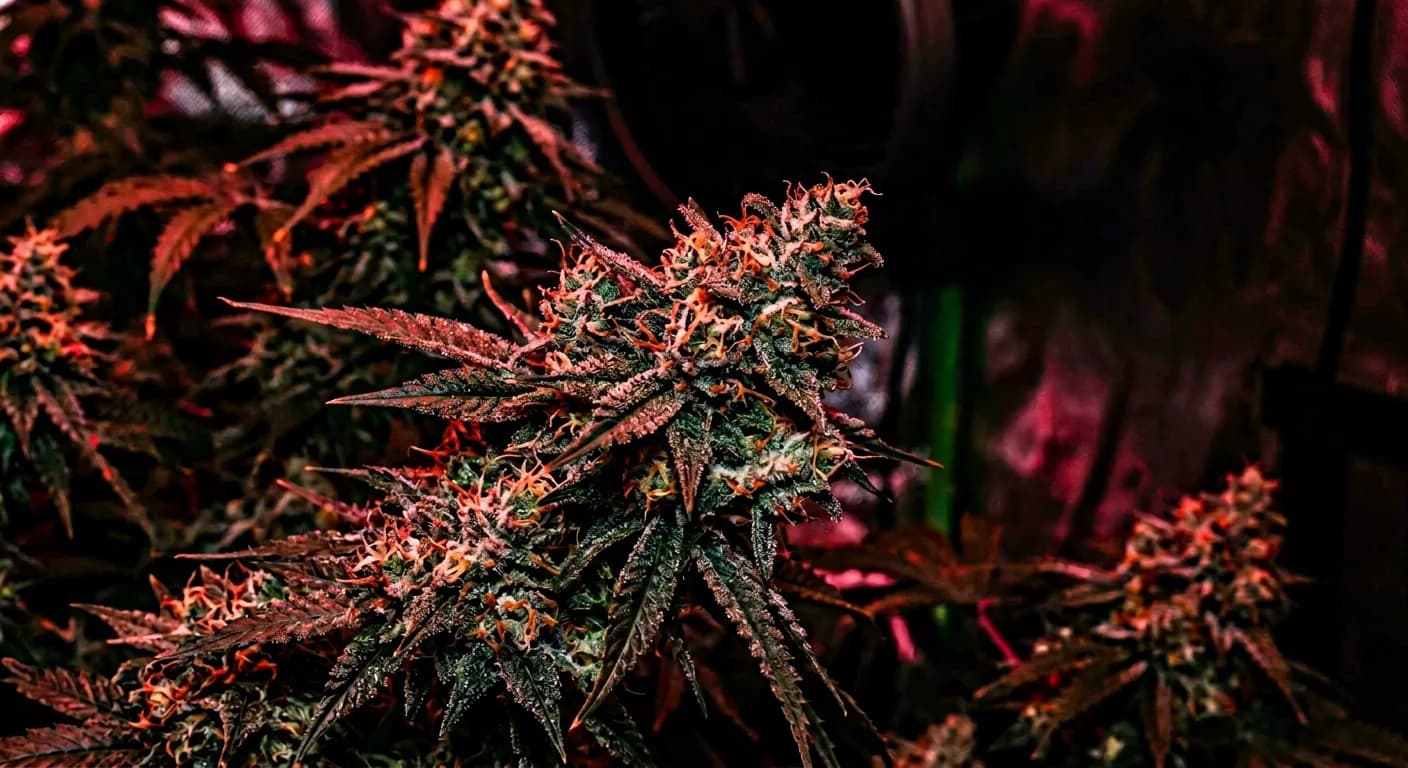
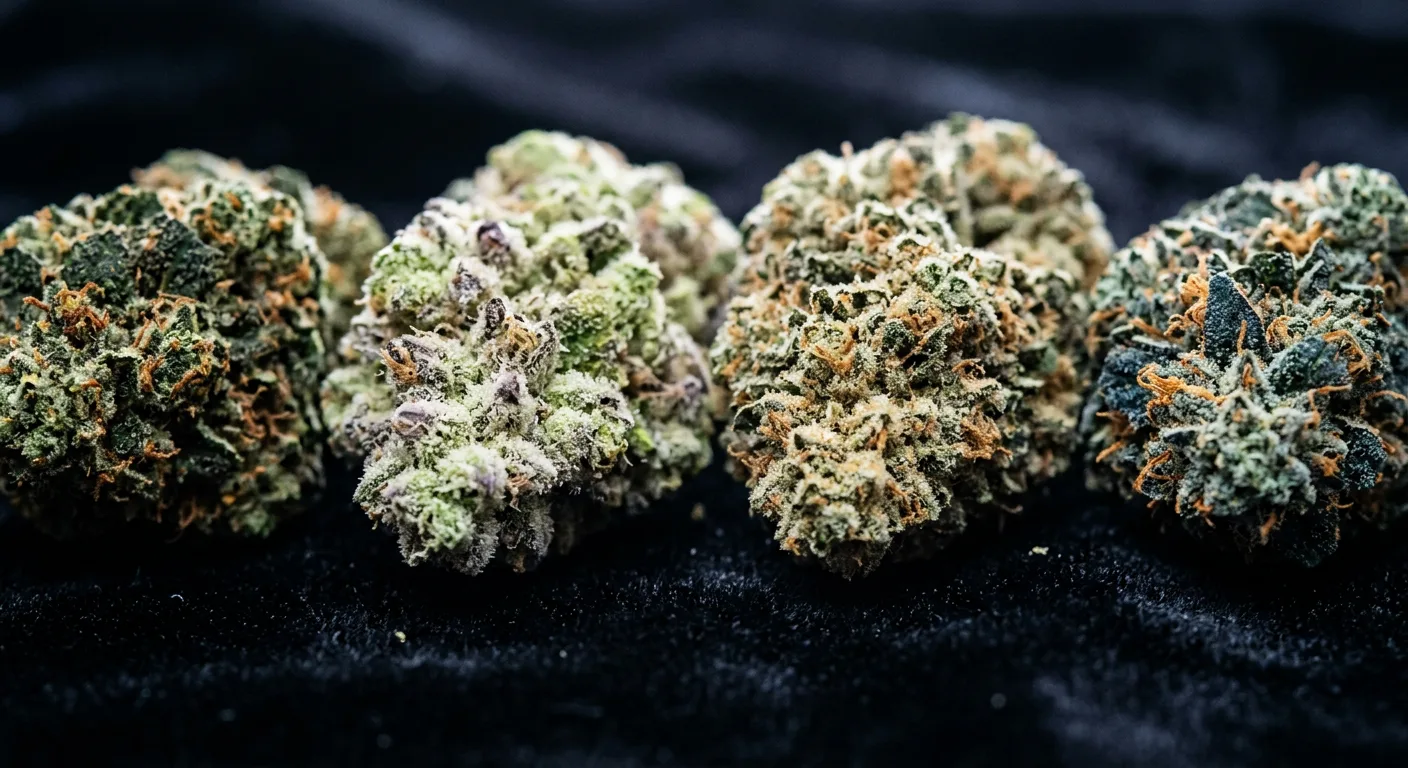
Post-harvest trim and sugar leaves are genuinely trichome-rich material that most home growers waste. A well-grown plant with dense, resinous buds can leave 15–25% of its total trichome mass on fan-adjacent sugar leaves, popcorn buds, and lower larf that never reaches dispensary-grade quality.
Those trichomes contain the same cannabinoids and terpenes as your top colas. Running them through even a basic extraction process recovers real potency that would otherwise end up in the compost bin.
What Makes Trim Worth Processing
- Sugar leaves: the small leaves growing directly out of buds are coated in trichomes and ideal for hash
- Popcorn buds: underdeveloped lower buds with full trichome development but poor bag appeal
- Larf: airy, light buds from the lower canopy that are too small to sell or jar but still potent
- Trim-run material: any leaf material that brushed against buds during trimming and picked up resin
If your strain produces dense, frosty buds, even the trim can return hash at 15–20% yield by weight. That means 100g of quality sugar leaf trim can give you 15–20g of usable hash, enough for weeks of personal use.
The key question isn't whether to process your trim. It's which method matches your timeline, your budget, and the quality of product you want to end up with.
Fresh-Frozen vs. Dried Trim: Choosing Your Starting Material
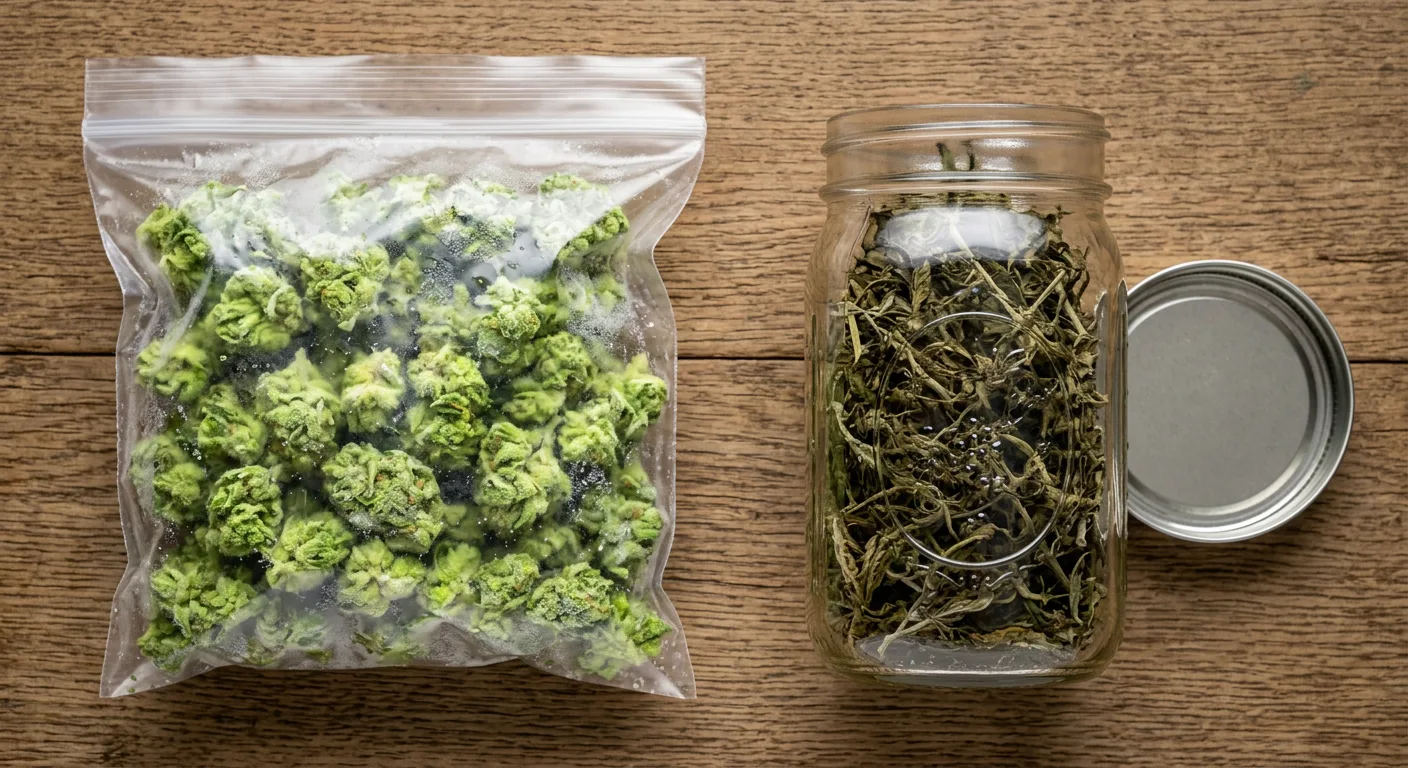
The single biggest variable in post-harvest hash making isn't the method you choose: it's whether your starting material is fresh-frozen or dried. This decision happens at harvest time, and it locks you into a specific extraction path.
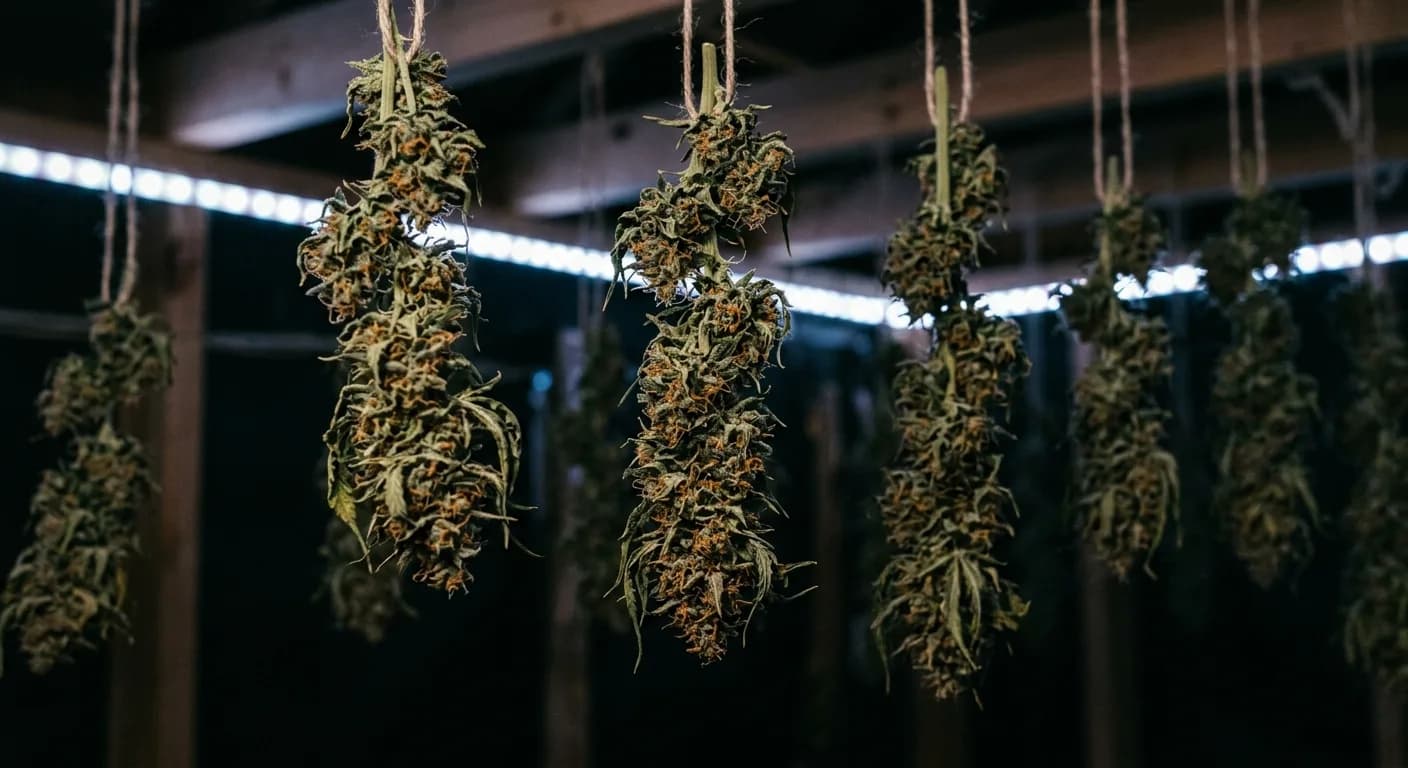
Fresh-frozen cannabis is plant material cut at peak ripeness and placed directly into sealed freezer bags, then frozen within 30 minutes of cutting. This preserves terpene content and trichome structure far better than dried material because no heat, oxidation, or curing time degrades the heads.
Fresh-Frozen Starting Material
- Works only with bubble hash, moisture makes dry ice separation impossible
- Preserves volatile terpenes that evaporate during drying and curing
- Produces more aromatic, flavorful hash with better melt quality
- Requires a freezer with space, budget 1–2 cubic feet per pound of wet material
- Must be processed while still frozen, do not thaw before extraction
Dried and Cured Trim
- Works with both dry ice hash and bubble hash
- Terpene content is lower than fresh-frozen but still significant
- More convenient, can be processed weeks or months after harvest
- Better for beginners who want to practice technique without wasting fresh material
- Ideal for dry ice hash because brittle trichomes snap off cleanly in cold conditions
If you're growing a terpene-forward strain and want the best-smelling hash, freeze a portion of your trim immediately at harvest for bubble hash, and dry the rest for a dry ice run. You'll get two different products from a single harvest.
See our guide on when to harvest cannabis for maximum potency for guidance on identifying the peak window to cut for fresh-frozen extraction, trichome readiness at harvest matters just as much for hash as for flower.
How to Make Dry Ice Hash at Home: Step-by-Step
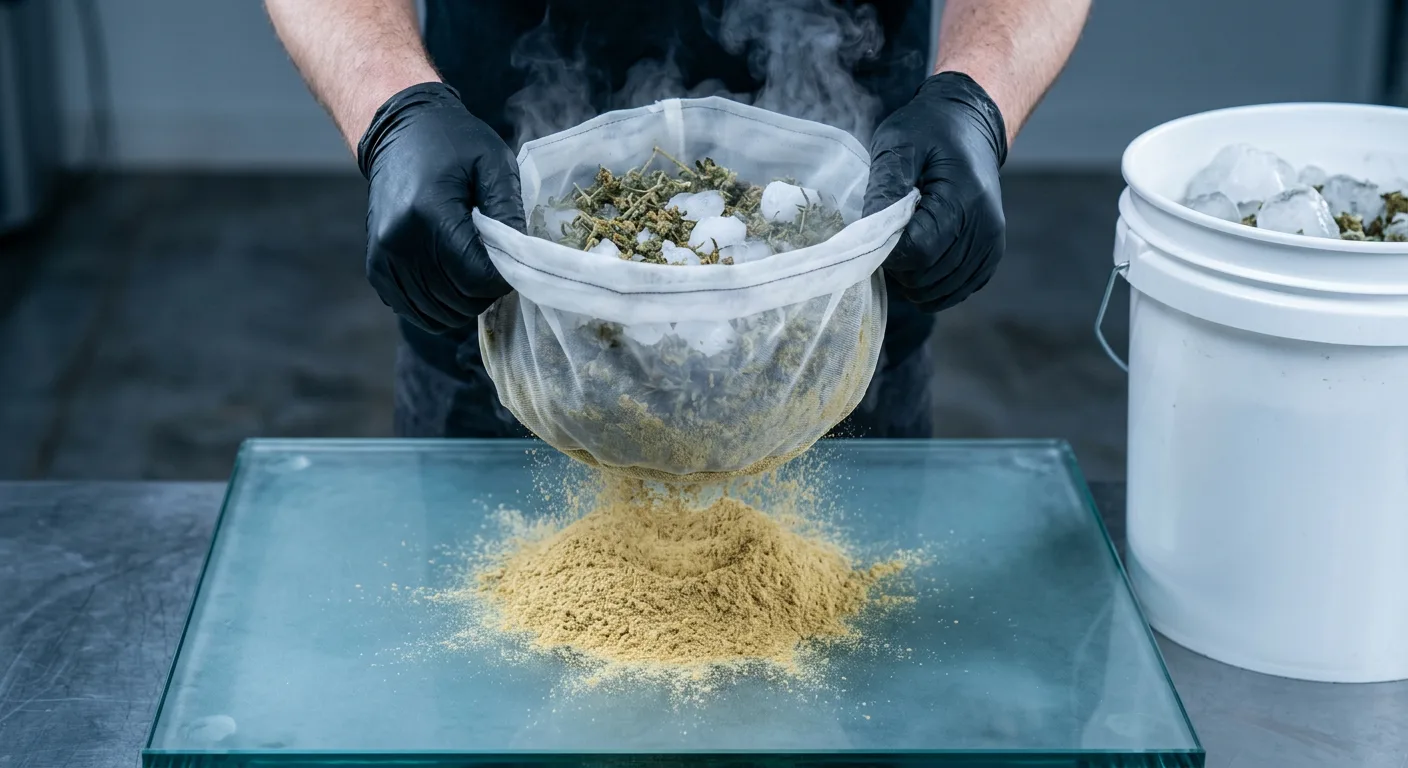
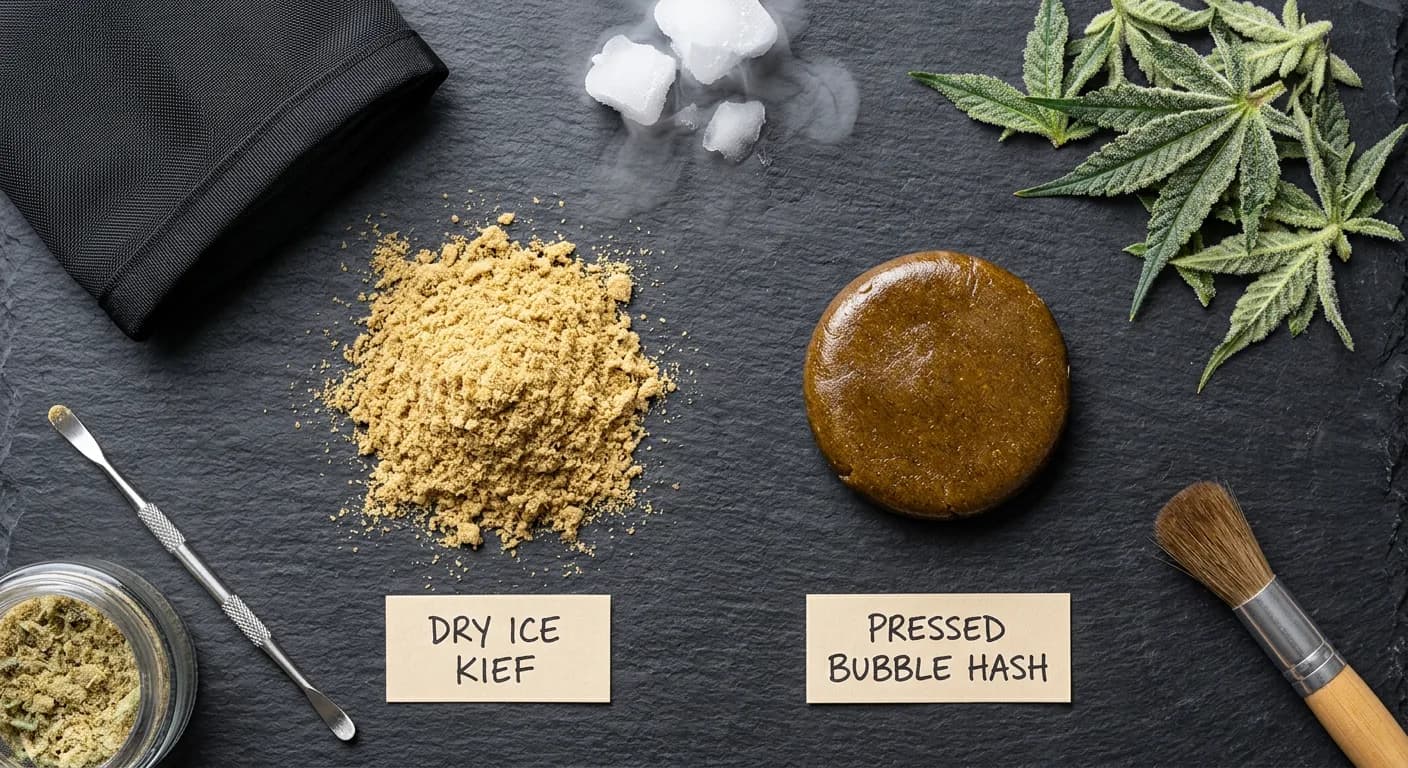
Dry ice hash (also called dry ice kief or dry ice extraction) uses the sublimation of frozen CO₂ to super-cool plant material, making trichome stalks extremely brittle. When you agitate the mix inside a mesh bag, the frozen trichome heads snap off cleanly and fall through the mesh onto a collection surface.
The entire process takes 30–60 minutes, requires no water, and produces a dry, ready-to-use product. Total startup cost runs $30–$50 for everything except the dry ice itself, which costs roughly $1–$2 per pound at most grocery stores and gas stations.
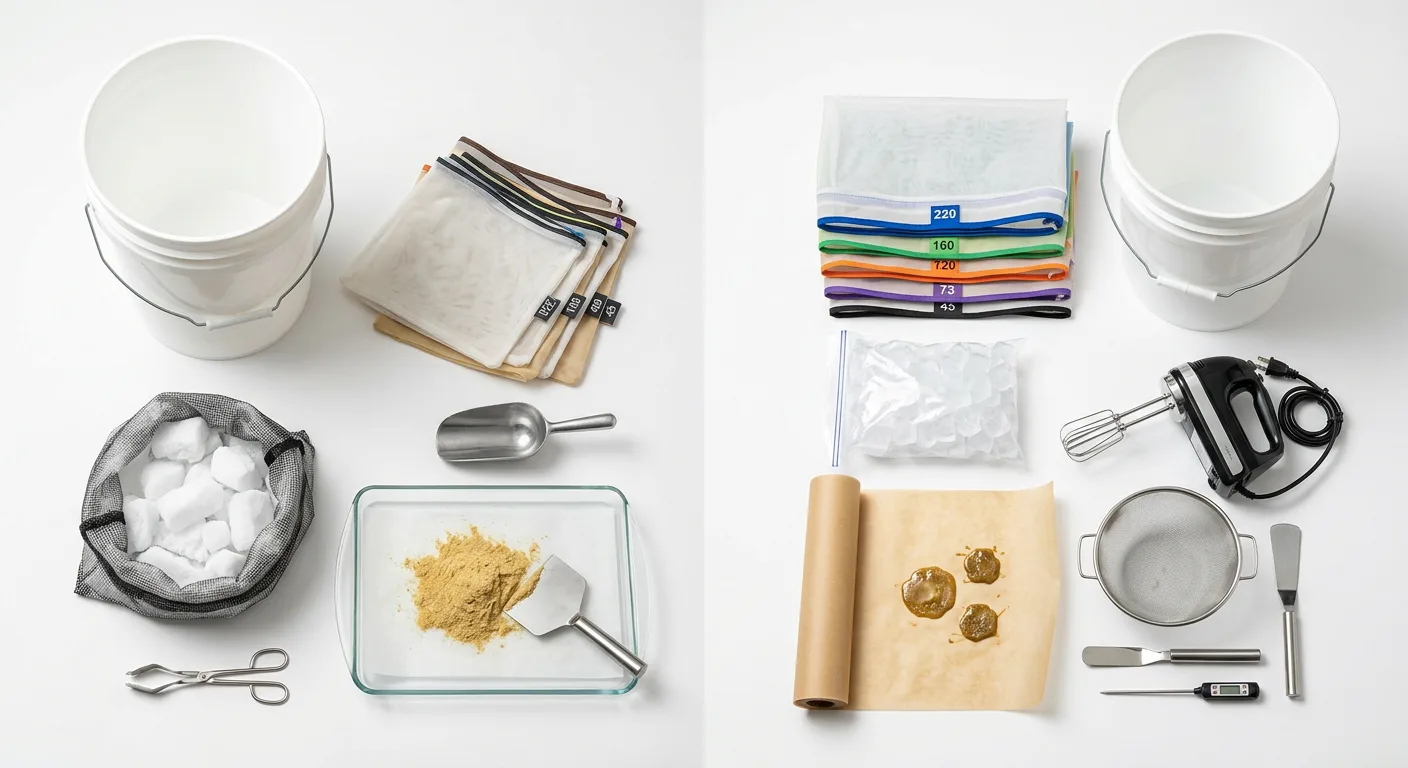
Equipment You Need
- 1–2 lbs of dry ice (food-grade, from grocery stores or ice suppliers)
- One or more bubble hash bags: 73, 120, and 160 micron are the key sizes
- A clean 5-gallon plastic bucket (no lid needed)
- A large clean glass surface or mirror for collection
- A plastic card or bench scraper to collect kief
- Insulated gloves, dry ice burns skin at -78°C
- Safety glasses
Dry ice safety: Never handle dry ice with bare hands, contact causes frostbite within seconds. Always work in a ventilated space. Dry ice releases CO₂ as it sublimates, which can build up in enclosed rooms. A garage, porch, or open kitchen works well.
Micron Bag Selection Guide
The micron rating of your bag determines what size particles pass through. Smaller numbers mean smaller holes, which means only the purest trichome heads get through.
| Micron Size | What Passes Through | Color/Appearance | Quality | Best For |
|---|---|---|---|---|
| 73 micron | Smallest heads only | Blonde to light gold | Highest purity | Pressing into rosin |
| 120 micron | Medium trichome heads | Gold to tan | Good quality | Smoking / pressing |
| 160 micron | Full-size heads + some stalks | Green-tinted gold | Mid-grade | Edibles, capsules |
| 220 micron | All particles | Dark green | Lower grade | Not recommended solo |
Most beginners do best starting with a single 160-micron bag. It yields more material than the 73-micron and still produces quality, smokable hash. Once you understand how agitation time affects quality, add a 73-micron run for premium output.
Step-by-Step Process
Chill Your Trim
Place your dried trim in the freezer for 30–60 minutes before processing. Cold material produces more trichome separation because the stalks become brittle at low temperatures.
Load the Bucket
Put 100–150g of chilled trim into your 5-gallon bucket. Add roughly equal weight of dry ice on top. Do not pre-mix, let the dry ice cool the trim for 3–4 minutes before proceeding.
Fit the Bag and Flip
Stretch your micron bag over the top of the bucket. Holding the bag firmly, flip the bucket upside down over your glass collection surface. The trim and dry ice are now inside the inverted bag.
Agitate: But Not Too Much
Shake and gently knead the bag over the glass for 1–4 minutes. The first 60–90 seconds produce the highest-quality kief. Extended shaking pulls more plant material through the mesh, reducing purity. Stop when the kief on the glass starts turning green.
Collect and Store
Use your plastic card to scrape the kief into a pile on the glass. Transfer to parchment paper. The product is usable immediately: you can smoke it as loose kief, press it into hash discs with gentle thumb heat, or use it in a pollen press.
Run multiple passes with progressively finer bags: start with 160 micron for 90 seconds, then swap to 120 micron for another 60 seconds, then 73 micron for a final 30-second pass. Label and keep each run separate: they're different quality grades.
Common Dry Ice Hash Mistakes
- Over-agitation: the #1 mistake. Shaking past 2–3 minutes pulls green plant matter through the mesh, contaminating the hash and ruining flavor
- Warm trim: room-temperature material produces far less separation; always pre-chill
- Too little dry ice: use at least equal weight of dry ice to trim; more is better
- Wet material: any moisture causes clumping and poor yield; material must be fully dry
- Single long run: multiple short passes with separate collection produces cleaner grades than one long shake
How to Make Bubble Hash at Home: Step-by-Step
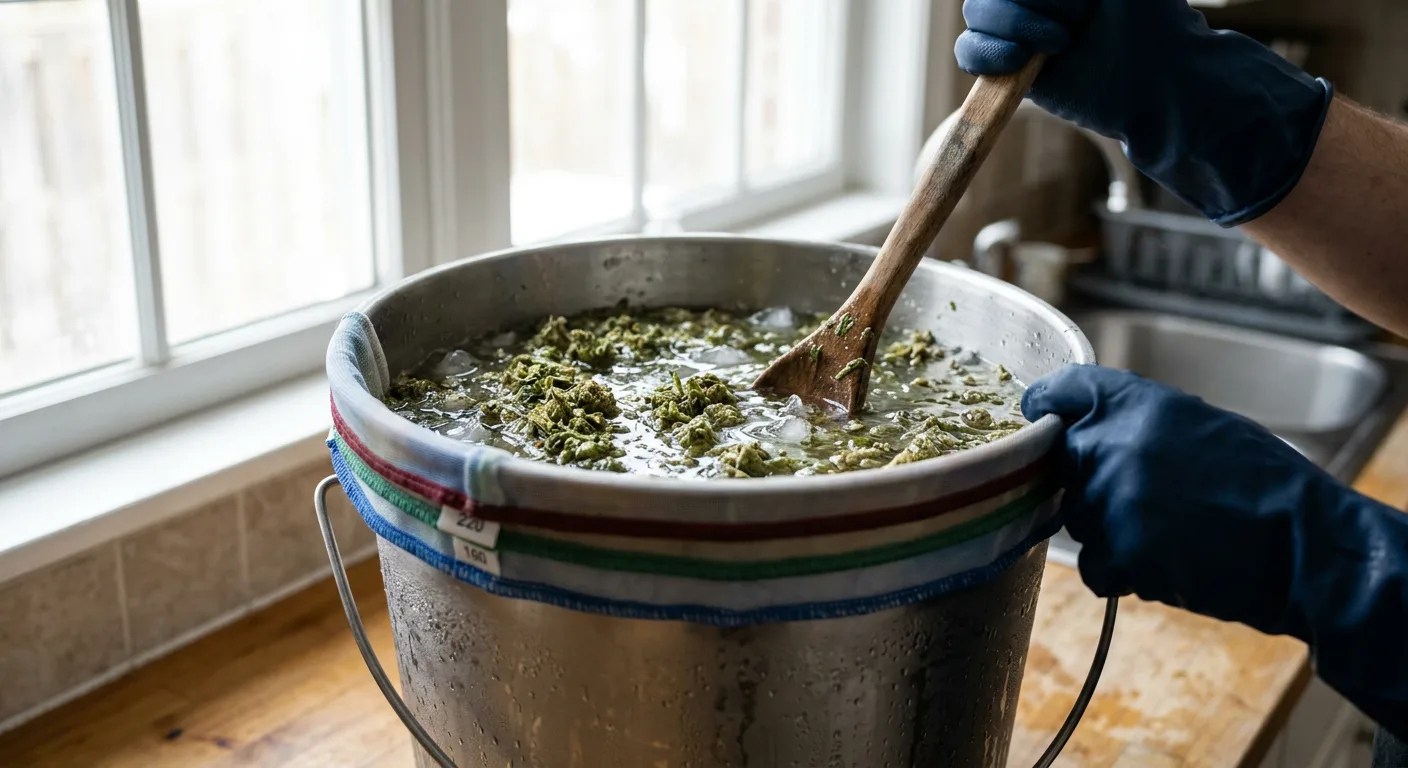
Bubble hash uses cold water and ice to achieve the same trichome-snapping effect as dry ice, but the trichomes are carried through filter bags by water rather than falling by gravity through a mesh. The result is typically cleaner, more aromatic hash, but the process takes longer and requires more equipment.
A basic bubble hash setup costs $60–$120 for the bags and buckets. If you already own 5-gallon buckets, the bag set is your main cost, quality sets with 8 bags run $40–$70 online.
Equipment You Need
- Two 5-gallon buckets (one work bucket, one for rinsing)
- A set of bubble hash filter bags: 25, 45, 73, 90, 120, 160, 190, and 220 micron
- 3–5 lbs of ice (regular ice, not dry ice)
- Cold water, adding RO (reverse osmosis) water improves clarity
- A wooden spoon or handheld mixer for agitation
- Parchment paper for drying
- A fine microplane or card scraper
- A thermometer, target 35–40°F (2–4°C) water temperature
Work Bag vs. Filter Bag System
The outer bag (220 micron) acts as the work bag, all your plant material stays inside it throughout the process. The inner bags, stacked from smallest micron at the bottom to largest at the top inside your collection bucket, act as filter bags that catch trichomes at different sizes as the ice water drains through.
The 73-micron and 90-micron bags typically collect the highest-quality bubble hash: these sizes capture the full trichome heads while excluding broken stalks and contaminants. These are your premium runs.
Step-by-Step Process
Set Up Your Filter Stack
Line your collection bucket with all filter bags starting from 25 micron at the bottom, then layering up to 160 micron at the top. This creates a filtering column, the water passes through all layers as it drains.
Load Your Work Bucket
Place your 220-micron work bag in the second bucket. Add 100–200g of trim or fresh-frozen cannabis (keep it frozen until this moment). Cover with 2–3 lbs of ice, then add cold water until material is submerged by 4–6 inches.
Agitate Gently
Stir the mixture slowly for 15–20 minutes. For fresh-frozen material, a gentle hand-stir is preferred, aggressive mixing damages trichome heads. For dried trim, a brief electric hand-mixer run on low speed for 5–8 minutes is efficient. Add ice as needed to maintain cold water temperature.
Drain Through the Filter Stack
Lift the work bag out, letting water drain back into the bucket. Pour the water from the work bucket through the filter bag stack in the collection bucket. Allow full drainage. This takes 5–10 minutes. The trichomes collect in each filter bag.
Collect Each Grade Separately
Remove filter bags one at a time from the top down. Use a spoon to scrape the hash collected on the mesh into a pile on each bag's surface. Transfer each grade to labeled parchment paper. Keep grades separate, 73-micron and 90-micron are your best material.
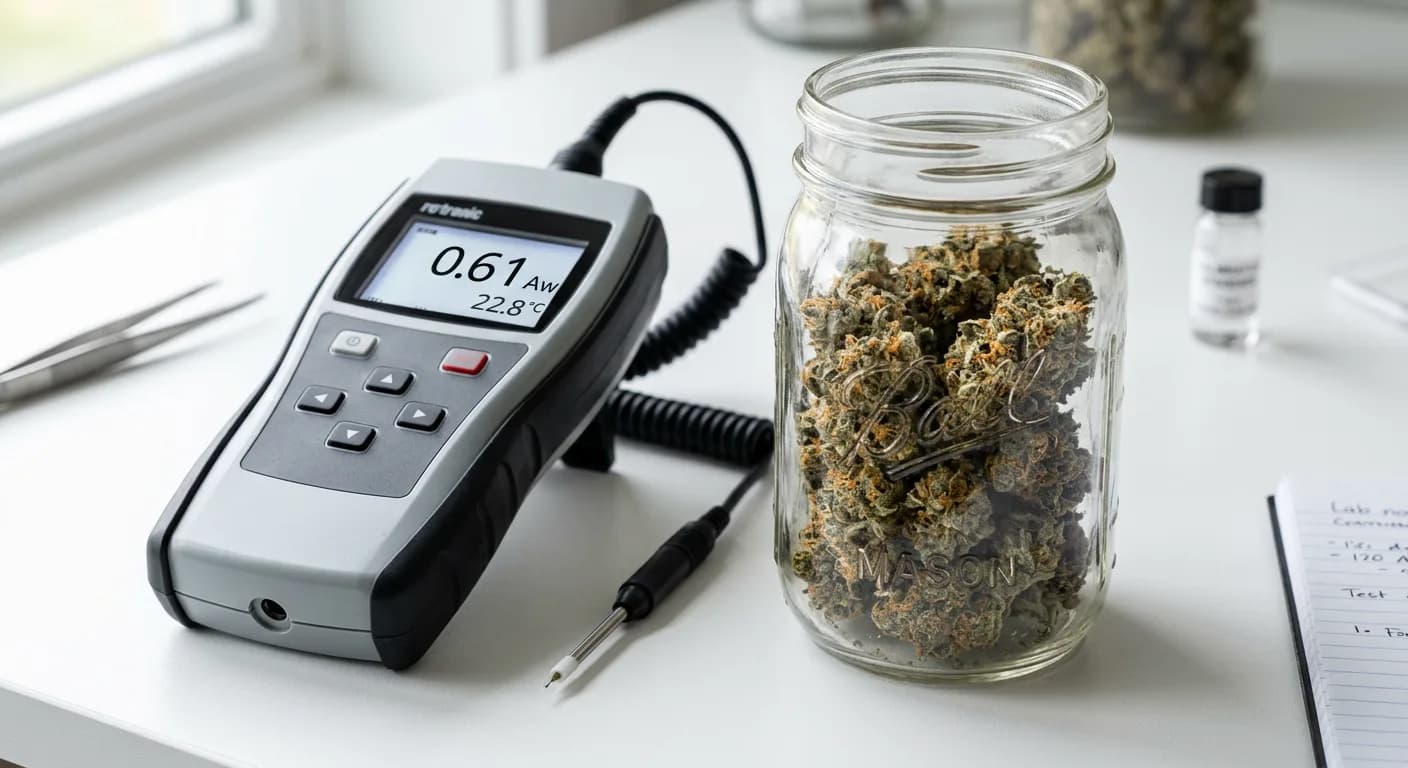
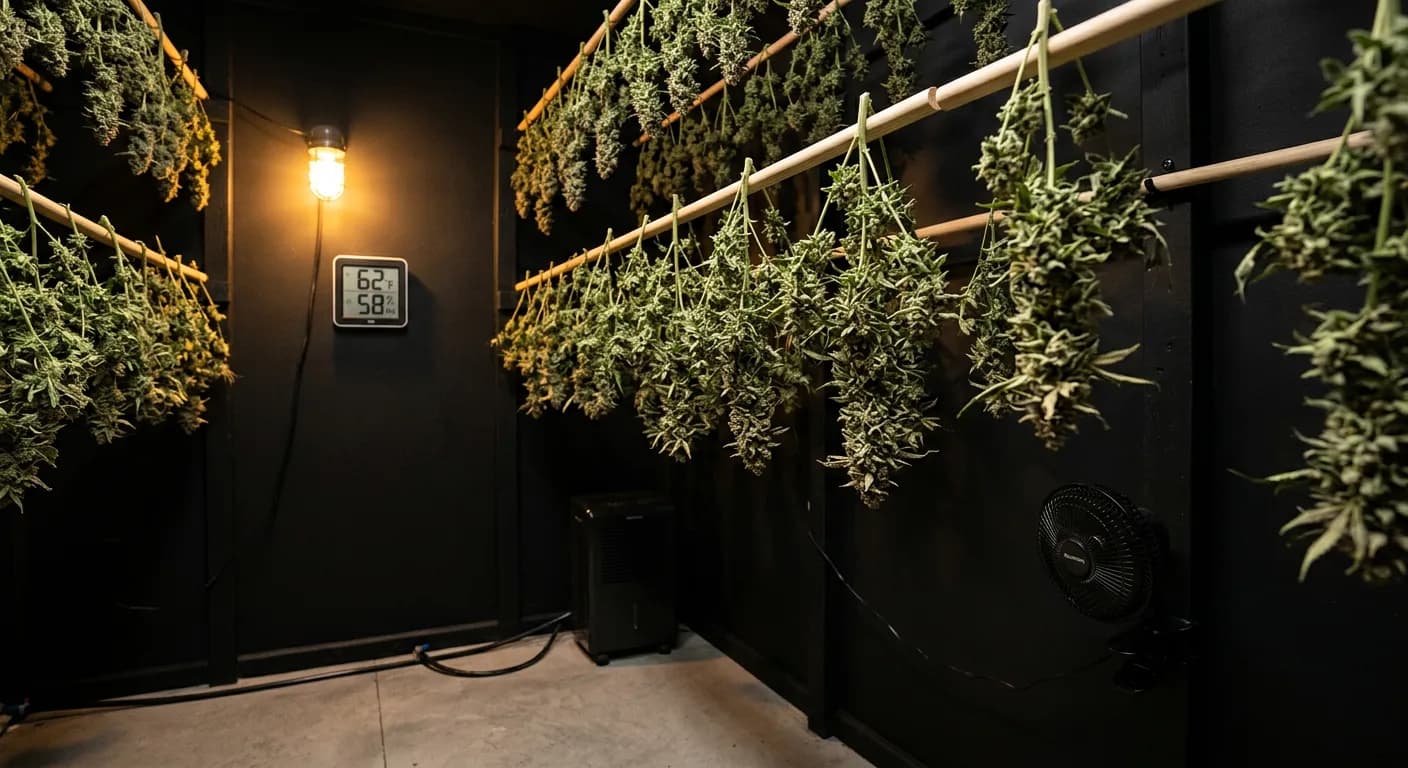
Dry the Hash Correctly
This step determines whether your hash ends up as gold or as mold. Spread each grade thinly, 1–2mm thick maximum, on fresh parchment paper. Place in a cool (60–65°F), dark space with a fan running for 24–72 hours. Break up any clumps at the 12-hour mark. Hash is dry when it no longer sticks to itself and crumbles cleanly.
Critical: Bubble hash molds in 24–48 hours if left wet. Never jar, press, or store hash that hasn't been fully air-dried. Moldy hash smells musty and loses potency rapidly. When in doubt, add another 24 hours of drying time before storing.
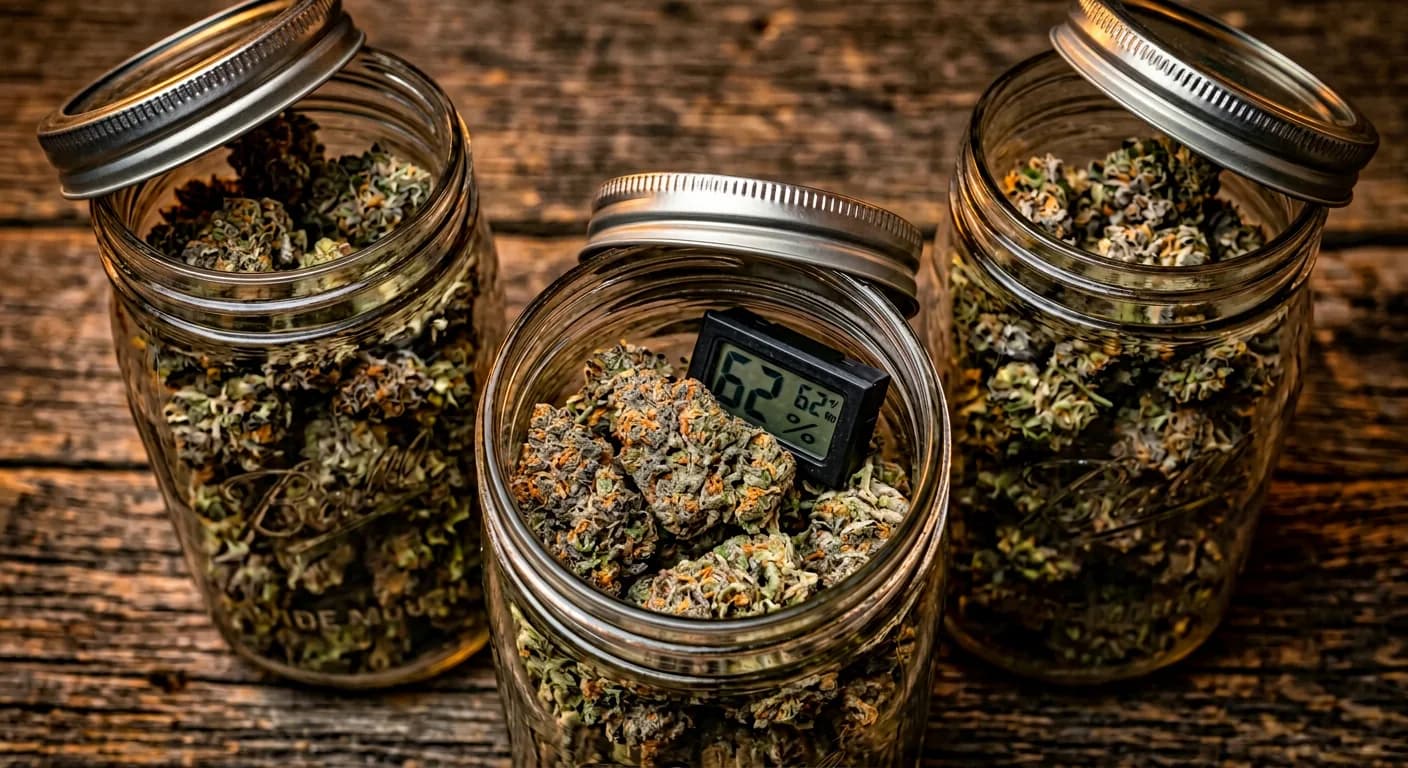
For storage after drying, see our guide on long-term cannabis storage, the same humidity and temperature principles that protect flower also protect hash.
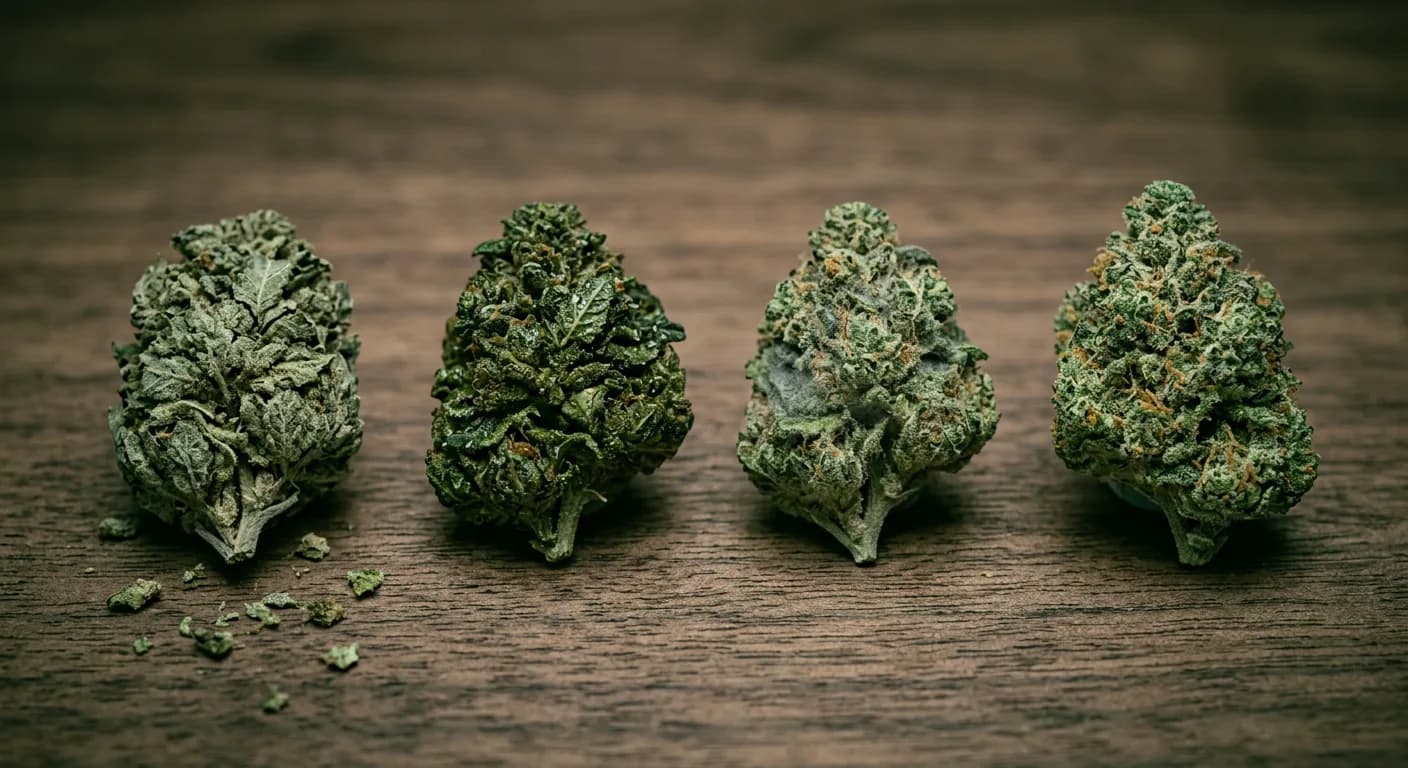
Hash Quality Grades: What 3-Star vs. 6-Star Actually Means
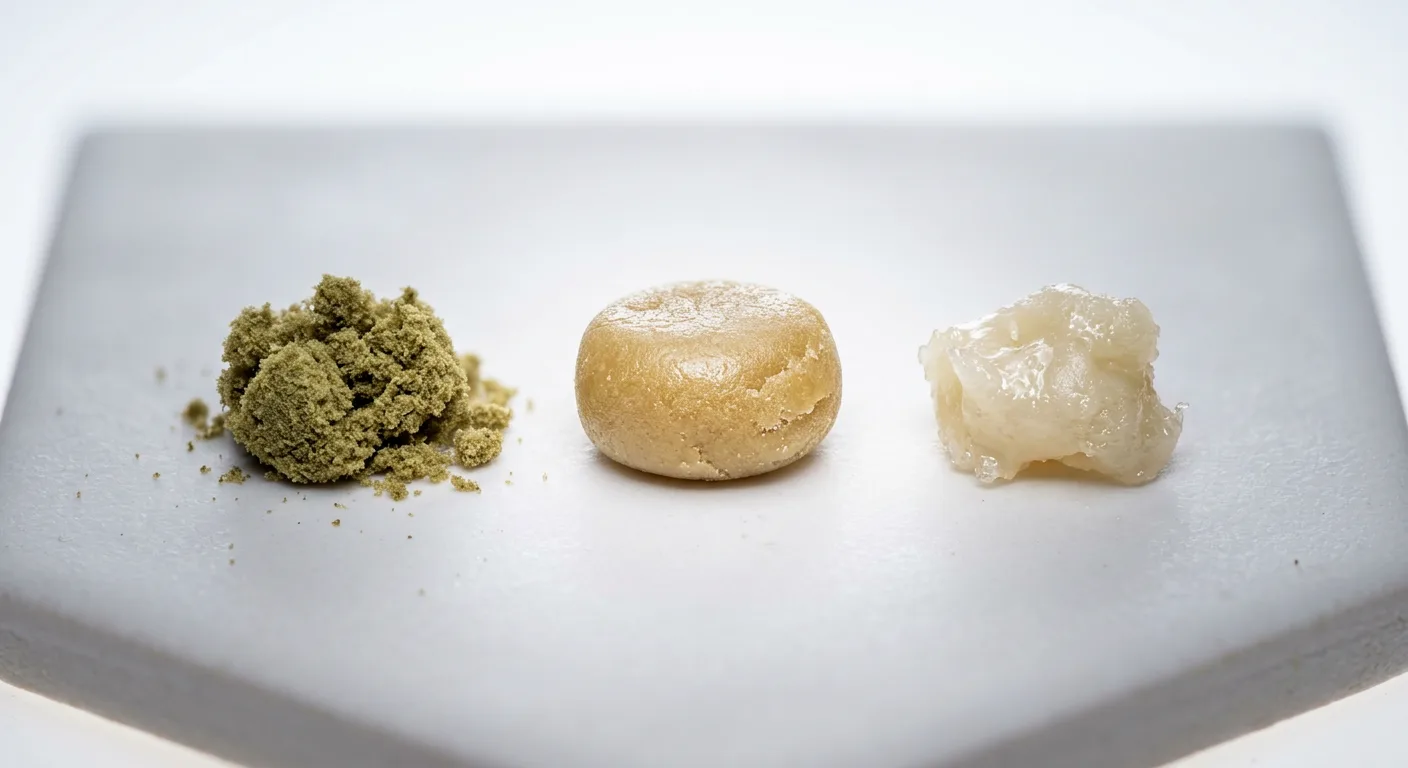
The hash quality scale runs from 1 star (lowest) to 6 stars (highest), and it's based on one key property: how completely the hash melts when heat is applied. Lower grades leave a black char residue: that's contaminated plant material burning. Higher grades melt completely to a clear or amber oil with no residue.
The grade your hash achieves is determined by trichome purity, which is a function of starting material quality, extraction method, micron bag selection, and agitation technique.
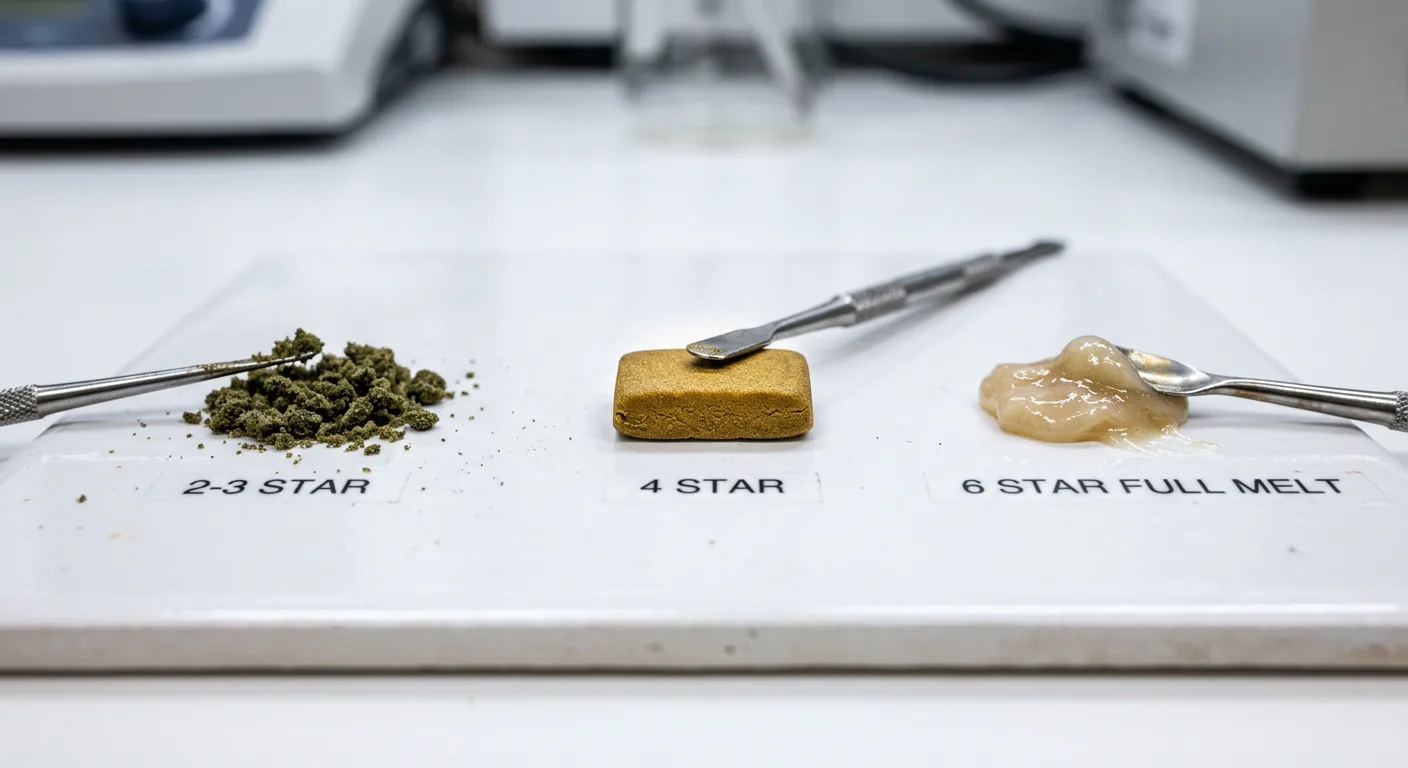
Quality Grade Breakdown
| Grade | Stars | Melt Behavior | Typical Source | Best Use |
|---|---|---|---|---|
| Low | 1–2 ★ | Burns black, heavy residue | Fan leaf trim, over-agitated dry ice | Edibles only |
| Half-melt | 3 ★ | Partial melt, brown residue | Dry ice hash, 160-micron bubble | Smoking in bowls, edibles |
| Half-melt+ | 4 ★ | Good melt, light residue | Dry ice 73-micron, bubble hash from quality trim | Pipes, joints, pressing to rosin |
| Full-melt | 5–6 ★ | Melts completely, clear/amber residue | Bubble hash from fresh-frozen, top genetics | Dabs, e-rigs, rosin pressing |
How Each Method Caps Out
Dry ice hash realistically tops out at 3–4 stars for most home growers. The dry agitation process inevitably pulls some plant matter through the mesh, and there's no water to help separate contaminants from trichome heads. With perfect technique and a 73-micron bag, some experienced growers push to 4 stars, but 5 or 6 star is essentially impossible with dry ice.
Bubble hash from fresh-frozen cannabis with quality genetics can legitimately reach 5–6 stars. The cold water acts as a second filter, and the gravity drainage process is gentler than mechanical agitation. Six-star full-melt bubble hash from fresh-frozen top-shelf input is considered one of the best solventless concentrates available.
The hash rating scale was popularized by legendary hash maker Frenchy Cannoli, who based grades on melt behavior rather than appearance or smell. A hash that looks stunning but chars on a hot nail is still 2-star material, melt behavior doesn't lie about purity.
Head-to-Head Comparison: Dry Ice Hash vs. Bubble Hash
Both methods have legitimate places in a home grower's toolkit. The right choice depends on what you're starting with, how much time you have, what quality you want, and what you plan to do with the final product.
Here's the direct comparison across every variable that matters to a home grower making a post-harvest decision:
| Variable | Dry Ice Hash | Bubble Hash |
|---|---|---|
| Setup Cost | $30–$50 | $60–$120 |
| Ongoing Cost | $1–2/lb dry ice | Ice only ($0.50–$1/lb) |
| Time to Finished Product | 45–60 minutes | 3–5 hours (+ 24–72 hr drying) |
| Difficulty | Beginner-friendly | Moderate |
| Cleanup | Minimal, no water | Significant, wet bags and buckets |
| Works With Fresh-Frozen? | No | Yes |
| Works With Dried Trim? | Yes (best) | Yes |
| Yield Per 100g Trim | 12–18g (includes plant matter) | 10–20g (cleaner material) |
| Maximum Quality Grade | 3–4 star | 5–6 star (fresh-frozen) |
| Terpene Preservation | Moderate | High (fresh-frozen) |
| Ready to Use When? | Immediately | After 24–72 hr drying |
| Best Final Use | Smoking, edibles, pressing | Dabbing, rosin, smoking |
| Equipment Storage | Small, bags only | Larger, bags + two buckets |
Verdict: Which Method Wins?
For speed and simplicity right after harvest: Dry ice hash wins. Buy $10 of dry ice, spend an hour, and have usable hash tonight.
For quality and using fresh-frozen cannabis: Bubble hash wins by a wide margin. If you froze your trim at harvest, there's no comparison, ice water extraction is the only path to premium solventless concentrate at home.
The smartest approach for most home growers: do a quick dry ice run with your dried trim right after harvest to get immediate product, then plan a bubble hash run with any fresh-frozen material you stored at harvest. You end up with two different products at two different quality tiers, both made from material that would have been wasted.
Which Strains Produce the Best Hash Yields
Not all trim is equal. The same extraction process on two different strains can produce yields that differ by 50% or more. Trichome density, trichome head size, and resin quality all vary significantly by genetics, and this is where strain selection at the grow stage pays dividends at the extraction stage.
High-resin strains consistently outperform average genetics for hash making because they produce more trichomes per gram of plant material, and those trichomes have larger heads that separate more efficiently in both dry ice and ice water extraction.
What to Look for in Hash-Friendly Genetics
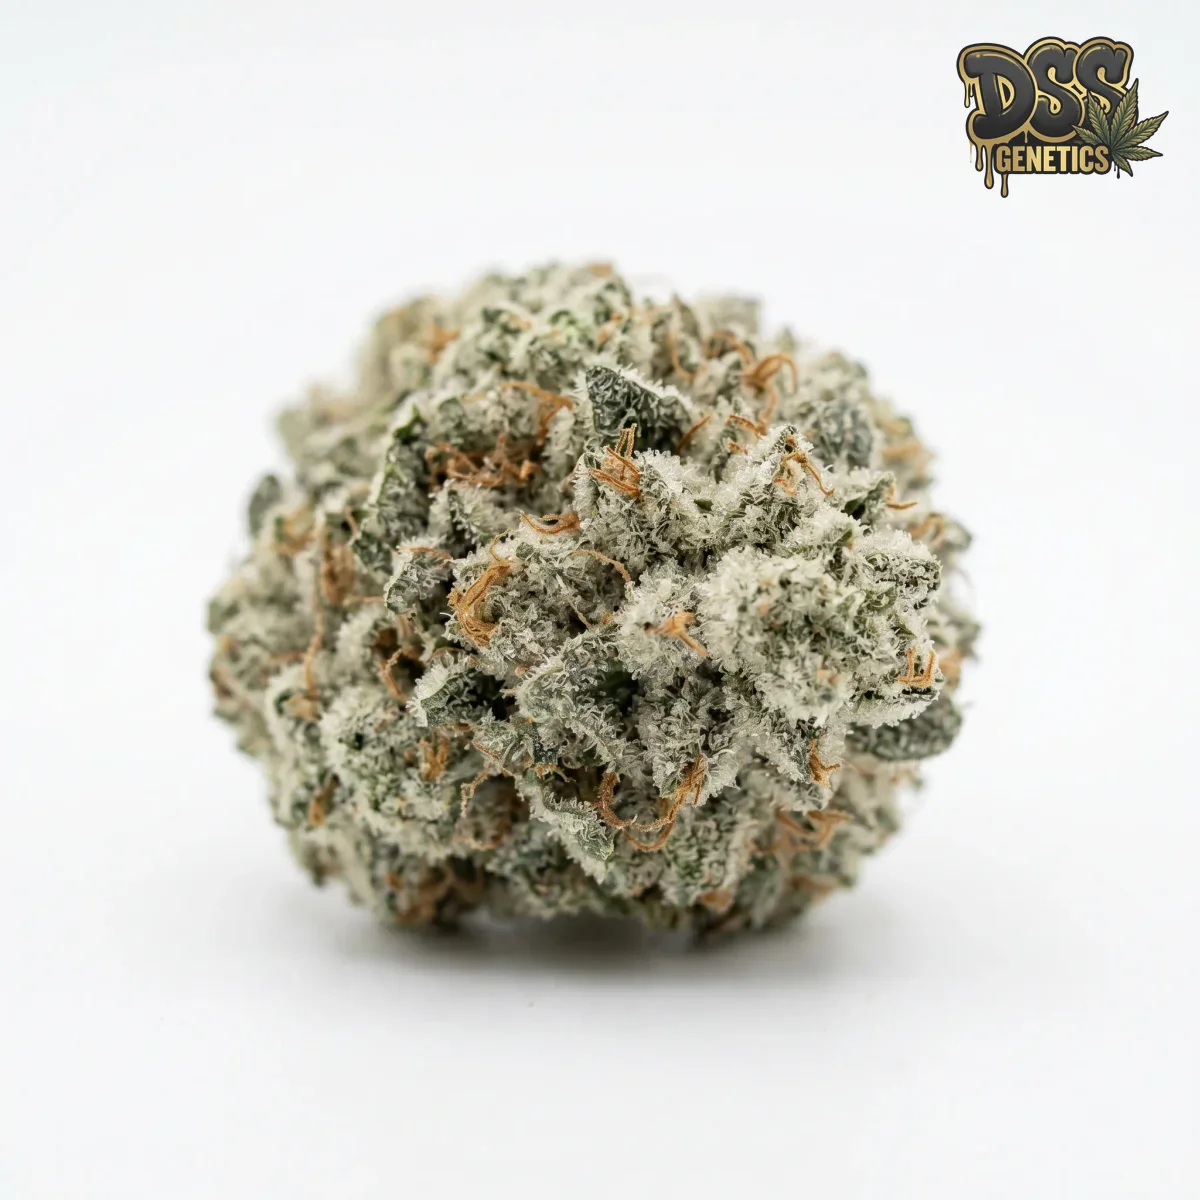
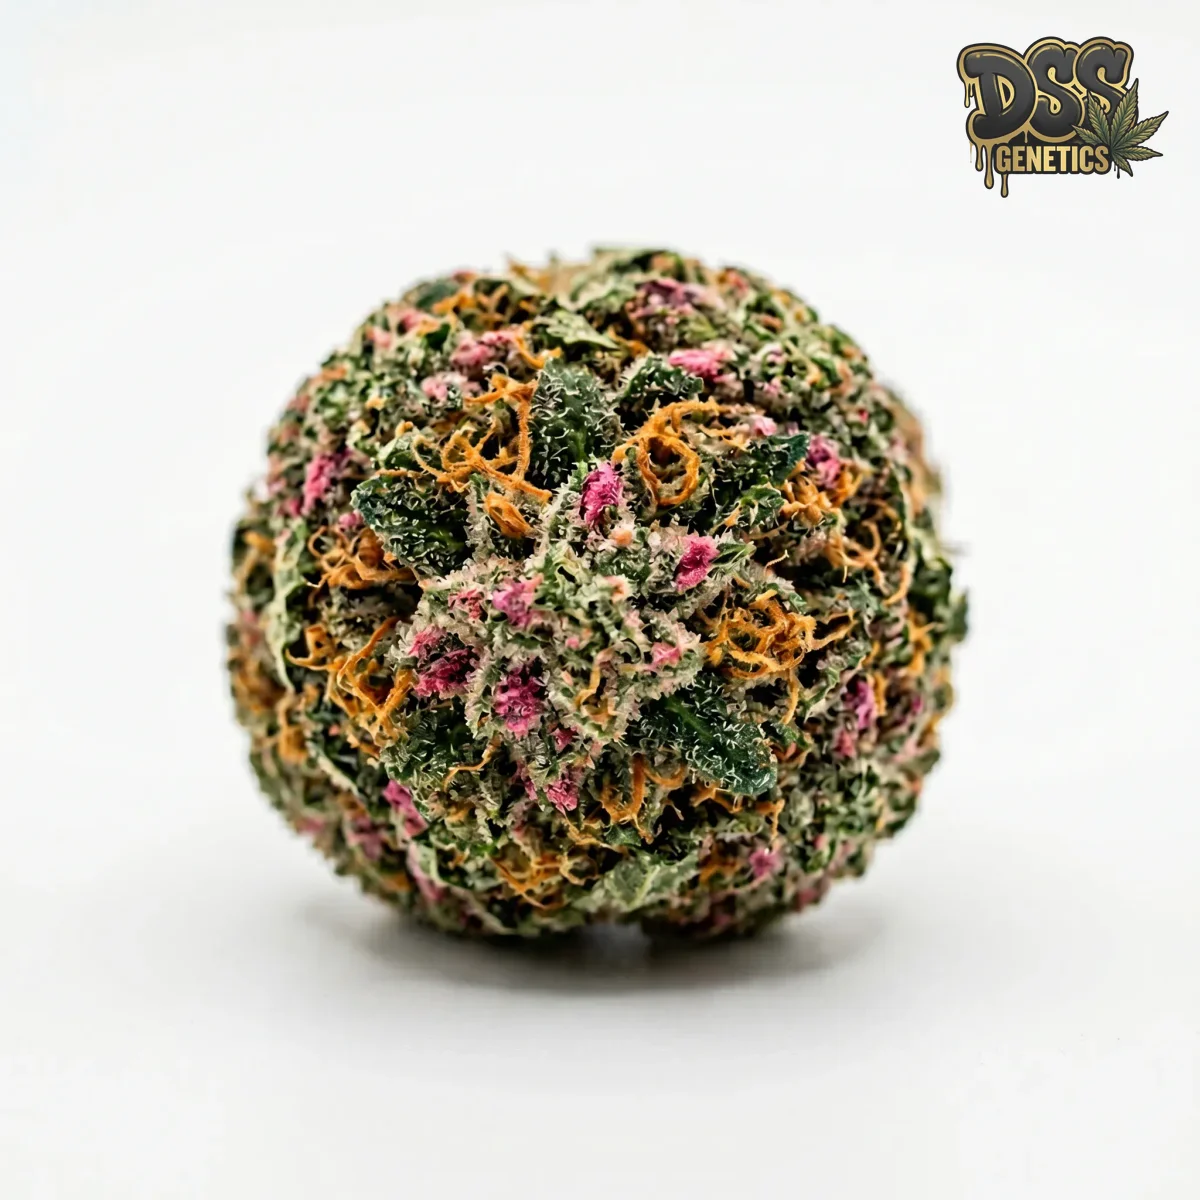
- High trichome density: visually frosty strains with thick resin coverage on sugar leaves
- Large trichome head size: bigger heads catch in 73–120 micron bags more efficiently
- High THC percentage: typically correlates with resin production (though not always)
- Indica or indica-dominant genetics: traditionally bred for resin production and hashmaking in Central Asia and the Middle East
- Afghan lineage: the original hash-making genetics; strains with Afghani in their background typically produce excellent yields
Top Strains for Hash Production
Several industry-wide favorites consistently rank as top hash producers. Gorilla Glue #4 (GG4) is legendary for its extreme resin output and sticky, dense trichome coverage: it regularly produces above 20% bubble hash yield from quality trim. Wedding Cake and Gelato are modern staples that produce large, milky trichome heads ideal for fresh-frozen bubble hash runs. Ice, the strain specifically bred for hash production with Afghani genetics, is another classic that performs exceptionally in ice water extraction.
For trichome-heavy genetics available to home growers, several high-resin options stand out:
- OG Kush Feminized (26% THC): dense resin coverage, classic Afghan-derived lineage, produces excellent bubble hash with strong terpene retention in fresh-frozen runs
- Purple Kush Feminized (27% THC), one of the highest-resin pure indica options available, compact structure puts energy into trichome production, ideal for hash making
- Quantum Kush Feminized (30% THC), exceptional resin density, among the highest THC profiles available, sugar leaves are heavily frosted making trim runs extremely productive
- White Widow Feminized (25% THC), named for its white resin coat, a hash-making classic with reliable trichome output and robust, easy-to-grow structure
- Black Widow Feminized (26% THC), closely related to White Widow lineage, heavy resin producer with complex terpene profile that shines in ice water extraction
- Papaya Feminized (25% THC), tropical genetics with excellent resin coating on sugar leaves, large trichome heads that work well in 73–90 micron bubble hash bags
- Skywalker OG Autoflower (23% THC), OG heritage means solid trichome output even from an autoflower; works well for quick dry ice hash runs from smaller harvests
Zkittlez, Runtz, and Do-Si-Dos are other widely praised hash strains worth mentioning, their terpene profiles translate exceptionally well into fresh-frozen bubble hash, and all three regularly appear in premium solventless extract menus at dispensaries.
Planning your next grow with hash making in mind? Use our yield estimator tool to project total harvest weight, then factor in that 15–20% of that weight will be processable trim, helps you decide whether a full bubble hash setup is worth the investment for your setup size.
Pressing Your Hash Into Discs or Rosin
Whether you made dry ice hash or bubble hash, pressing it into a stable form improves storage, handling, and in the case of rosin pressing, produces a refined solventless oil that dabs cleanly on a nail or e-rig.
Pressing Into Hash Discs (Hand or Pollen Press)
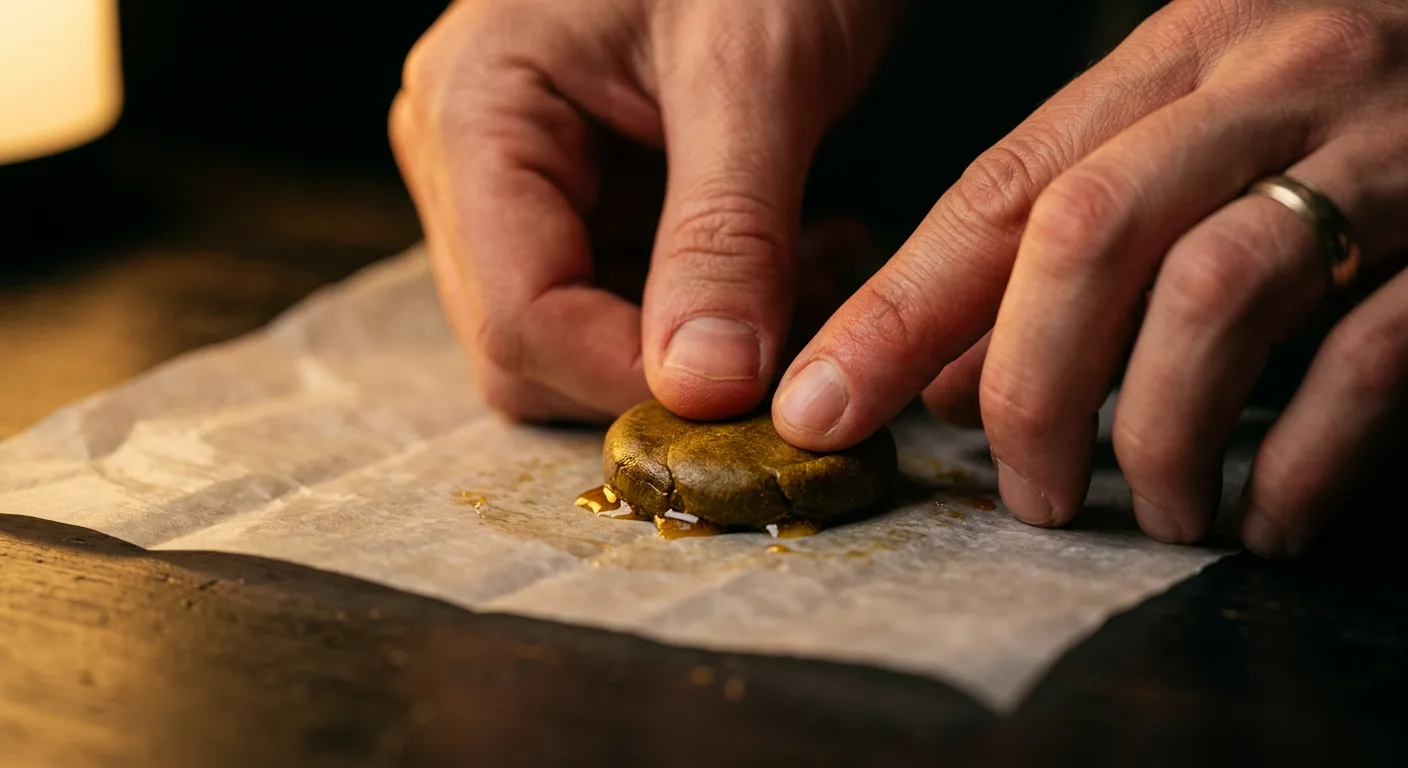
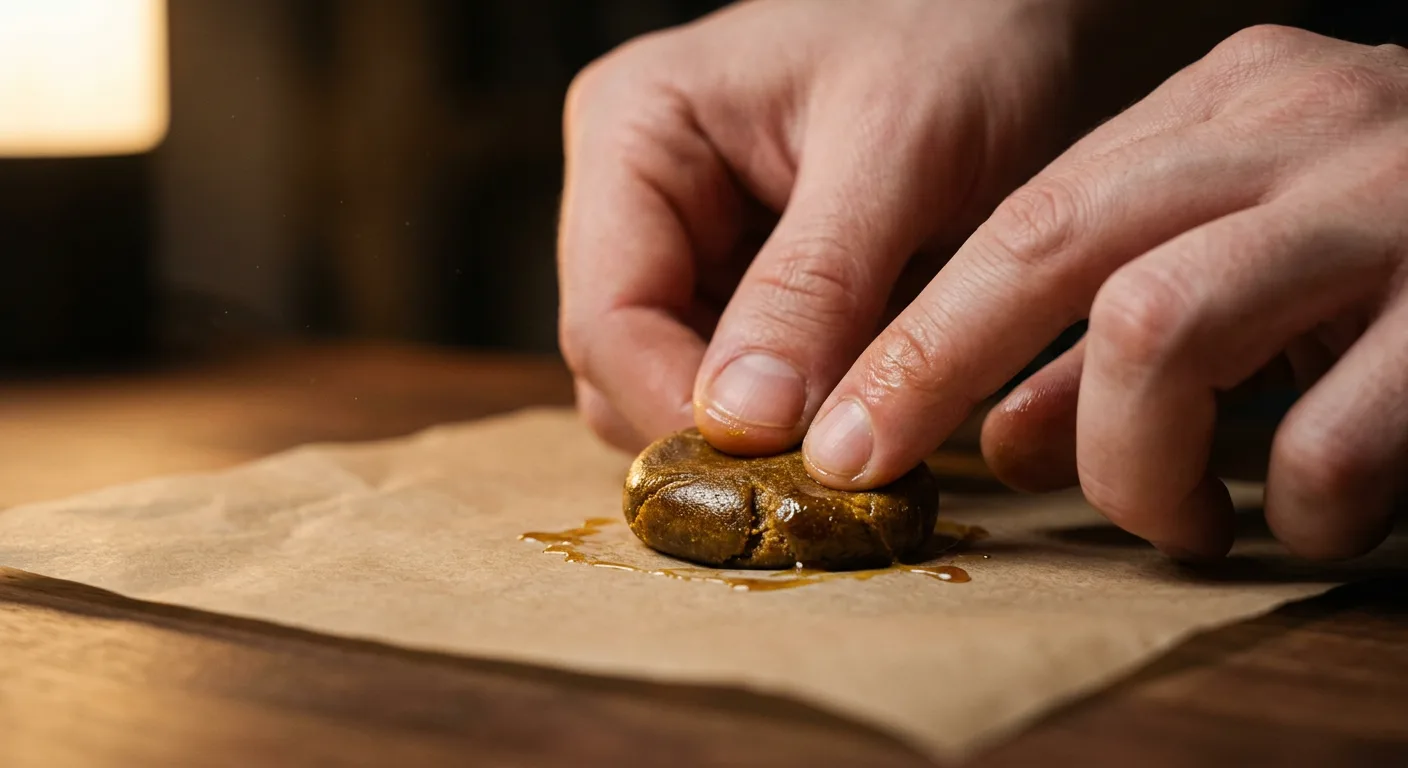
The simplest finishing method: collect your dried hash into a pile, warm it slightly with thumb pressure, and work it into a ball or disc. Gentle heat (body temperature is sufficient for most hash) activates the terpenes and allows the resin to bind together. Pollen presses, small metal cylinders that compress hash under screw pressure, cost $5–$15 and produce uniform cylindrical discs that store and slice cleanly.
Hash pressed this way can be stored at room temperature wrapped in parchment paper for 2–4 weeks, or refrigerated for up to 6 months. See our humidity pack storage guide for how to maintain ideal conditions, the same 62% RH target that protects flower keeps pressed hash from drying out and losing terpenes.
Pressing Hash Into Rosin
Bubble hash, especially 3-star grade and above, can be pressed into rosin using a hair straightener or dedicated rosin press. Place a small amount (0.5–1g) of hash in a folded parchment paper, apply heat at 160–180°F (71–82°C) for 3–5 seconds, and the resin liquefies and flows out as rosin oil.
- 73-micron bubble hash pressed at 160°F produces the cleanest, lightest-colored rosin
- Dry ice hash can be pressed but yields slightly darker, less pure rosin due to higher plant matter content
- Fresh-frozen bubble hash rosin retains the most terpenes and produces the best-tasting dabs
- Yield from hash-to-rosin runs 50–75% by weight, much higher than pressing flower directly
Hash-to-rosin is one of the most efficient paths to premium solventless concentrate at home. Your trim becomes bubble hash; your bubble hash becomes rosin. Three steps from the most-discarded part of your harvest to a product that rivals dispensary-grade concentrate.
Post-Harvest Hash Making: Full Decision Guide
Let's pull all the variables together into a practical decision framework. Where you land depends on four questions: What material do you have? How much time do you have right now? What quality are you targeting? What will you do with the final product?
Choose Dry Ice Hash If:
- You have dried trim ready to process today
- You want finished product within an hour
- You're a beginner and want to learn extraction with low stakes
- You don't have freezer space for fresh-frozen material
- Your goal is smokable hash for personal use, not dabbing or pressing
- You want to minimize cleanup
- Your budget for equipment is under $50
Choose Bubble Hash If:
- You froze trim at harvest and have fresh-frozen material ready
- You want the highest possible quality from your harvest
- You plan to press rosin or make dabs
- You're growing high-resin genetics worth processing at their best
- You have 4–5 hours available and patience for the drying process
- You want to maximize terpene content in the final product
- You plan to make hash regularly and want equipment that scales
Do Both If:
- You have both dried trim and fresh-frozen material from the same harvest
- You want to compare your own results side by side
- You're growing a strain for the first time and want to learn its resin profile
- You want immediate product (dry ice run) while the bubble hash dries
If you're planning the next grow cycle with hash making already in mind, our grow planner tool can help you map out the full timeline from seed to extraction, including harvest windows that align with fresh-frozen collection for bubble hash.
For growing the high-resin genetics that make hash extraction truly worthwhile, also explore our detailed guide on cannabis drying room setup, getting the drying and curing stage right preserves the terpenes that matter whether you're smoking flower or pressing rosin from trim-run hash.
Frequently Asked Questions
Is dry ice hash as good as bubble hash?
Dry ice hash is faster and cheaper to make but typically caps at 3–4 star quality due to plant material contamination during the agitation process. Bubble hash, especially made with fresh-frozen cannabis and quality genetics, can reach 5–6 star full-melt quality. For a beginner wanting quick results, dry ice hash delivers solid smokable product. For premium concentrate worth dabbing or pressing into rosin, bubble hash wins clearly.
Can you make hash from fresh cannabis?
Yes, but only bubble hash, not dry ice hash. Fresh-frozen cannabis (frozen within 30 minutes of cutting at harvest) is actually the preferred starting material for premium bubble hash because it preserves terpenes and trichome integrity far better than dried material. Dry ice hash requires fully dried trim because moisture causes clumping and prevents proper separation through the mesh bags.
How much hash can I get from trim and sugar leaves?
Expect roughly 8–18% return on dried trim with dry ice hash and 10–20% return on fresh-frozen cannabis with quality bubble hash technique. Trichome-heavy genetics like OG Kush, Purple Kush, or White Widow push toward the upper end of those ranges. Fan leaves with little visible resin produce much lower yields, focus on sugar leaves and popcorn buds for the best return per gram processed.
What micron bags should I use for dry ice hash?
Start with a 160-micron bag for your first run: it yields the most material and is forgiving for beginners. For higher quality, use a 73-micron bag with shorter agitation (60–90 seconds) to collect only the finest trichome heads. Many experienced home growers run three passes: 160, 120, then 73 micron, keeping each batch separate for different uses.
Does bubble hash mold if not dried properly?
Yes, and it happens fast. Wet bubble hash can develop mold within 24–48 hours, especially in warm or humid environments. After collection, spread hash thinly (1–2mm) on parchment paper in a cool, dark space with good airflow and let it dry for 24–72 hours before jarring or pressing. Hash is ready when it crumbles cleanly and no longer sticks together when rolled between your fingers.