Why Cannabis Seedling Care Makes or Breaks Your Grow
Proper cannabis seedling care in the first two weeks determines everything that follows — yield, potency, structure, and resistance to stress. Get it right, and your plants build the strong roots and healthy stems that support massive canopies later. Get it wrong, and you spend weeks trying to recover plants that never quite catch up.
Seedlings are the most vulnerable stage of the cannabis life cycle. Their root systems are tiny, their stem tissue is soft, and they have almost no buffer against environmental swings. Small mistakes — overwatering, too much light, wrong temperature — hit seedlings harder than any other stage.
This guide covers every variable you need to control: light schedules, watering frequency, humidity targets, temperature ranges, common disease and deficiency problems, the right time to start feeding, and the exact signs that tell you a seedling is ready to transplant.
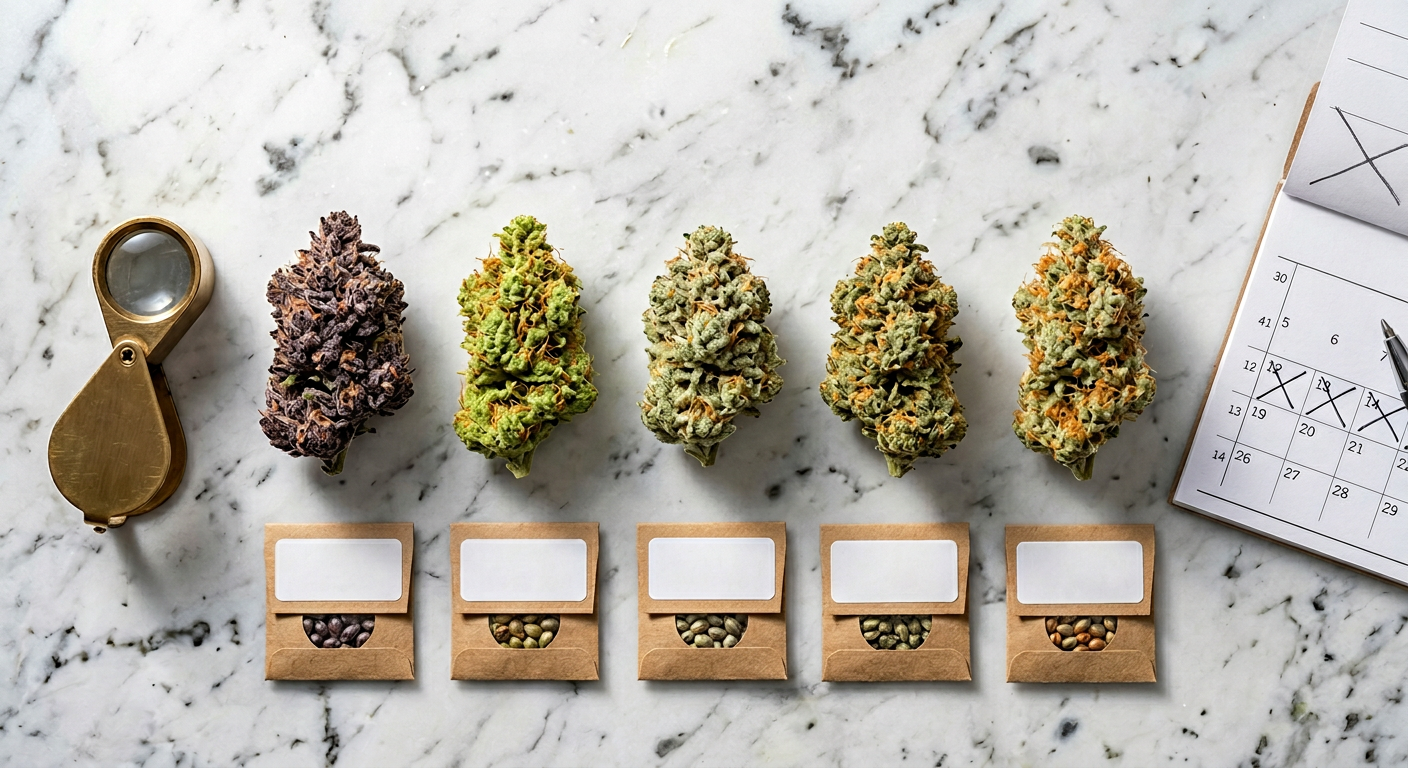
Before you even worry about seedling care, you need healthy seeds to start with. Strains like White Widow Feminized and Northern Lights x Big Bud Feminized are known for vigorous, fast-sprouting genetics that make the seedling stage easier to manage. Strong genetics give you a head start every single time.
Seedling Light Requirements: How Much Is Enough?
Seedling light requirements sit at the intersection of too little and too much — both cause serious problems. Cannabis seedlings need enough light to drive photosynthesis and build their first true leaves, but their thin stems and undeveloped root systems cannot handle the intense output designed for vegetative or flowering plants.
The sweet spot for seedlings is 200–400 PPFD (micromoles per square meter per second) at canopy level. For reference, most experienced growers dim their LED panels to 25–40% power during the seedling stage, or raise the fixture 24–36 inches above the canopy.
- Fluorescent/CFL lights: Position 2–4 inches above seedlings — low heat output makes them forgiving
- T5 HO fixtures: Keep 4–6 inches above the canopy, ideal for seedling trays
- LED panels (full-spectrum): Hang 24–36 inches above seedlings at 25–40% intensity
- HID (MH/HPS): Keep at least 36 inches away — these run hot and intense
Use a PAR meter or a free smartphone PPFD app to check actual light levels at canopy height. Targeting 250–350 PPFD during the seedling stage prevents both stretching from too little light and bleaching from too much. Accuracy here pays off in weeks of healthier growth ahead.
How Much Light for Cannabis Seedlings: Photoperiod vs. Autoflower

How much light for cannabis seedlings depends partly on whether you are growing photoperiod or autoflowering genetics. The two types handle light schedules differently, and getting this wrong can delay development or cause unnecessary stress in autoflowers especially.
For photoperiod seedlings, most growers run an 18/6 light schedule (18 hours on, 6 hours off). Some growers run 20/4 or even 24/0 during the seedling stage, and cannabis seedlings can handle continuous light without triggering early flowering — that only becomes an issue when light drops below 12 hours per day.
| Light Schedule | Type | Pros | Cons |
|---|---|---|---|
| 18/6 | Photoperiod | Proven, energy-efficient, rest period | Slightly slower than 20/4 |
| 20/4 | Photoperiod | Faster early growth, strong stems | Higher electricity cost |
| 24/0 | Photoperiod | Maximum photosynthesis | No rest period, higher stress risk |
| 18/6 or 20/4 | Autoflower | Good balance of growth and energy | Some autos thrive better at 20/4 |
| 24/0 | Autoflower | Some autos respond well | Risk of light stress in sensitive strains |
Autoflowering strains like Amnesia Haze Autoflower and Skywalker OG Autoflower flower based on age rather than light cycle, so you can run them at 18/6 or 20/4 from seed to harvest without ever changing the schedule. Most autoflower growers stick with 20/4 for the seedling stage to maximize early development within the tight autoflower timeline.
Run photoperiod seedlings at 18/6 as a reliable default. For autoflowers, 20/4 gives slightly faster development without risking the stress that continuous 24-hour light can occasionally trigger in sensitive genetics.
Cannabis Seedling Stretching: How to Fix It and Why It Happens
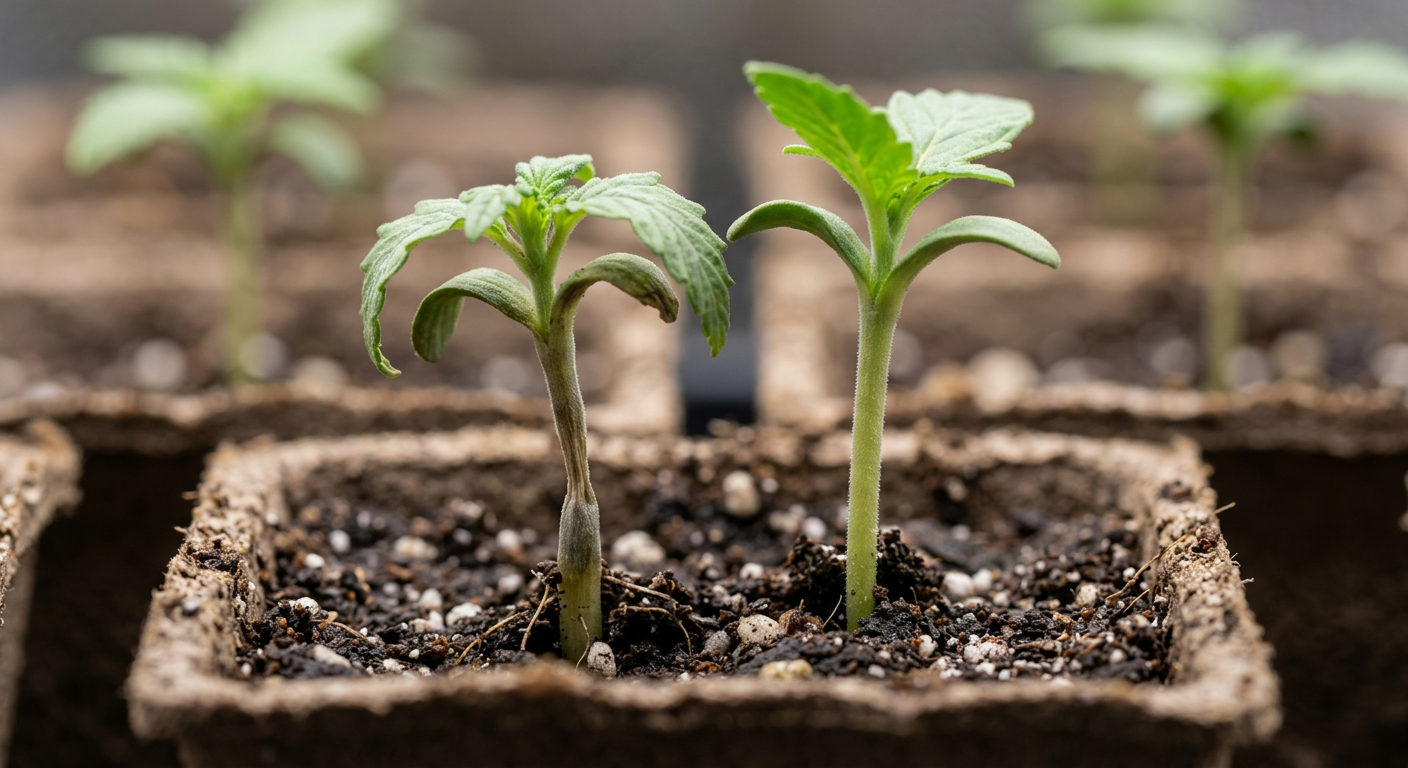
Cannabis seedling stretching is one of the most common problems new growers face, and it almost always comes down to insufficient light. When seedlings cannot get enough photosynthetically active radiation, they elongate their stems rapidly in an attempt to reach the light source — a survival mechanism called etiolation.
A healthy seedling at 7 days old should have a stem no taller than 2–3 inches between the soil surface and the first set of true leaves. If your seedling looks like a thin green thread reaching for the sky with a tiny leaf cluster on top, it is stretching and needs intervention immediately.
Lower or Intensify Your Light Source
Move your light 4–6 inches closer to the canopy or increase intensity by 10–15%. Check PPFD at canopy level — you want 250–350 PPFD. This is always the first fix for stretching seedlings.
Add a Fan for Stem Strengthening
Run a small oscillating fan on the lowest setting so it gently moves seedling stems. This mechanical stimulation triggers thigmomorphogenesis — the plant deposits extra lignin in the stem wall, making it thicker and stronger within 3–5 days.
Bury the Stem During Transplant
If a seedling has already stretched significantly, bury 60–70% of the stem when you transplant into a larger container. Cannabis stems readily produce adventitious roots along buried stem tissue, turning a lanky seedling into a well-anchored plant.
Add a Light Breeze and Reduce Heat
High temperatures above 82°F accelerate internodal stretching. Lower your grow space temperature to 72–78°F and ensure air circulation. Heat stress and insufficient light together create the worst stretching outcomes.
Etiolation is controlled by phytochrome photoreceptors that detect the ratio of red to far-red light. Low-quality lighting with poor red-spectrum output triggers stretch even at seemingly adequate lux levels. Full-spectrum LEDs with a proper red:far-red ratio of 8:1 or higher significantly reduce seedling stretch compared to broad-spectrum fluorescents with weak red output.
Watering Cannabis Seedlings: Frequency, Volume, and Technique
Overwatering kills more cannabis seedlings than any other single mistake. The problem is not actually giving too much water at once — it is watering again before the medium has dried out enough. Waterlogged soil suffocates roots by displacing the oxygen they need to function, creating conditions where pathogens thrive and roots rot.
Cannabis seedlings in small containers (solo cups or 4-inch pots) need water every 2–3 days under normal conditions. The exact interval depends on your growing medium, temperature, humidity, and light intensity — all of which affect evaporation rate. Always check before watering rather than following a rigid schedule.
- The lift test: Lift the container — light means dry, heavy means still moist, water only when light
- The finger test: Push your finger 1 inch into the soil — water only when it feels dry at that depth
- Visual cues: Seedling leaves slightly drooping and soil surface looking pale and dry = time to water
- Moisture meters: Insert probe 2 inches deep — water when reading falls to 2–3 on a 1–10 scale
When you do water, apply just enough to moisten the root zone without creating runoff. For a seedling in a solo cup, this is typically 30–60 ml of water. Water in a ring around the seedling rather than directly at the stem to encourage roots to spread outward searching for moisture.
Never let seedlings sit in standing water or drainage trays with water pooling underneath. Even 30 minutes of waterlogged roots is enough to begin damping off disease progression in susceptible seedlings. Always empty drainage trays within 15 minutes of watering.
Seedling Damping Off Disease: Causes, Prevention, and Treatment
Seedling damping off disease is a fungal and oomycete infection that collapses seedling stems at the soil line, killing plants within 24–48 hours of visible symptoms appearing. It is caused primarily by Pythium, Fusarium, and Rhizoctonia species — all of which thrive in wet, poorly aerated, low-airflow conditions.
The first sign is a pinched, discolored, water-soaked lesion at the base of the stem right at soil level. Within hours the stem collapses and the seedling falls over. By the time you see it, the plant is usually beyond saving — which is why prevention is the only real strategy.
- Use sterile, well-draining growing medium — avoid re-using old soil for seedlings
- Never overwater — allow the top inch of medium to dry between waterings
- Maintain airflow — a gentle fan running 24/7 dramatically reduces surface humidity
- Keep humidity below 70% during the first week after sprouting — seedlings need moisture but not saturated air
- Use hydrogen peroxide solution (3ml of 3% H2O2 per liter) as a preventive drench if damping off appears in nearby seedlings
- Add beneficial microbes — mycorrhizal inoculants and Bacillus subtilis-based products create biological competition against pathogens
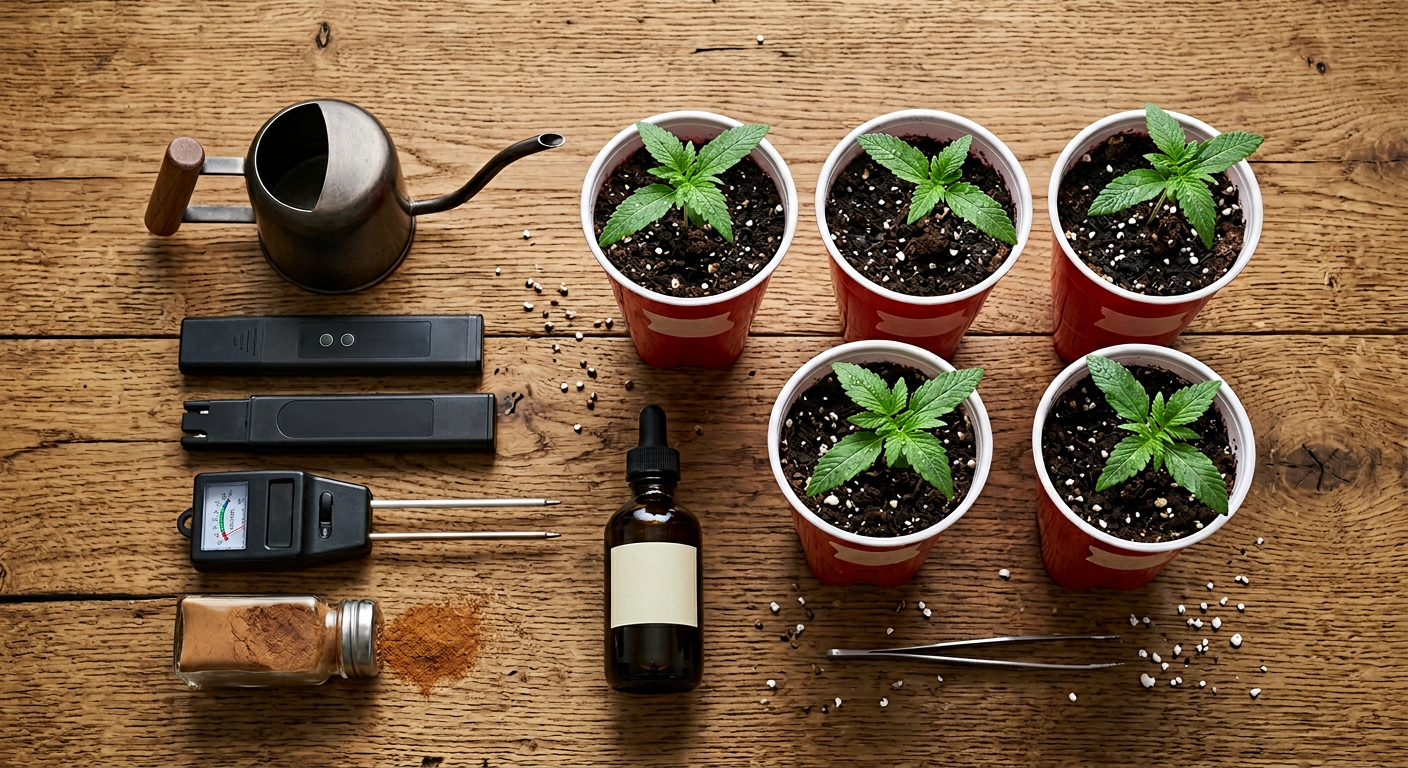
Sprinkle a thin layer of dry perlite or cinnamon on the soil surface around seedling stems. Perlite improves surface drainage and cinnamon contains natural antifungal compounds (cinnamaldehyde) that inhibit Pythium and Fusarium growth without harming beneficial microbes or your seedling.
If damping off does spread, remove affected plants immediately and treat remaining seedlings with a diluted hydrogen peroxide drench (5 ml of 3% H2O2 per liter of water). Increase airflow, reduce watering frequency, and lower humidity. You can also use copper-based fungicides labeled for damping off, but biological controls are generally safer for young seedlings.
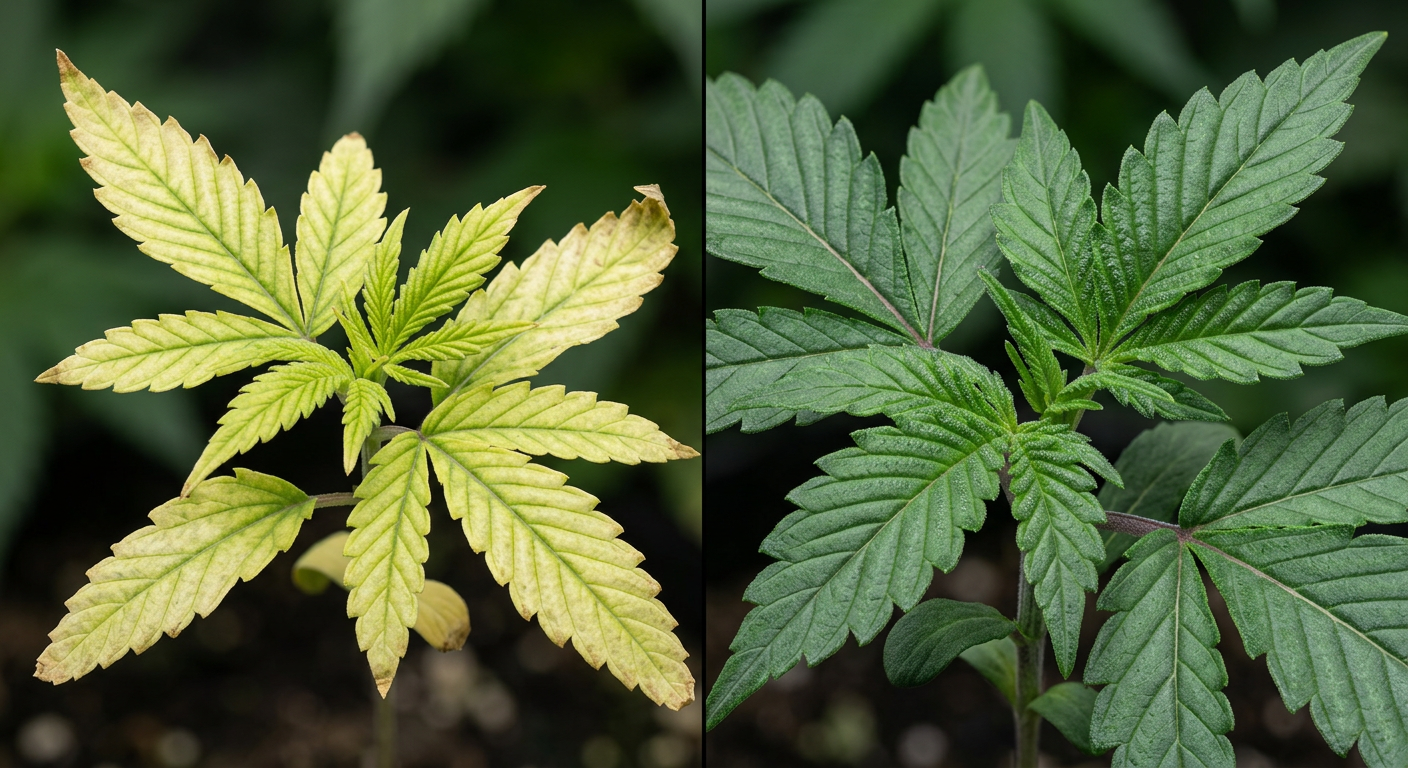
Cannabis Seedling Yellowing Leaves: Reading the Signs
Cannabis seedling yellowing leaves send one of several different messages depending on which leaves are affected, the pattern of yellowing, and what other symptoms accompany it. Correctly identifying the cause is essential because the wrong response — like adding nutrients when the problem is overwatering — makes things significantly worse.
The cotyledons (the first round leaves that emerge) naturally yellow and drop within 2–3 weeks as the plant shifts energy to true leaf production. This is completely normal and not a sign of any problem. Concern yourself with yellowing in the first true leaves and any leaves that develop after them.
| Yellowing Pattern | Most Likely Cause | Action |
|---|---|---|
| Uniform pale yellowing, all leaves | Nitrogen deficiency or light deficiency | Check light PPFD; start diluted veg nutrients |
| Yellow between green veins (interveinal) | Iron or magnesium deficiency | Check pH; foliar spray with Epsom salt for Mg |
| Lower leaves yellow, upper leaves fine | Normal N mobility or overwatering | Reduce watering frequency; check drainage |
| Yellow tips with brown edges | Nutrient burn or pH lockout | Flush medium; check and correct pH to 6.0–7.0 |
| Mottled yellow patches | Spider mites or viral infection | Inspect undersides of leaves with magnifier |
| Yellowing with wilting | Root rot or overwatering | Reduce watering; check roots for brown slime |
pH is the most common hidden cause of seedling nutrient deficiency cannabis symptoms. Even if you are providing the right nutrients, a pH outside the 6.0–7.0 range (soil) or 5.5–6.5 range (coco/hydro) locks nutrients out at the root level. Always check and correct pH before adding more nutrients.
Seedling nutrient deficiency in cannabis is often misdiagnosed because seedlings have almost no nutrient requirements in the first 10–14 days if started in a quality pre-amended seedling mix. What looks like nitrogen deficiency in a two-week-old seedling is frequently overwatering, pH imbalance, or root zone oxygen deprivation — not an actual lack of nitrogen in the medium.
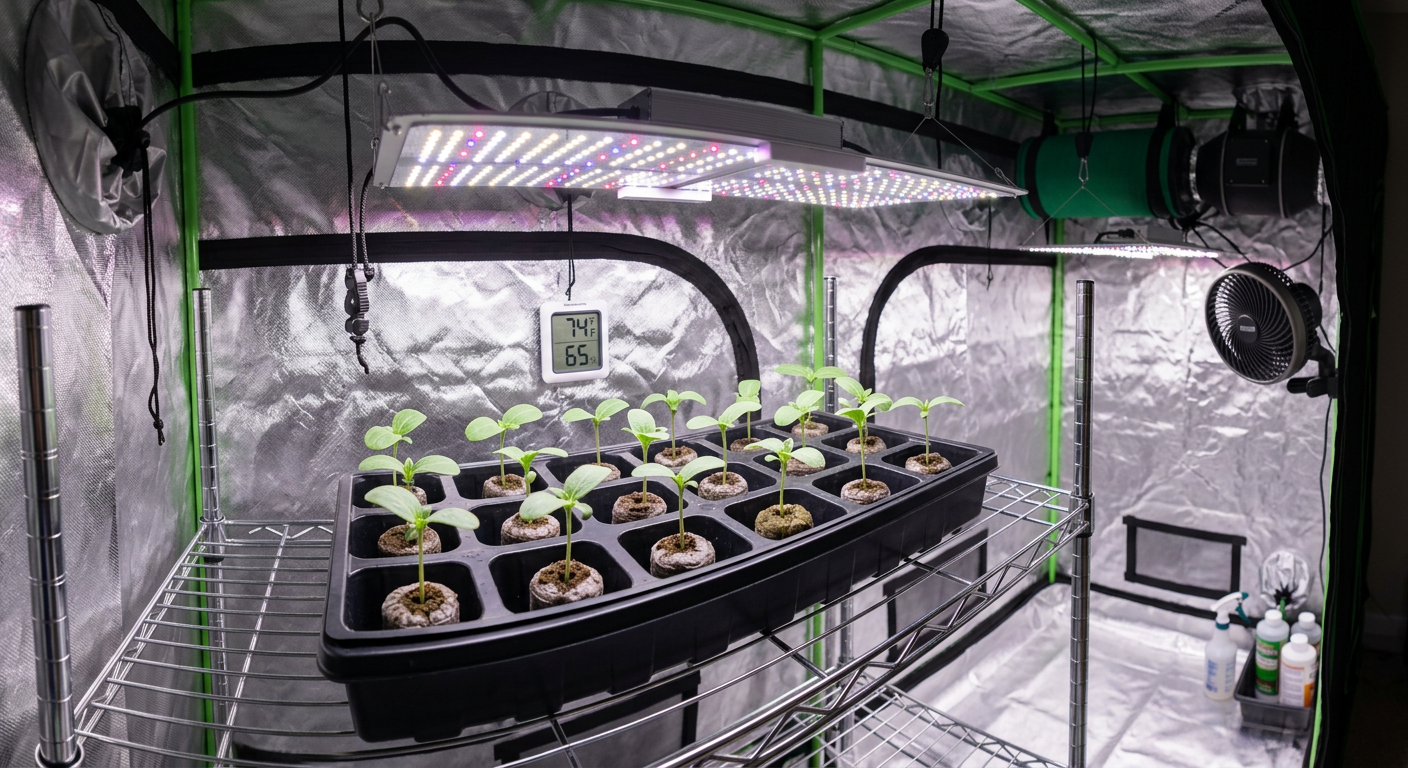
Temperature and Humidity: The Environmental Foundation
Temperature and humidity during the seedling stage directly influence transpiration rate, nutrient uptake efficiency, pathogen risk, and growth speed. Cannabis seedlings are less tolerant of environmental extremes than plants in later growth stages because their undeveloped root systems cannot compensate for stress the way a mature vegetative plant can.
The ideal temperature for cannabis seedlings is 72–78°F (22–26°C) during the light period and no lower than 65°F (18°C) during the dark period. Temperatures above 85°F (29°C) accelerate moisture loss faster than tiny root systems can replace it, causing wilting even in properly watered soil. Temperatures below 60°F (15°C) slow root development dramatically and increase damping off risk.
- Lights-on target: 72–78°F (22–26°C)
- Lights-off minimum: 65°F (18°C)
- Absolute maximum: 82°F (28°C) — above this, heat stress and stretching accelerate
- Relative humidity target: 65–80% during the first week, tapering to 60–70% by week two
- VPD target: 0.4–0.8 kPa for seedlings (lower VPD = less transpiration stress on undeveloped roots)
High humidity during the seedling stage serves a specific purpose: seedlings absorb a significant portion of their moisture directly through leaf stomata when their root systems are still tiny. This is why dome humidity (using a clear plastic dome or humidity tent over seedlings) dramatically improves early development. For a deeper dive into VPD management, see our VPD for Cannabis: The Complete 2026 Grower's Guide.
Cannabis seedlings in the first 5–7 days after sprouting rely on foliar moisture absorption for up to 40% of their water uptake. This is why maintaining 70–80% relative humidity with a dome or humidity tent during this window accelerates root development — it reduces the transpiration demand on an immature root system, allowing energy to go toward root growth instead of moisture regulation.
Cannabis Seedling Feeding Schedule: When and How Much to Feed
The cannabis seedling feeding schedule is simpler than most new growers expect: feed nothing for the first 10–14 days. A quality seedling or germination mix contains enough available nutrients to support a seedling through its first two weeks of life. Adding fertilizer on top of this creates nutrient burn, which looks almost identical to deficiency and leads growers to add even more nutrients, compounding the damage.
After 10–14 days, once the seedling has developed its second or third set of true leaves and the original seedling mix nutrients are depleting, you can introduce the first diluted feeding. Start at 25% of the manufacturer's recommended dose and work up from there based on how the plant responds.
Days 1–14: No Feeding
Use only pH-adjusted water (6.0–6.5 for soil, 5.8–6.2 for coco). A quality seedling mix contains all the nutrients your plant needs during this window. Resist the urge to feed early.
Days 14–21: First Diluted Feed
Mix nutrients at 25% of recommended dose. Use a balanced NPK with a slight nitrogen emphasis (e.g., 3-1-2 ratio). Check runoff EC — target 0.8–1.2 mS/cm for seedlings in this window.
Days 21–28: Gradual Increase
Move to 50% strength if the plant shows no signs of nutrient burn (brown tips, clawing leaves). Increase to full vegetative dose only after transplanting into a larger container and confirming healthy root development.
- Target EC for seedling feeds: 0.4–0.8 mS/cm weeks 1–2; 0.8–1.2 mS/cm weeks 3–4
- pH for soil feeds: 6.0–7.0 (optimal 6.2–6.8)
- pH for coco/hydro feeds: 5.5–6.5 (optimal 5.8–6.2)
- Avoid high-phosphorus bloom nutrients during the seedling stage — high P can lock out calcium and magnesium
Autoflowering strains follow a compressed timeline, which means their seedling feeding window is slightly shorter. Strains like Holy Grail Kush Autoflower and Great White Shark Autoflower can begin transitioning toward early vegetative growth within 10–14 days of sprouting, so monitor their development closely and introduce diluted feeds a few days earlier than you would with photoperiod plants.
Cannabis Seedling Wilting: Diagnosing Root vs. Environmental Causes
Cannabis seedling wilting sends growers into a panic, but the cause is almost always one of two things: too much water or not enough water. The tricky part is that both overwatering and underwatering produce nearly identical wilting symptoms — droopy, curling leaves and a generally sad-looking plant. Getting the diagnosis right is critical.
Overwatered seedlings typically show uniform downward cupping of all leaves, often with a slight shine or turgidity to the leaf surface despite the droop. The soil is visibly moist or wet. Underwatered seedlings show more limp, papery wilting where leaves lose their firmness entirely, and the soil is bone dry and pulling away from container edges.
- Overwatering signs: Soil wet, leaves droopy but slightly firm, yellowing starting from lower leaves, possible fungus gnats in medium
- Underwatering signs: Soil dry, leaves limp and papery, container feels very light, recovery within 30 minutes of watering
- Heat stress wilting: Occurs during lights-on period, recovers during dark period, check temperature at canopy level
- Root rot wilting: Soil may be moist, roots are brown and slimy rather than white, smell is foul
- Light burn wilting: Top leaves closest to light source show bleaching and curling, lower leaves fine
Never add more water to a wilting seedling before diagnosing the cause. If the soil is already wet, adding water to an overwatered, wilting seedling will accelerate root damage and can cause rapid death within 24 hours. Always check soil moisture first — the lift test takes two seconds and could save your plant.
For growers using living soil growing methods, the complex microbial ecosystem helps buffer against both overwatering and underwatering to a degree, but seedlings are still vulnerable. Check our Living Soil Cannabis Growing: Complete 2026 Guide for details on how beneficial microbes support early root development in organic growing systems.
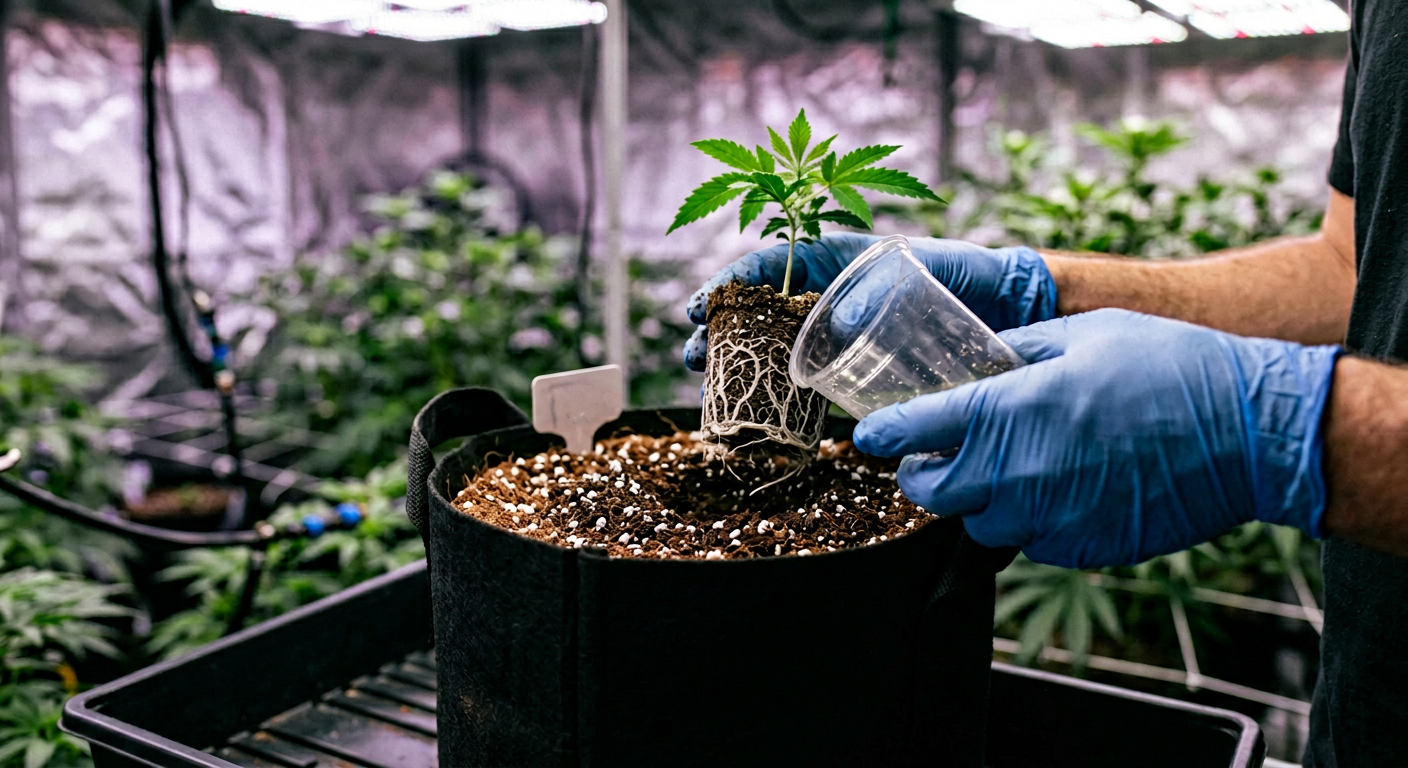
When to Transplant Cannabis Seedlings: The Exact Signs to Look For
Knowing when to transplant cannabis seedlings is one of the most impactful decisions in the early growing process. Transplant too early and you disturb roots before they are established enough to handle the stress. Transplant too late and the plant becomes root-bound, stunting growth and stressing the plant right when it should be gaining momentum.
The general timeline for transplanting is 10–21 days after sprouting for most seedlings in solo cups or small starter containers. But timing based on days is less reliable than timing based on plant development indicators — which vary by strain, environment, and growing medium.
- Roots visibly emerging from drainage holes — the clearest sign the plant needs more space immediately
- Leaf canopy extends to or beyond the edge of the container — classic visual indicator for cup-started seedlings
- 3–4 sets of true leaves developed — indicates sufficient stem and root development to handle transplant stress
- Watering frequency has dramatically increased — medium dries out in less than 24 hours, indicating roots have consumed most available space
- Growth appears to have plateaued — plant stops growing upward despite good conditions, often a root-bound signal
For seedlings in clear solo cups, you can literally see root development without disturbing the plant. Tape the cup with black tape during light periods to prevent algae growth, then remove the tape briefly to check root progress. Transplant when white roots are visible covering 70–80% of the cup's interior wall.
When you do transplant, water the seedling lightly 12–24 hours before moving it so the root ball holds together. Prepare the new container by filling it with moist medium and creating a hole the exact size of the seedling's root ball. Slide the seedling out, lower it into position, and gently firm the surrounding medium. Water with plain pH-adjusted water and avoid feeding for 3–5 days to let the plant recover from transplant stress.
Autoflowering strains have a fixed life cycle that does not pause for transplant recovery. Many experienced autoflower growers start seeds directly in their final container — a 3–5 gallon pot — to eliminate transplant stress entirely. Strains like Plushberry Autoflower and Banana Kush Autoflower benefit particularly from this approach because their compressed 8–10 week total cycle leaves little time to recover from stress.
For photoperiod strains, transplant when roots reach the container walls and 3–4 true leaf sets have developed. For autoflowers, start directly in the final container whenever possible to eliminate transplant stress from an already compressed timeline.
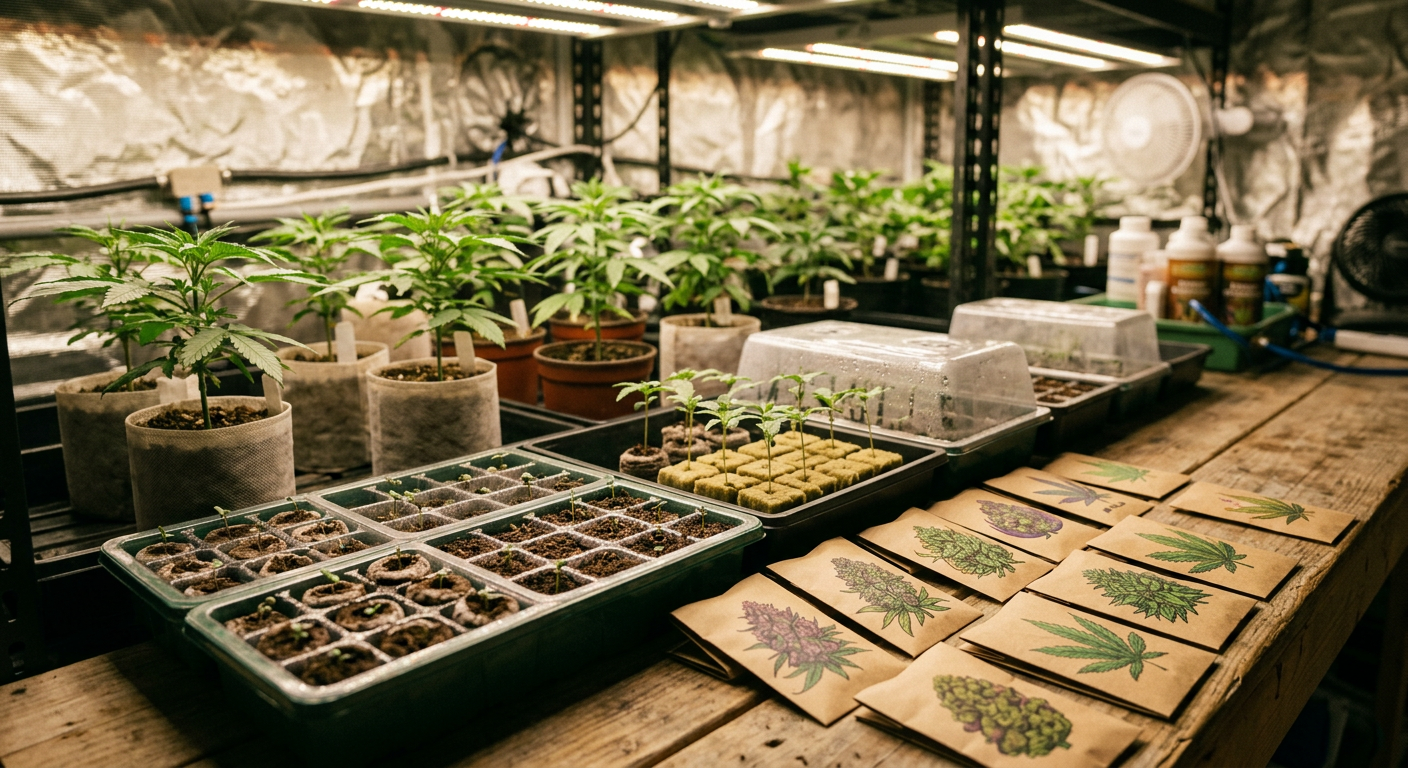
Choosing the Right Genetics for a Stress-Free Seedling Stage
Not all cannabis genetics handle the seedling stage with equal resilience. Indica-dominant strains and robust hybrid genetics generally produce faster-germinating seeds with shorter, stockier seedlings that are less prone to stretching and damping off. Some strains are particularly well-suited to beginners managing their first seedling stage.
For growers who want reliable, resilient seedling performance, these strains consistently show vigorous early development:
- Northern Lights x Big Bud Feminized (20% THC) — compact, fast-developing seedlings with thick stems
- Super Skunk Feminized (20% THC) — robust genetics, forgiving of minor environmental variation
- White Widow Feminized (25% THC) — legendary vigorous growth from seedling through harvest
- Skunk Special Feminized (24% THC) — fast-establishing root systems, excellent stress tolerance
- Amnesia Haze Autoflower (17% THC) — reliable autoflower with consistent seedling performance
- OG Kush Feminized (26% THC) — classic genetics with strong seedling vigor
Sativa-dominant strains and haze varieties tend to produce taller, thinner seedlings that are more prone to stretching and slightly more sensitive to overwatering. This does not make them bad choices — strains like Super Lemon Haze Feminized (23% THC) and Sour Diesel Feminized (24% THC) are worth the extra attention they need as seedlings given their exceptional end results. They simply require tighter light management and slightly lower watering frequency during the seedling stage.
For a complete walkthrough of starting your grow from the very beginning, see our Complete Beginner's Guide to Growing Cannabis Indoors and our Cannabis Seed Germination Methods: Complete Guide for getting seeds sprouted correctly before the seedling stage begins.
High-quality genetics from stable, professionally bred seeds give you a measurable advantage during the seedling stage. Vigorous genetics germinate faster, establish root systems more quickly, and tolerate minor environmental variation better than unstable or poorly bred seeds.
Seedling Care Checklist: Your Daily Monitoring Routine
Consistent daily monitoring is what separates growers who catch problems at the first sign from those who discover them after significant damage has occurred. Seedlings change rapidly — what was fine yesterday can become a problem today, especially with watering, humidity, and light distance.
Build a daily monitoring habit using this checklist and you will catch and correct virtually every common cannabis seedling problem before it becomes a serious setback.
Check Temperature and Humidity
Record temperature (target 72–78°F) and relative humidity (target 65–80%) at canopy level using a digital thermohygrometer. Log any readings outside the target range and adjust accordingly.
Assess Soil Moisture
Lift each container and note weight. Perform the finger test to check moisture at 1 inch depth. Water only if the container is light and the top inch of medium is dry. Never water on a fixed schedule during the seedling stage.
Inspect Stems and Leaves
Look at the stem base for any discoloration or pinching that could indicate early damping off. Check leaves for yellowing patterns, spots, mottling, or unusual curling. Flip a few leaves to check for pests on the undersides.
Measure Light Distance and PPFD
Verify light height has not shifted and that PPFD at canopy remains in the 250–350 PPFD target range. Adjust as seedlings grow taller — maintain consistent distance from the canopy rather than from the fixture mounting point.
Assess Growth and Development Stage
Count true leaf sets and note internode spacing. Excessive spacing between nodes indicates stretching. Note whether the plant is approaching transplant readiness indicators: 3–4 true leaf sets, roots approaching container walls, and daily water uptake increasing.
This five-step daily check takes less than five minutes per plant and creates a mental model of each seedling's baseline that makes deviations immediately obvious. Experienced growers develop this into an intuitive scan — you will quickly learn what healthy seedlings in your specific environment look and feel like, making problems stand out instantly.
Mastering the seedling stage connects directly to mastering the entire grow. The skills you build here — reading plants, managing environment, resisting the urge to over-intervene — are the same skills that will carry you through the vegetative and flowering stages. For more on how terpenes and plant chemistry develop from this point forward, explore our Humulene in Cannabis: The Complete Grower's Guide and our Pinene in Cannabis: The Complete Grower's Guide.
How often should I water cannabis seedlings?
Water cannabis seedlings every 2–3 days on average, but always check moisture before watering. Lift the container — if it feels light and the top inch of soil is dry, water with 30–60 ml per solo cup. Never water on a fixed schedule; always water based on actual soil moisture to prevent overwatering, which is the most common seedling killer.
Why are my cannabis seedlings stretching?
Cannabis seedling stretching is almost always caused by insufficient light. Move your light source closer — aim for 250–350 PPFD at canopy level — or increase intensity to 30–40% on dimmable LEDs. Also add a gentle fan to strengthen the stem through mechanical stimulation. When transplanting, bury stretched stems up to 70% deep to encourage adventitious root development along the buried portion.
When should I start feeding cannabis seedlings?
Start feeding cannabis seedlings at 10–14 days after sprouting, once they have developed 2–3 sets of true leaves. Use nutrients at 25% of the recommended dose — seedlings need very little, and overfeeding causes nutrient burn that is hard to reverse. If using a quality pre-amended seedling mix, wait until leaves show the very first signs of yellowing before introducing any nutrients at all.
What causes damping off in cannabis seedlings and how do I prevent it?
Damping off is caused by fungal pathogens (primarily Pythium and Fusarium) that thrive in wet, stagnant conditions. Prevent it by avoiding overwatering, using sterile well-draining medium, running a gentle fan 24/7 for airflow, keeping humidity below 70% after the first week, and sprinkling perlite or cinnamon on the soil surface around stems. Once damping off collapses a stem, that seedling cannot be saved — prevention is the only effective strategy.
How do I know when cannabis seedlings are ready to transplant?
Cannabis seedlings are ready to transplant when they have developed 3–4 sets of true leaves, the leaf canopy reaches the edges of the container, roots are visible at drainage holes, and the medium dries out faster than usual. For seedlings in clear cups, look for roots covering 70–80% of the interior wall. Autoflowering strains should be started directly in their final container when possible to avoid transplant stress during their compressed growth cycle.
Frequently Asked Questions
How often should I water cannabis seedlings?
Water cannabis seedlings every 2–3 days on average, but always check soil moisture before watering. Lift the container to assess weight and push your finger 1 inch into the soil. Water only when the container feels light and the top inch is dry. Use 30–60 ml per solo cup to moisten the root zone without creating runoff.
Why are my cannabis seedlings stretching and how do I fix it?
Cannabis seedling stretching is almost always caused by insufficient light. Increase PPFD to 250–350 at canopy level by moving the light closer or increasing intensity. Add a gentle oscillating fan to strengthen the stem. When transplanting, bury stretched stems up to 70% deep to allow adventitious root development along the buried portion.
When should I start feeding cannabis seedlings?
Start feeding cannabis seedlings at 10–14 days after sprouting once 2–3 true leaf sets have developed. Begin at 25% of the recommended nutrient dose. A quality seedling mix supplies enough nutrients for the first two weeks, and overfeeding before this point causes nutrient burn that stunts growth significantly.
What causes damping off in cannabis seedlings and how do I prevent it?
Damping off is caused by Pythium, Fusarium, and Rhizoctonia fungal pathogens thriving in wet, low-airflow conditions. Prevent it by avoiding overwatering, using sterile well-draining medium, running a gentle fan continuously, keeping humidity below 70% after week one, and applying a thin layer of perlite or cinnamon around stem bases.
How do I know when cannabis seedlings are ready to transplant?
Transplant cannabis seedlings when they have 3–4 sets of true leaves, the canopy reaches container edges, roots emerge from drainage holes, or the medium dries out in under 24 hours. For seedlings in clear cups, transplant when roots cover 70–80% of the interior wall. Autoflowering strains should ideally start directly in their final container.